
Removing the Faucet Handle

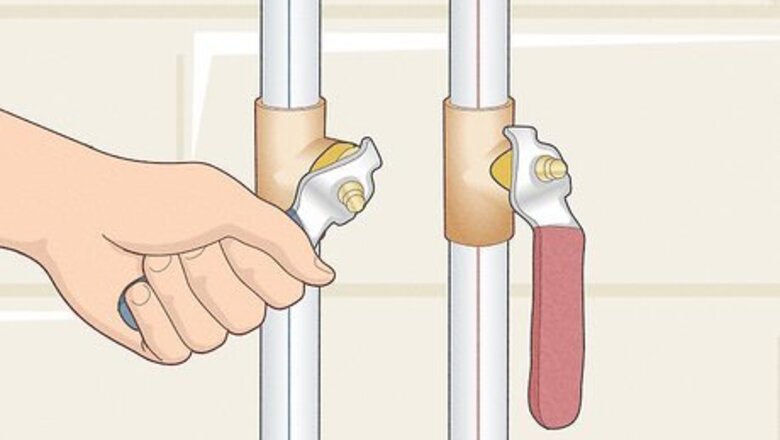
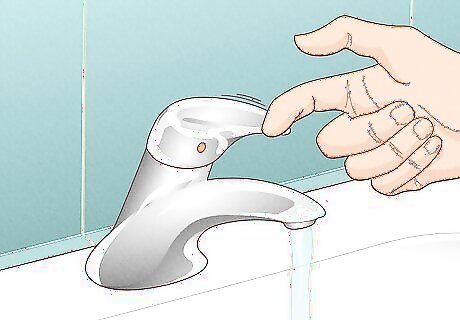
Turn off the water supply to your faucet. You can usually find the hot water and cold water valves on the wall somewhere underneath your sink. Turn both of them clockwise until they’re hand-tight. Then, turn on your faucet and let any remaining water drain out. Always be sure to shut off the water before your repairs, or else it will spray all over your bathroom. If you can’t find the supply valves underneath your sink, you can always shut off the main supply valve where the water supply pipe connects to your home.
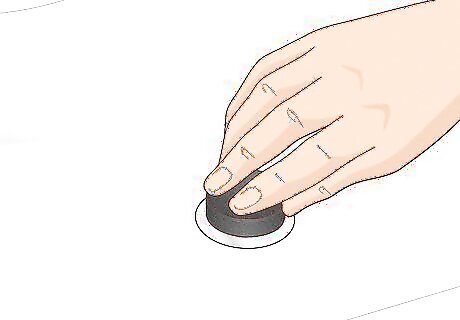
Plug the sink drain. There are a lot of small parts inside your faucet that could easily get lost down your drain if you drop them. Put a stopper in your drain so nothing falls into the pipes. If you don’t have a stopper, you can instead put a rag or towel on the bottom of your sink. This also helps protect your sink’s finish in case you drop parts or tools.

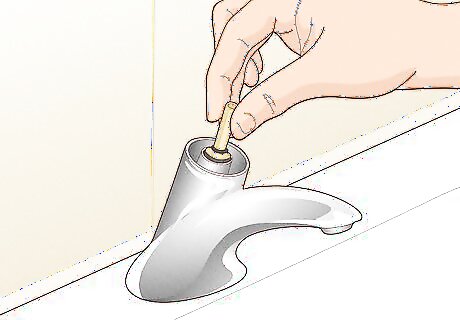
Pry off the decorative cap on the handle using a screwdriver. The decorative cap is a small circular plastic or metal piece that’s usually on the top or bottom of the handle. Most caps have a graphic that shows you which direction to turn the faucet for hot or cold water, but it may have the same finish as the rest of the faucet. Put the end of a flathead screwdriver against the edge of the cap and gently pry it up to remove it. The decorative cap hides the set screw that secures the handle to the actual faucet. If you can already see a screw on your faucet, then you do not need to remove the decorative cap.
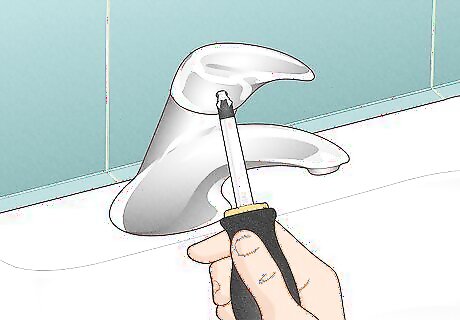
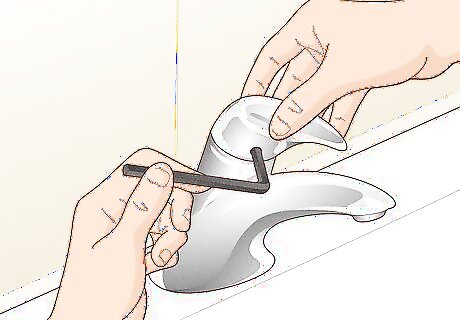
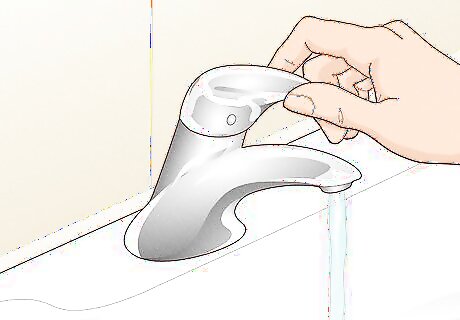
Loosen the set screw on the handle to remove it from the faucet. Check the end of the set screw to see if you need a screwdriver or a hex wrench to loosen it. Turn the set screw counter-clockwise until the handle is loose enough to pull straight off. Most times, you won’t need to remove the set screw completely from the handle.

Determine if you have a ball or cartridge faucet. If you see a metal lever attached to a ball inside of your faucet, then you have a ball faucet. If there’s a metal or ceramic cylinder inside of your faucet, then it uses a cartridge or ceramic disk to control the water flow.
Repairing a Ball Faucet
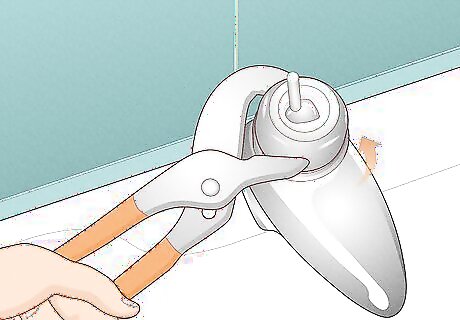
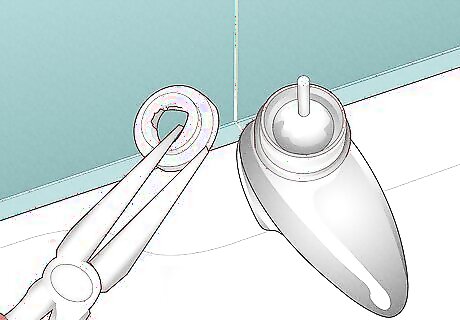
Unscrew the metal cap with a pair of pliers. The metal cap is the cylindrical decorative piece surrounding the ball in your faucet. Grip the top of the cap with a pair of pliers and turn it counter-clockwise to loosen it. Unscrew it completely and lift it off of your faucet. Line the parts of your faucet up on a towel in the order you removed them so you remember how to put it back together. Be careful not to damage the finish on the metal cap. If you’re worried about scratches, wrap some electrical tape around the ends of your pliers before using them.
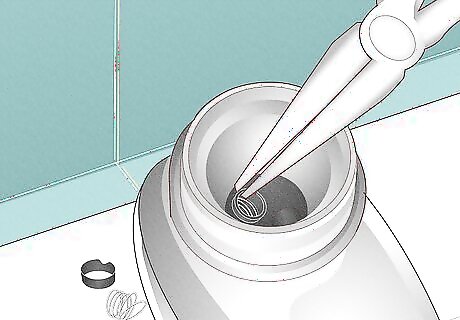
Remove and replace the cam if there are leaks from the handle. The cam is the plastic piece with a heart-shaped or rectangular hole inside your faucet. Use a pair of pliers to pull it out. If water leaks out of the handle when you’re using your faucet, then the cam could be faulty. Buy a replacement cam that’s exactly the same as the old one, or else it won’t work properly. Faucet cams usually cost around $5 USD. If that was your only leak, you can put your faucet back together and turn the water back on to see if you fixed your issue. Otherwise, set the cam aside for now.

Remove and clean the ball with white vinegar if there’s buildup. The ball is the round metal piece sitting inside your faucet with a lever sticking up. Hold onto the lever and tilt it to the side until the ball lifts out easily. If you notice there’s any gunk or hard deposits on the ball, clean it off with a rag soaked in white vinegar. The residue on the ball prevents the faucet from closing completely and could be the cause of your leak.
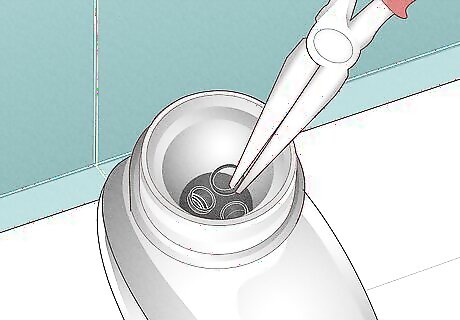
Replace the seals and springs inside the faucet if the spout leaks water. Look inside your faucet to find the 2 black rubber seals. Use a pair of needle-nose pliers or a screwdriver to pull the seals out. The springs underneath the seals will pull up with them. Get the exact same seals and springs at the hardware store. Set the springs in the holes first and push the new seals down on top of them. Seal and spring replacement kits usually cost between $5–10 USD. The springs and seals control the flow of hot and cold water through your faucet.
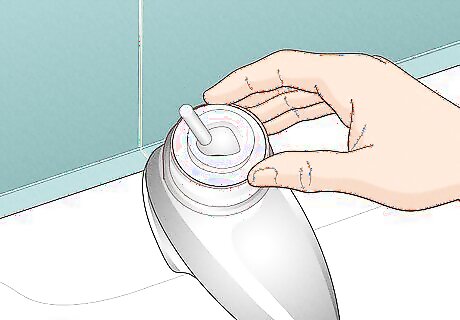
Install new O-rings on the faucet if the base leaks. Gently pull the spout off of your faucet to expose the black rubber O-rings that wrap around the bottom. If the O-rings look old or cracked, pry them off with a screwdriver. Take the O-rings with you to a hardware store so you can buy exactly the same size. Rub the O-rings with plumber’s grease before sliding them back onto the faucet. A set of O-rings tend to cost around $2–5 USD. Plumber’s grease helps form a watertight seal, and you can buy it from your local hardware store.
Reassemble your faucet. Put the pieces of your faucet back together in the order that you took it apart. Start by putting the spout back on if you removed it. Then, set the ball back inside the faucet and push the cam back onto the lever. Screw the cap back on and tighten it with your wrench. You don’t have to put the handle before you test your faucet if you don’t want to. That way, there’s one less piece you have to take off if your faucet still leaks.
Turn on the water and test your faucet for leaks. Turn the water valves underneath your sink counter-clockwise as far as you can. Turn on your faucet and let the water run while you check for leaks. Then, shut the water off to see if it still drips from the spout. If there’s still a leak, you may need to call a plumber to find out what’s wrong. If there aren’t any leaks and you haven’t put on the handle yet, just put the handle back on the lever and tighten the set screw. The decorative cap should pop right back into the handle.
Replacing a Cartridge or Ceramic Disk Faucet
Unscrew the retainer nut with a wrench. The retainer nut is a cylindrical metal piece inside the faucet that surrounds the cartridge or disk in the middle of the faucet. Grip the retainer nut with a pair of pliers or a wrench and unscrew it until it’s completely loose. Then, pull the retainer nut straight out from the faucet. If there’s a decorative metal finish on the nut, put electrical tape on the ends of your tools to prevent them from leaving scratches. Instead of a nut, the cartridge may have a staple-shaped clip that slides into the side. Grab the end of the clip with a pair of pliers and pull it straight out.
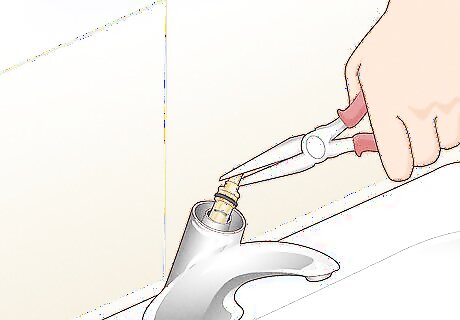
Pull the cartridge or disk straight out from the faucet. The cartridge or ceramic disk is the main cylindrical piece in the center of your faucet. Grip the tab on top of the cartridge or cylinder with pliers and pull it straight out of your faucet. If the cartridge is stuck inside your faucet, you may need a special removal tool to get a better grip. You can buy one from your local hardware store.

Replace the seals on the cartridge or disk if they look worn out. Cartridges have rubber O-rings on the bottom and top, while ceramic disks have neoprene seals on the bottom. If the cartridge or disk still looks in good shape and easily slides through the faucet, just remove the seals and buy replacements that are the same size. Rub a little plumber’s grease around the seals before sliding them back on. O-rings usually cost around $2–5 USD. When you have a damaged seal, water could leak through it and cause your leak in the base or spout of your faucet.
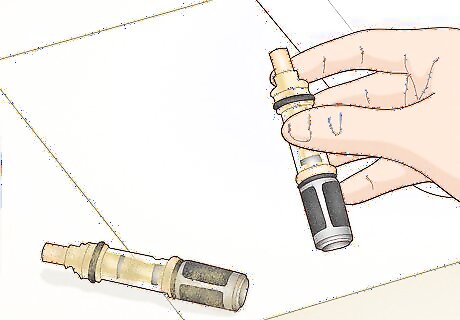
Buy a replacement cartridge or disk if the old one is damaged. Find the brand and model number for your faucet online so you know which cartridge to get. Otherwise, take your old cartridge or disk with you to the hardware store to ensure you buy the same size. If you buy a different size, then it won’t work properly in your faucet. Faucet cartridges vary depending on the model, but they usually range from $15–30 USD. Many faucet manufacturers offer online guides to help you match your faucet to the correct parts even if you can’t find the model number.
Push the new cartridge or cylinder into your faucet. Pull the stem in the middle of the cartridge or cylinder out as far as it can go so it slides in easier. Align the grooves on the new cartridge or disk with the slots inside your faucet to ensure it’s lined up properly. Then, just slide the cartridge down into your faucet as far as it will go.

Put your faucet back together. Put the retainer nut or clip back on to secure the new cartridge or disk in place. Then, set your handle back on top of the faucet and tighten the set screw to secure it. Push the decorative cap back onto the handle until it snaps into position.
Turn your water back on and check your faucet for leaks. Open the water valve by turning it counter-clockwise. Leave your water off and check around the handle and base for any leaks. Then, turn your faucet on and let it run for a few seconds before turning it off again. As long as there are no leaks, you’re finished! If you still see a leak, then contact a plumber to find the source.


Comments
0 comment