views
- Trim off any frayed or damaged ends of the cable. Strip the plastic coating off of the cut ends until you have enough wire exposed to fit into a metal terminal.
- Insert the stripped ends into the metal terminals. Crip the terminals using a fiber optic crimper.
- Use an inline connector to connect the crimped metal terminals. Then, add the inline connector's plastic cover into place.
Cutting and Stripping the Cable
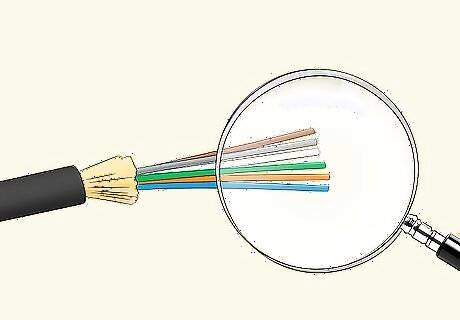
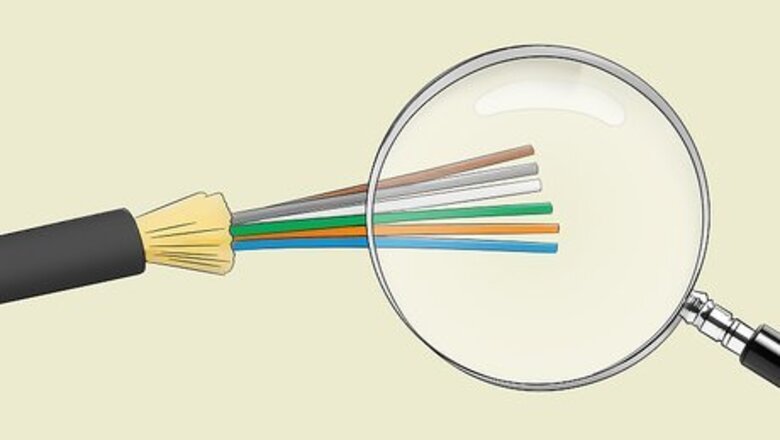
Inspect the cut ends for damage. Look at each cut end of the cable and see if there are tears in the outer coating or exposed and frayed optical fibers. This will allow you to determine where you need to cut the ends of the cable before you splice them back together. Note that fiber optic cables usually have an orange or brown outer coating, which lets you identify them when they are part of a bundle of different cables.
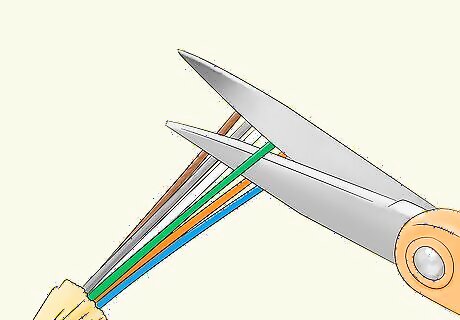
Trim off any damage from the cut ends of the cable with a fiber optic cutter. Place 1 end of the cable in the jaws of a fiber optic cutter so that they will cut the cable just below any damage. Squeeze the handles of the tool until it cuts all the way through the cable and the damaged end falls off. Repeat this for the other end of the fiber optic cable.Tip: If you have a damaged or broken fiber optic cable that isn’t cut all the way through, you can cut out the damaged section, then follow the rest of this same process to splice the cut ends back together. This will give you clean, undamaged ends of the fiber optic cable that can be spliced together to make it work again. If your fiber optic cable already has clean cuts and the ends are undamaged, you don’t have to cut the cable again.
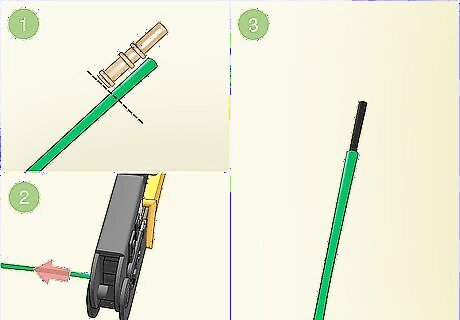
Strip the cut ends to expose enough wire to fit into a metal terminal. Hold 1 cut end of the cable up next to a metal terminal to see how much of the cable coating you need to strip off. Place the cut end that far into the strip head of a fiber optic stripper, then squeeze the handles of the stripper and pull the cable out to remove the outer coating. Repeat this for the other end of the cable. A metal terminal is a round metal piece that you can crimp onto the ends of a cut fiber optic cable in order to splice them together.
Splicing the Cable Back Together
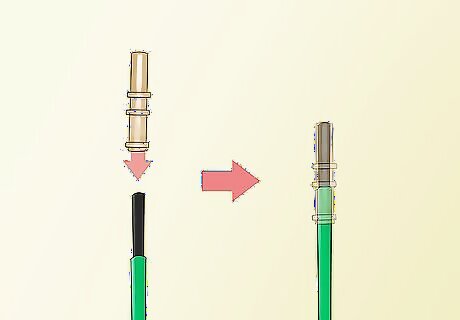
Insert the stripped ends into metal terminals. Slide 1 cut, stripped end of the fiber optic cable all the way into a metal terminal until it won’t go any further and you can see the end of the cable at the other side of the terminal. Repeat this for the other cut, stripped end of the cable. If you can’t get the fiber optic cable all the way into the terminal, strip off a little bit more of the outer coating until you can.
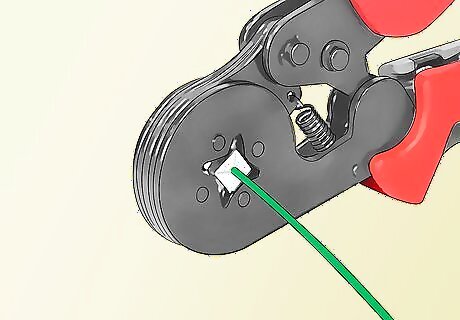
Crimp the metal terminals onto the ends of the cable. Insert 1 of the metal terminals all the way into a fiber optic crimper. Squeeze the handles of the crimper to crimp the terminal onto the cable. Repeat this for the other metal terminal on the other cut end of the cable. This will attach the metal terminals securely to the cut ends of the cable, so they can be used to splice the cable back together.
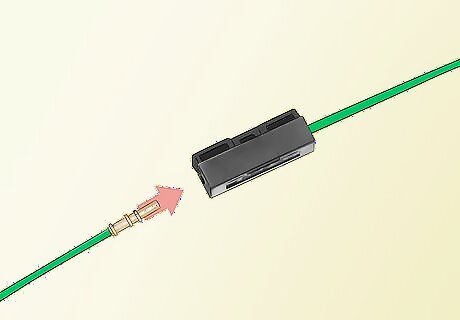
Slide the crimped metal terminals into an inline connector. Push 1 of the crimped metal terminals all the way into the hole on 1 side of an inline connector until you hear it click into place. Repeat this for the crimped metal terminal on the other cut end of the cable. An inline connector is a rectangular plastic box that has a hole at either end, into which you can slide metal terminals to splice 2 ends of a fiber optic cable together.
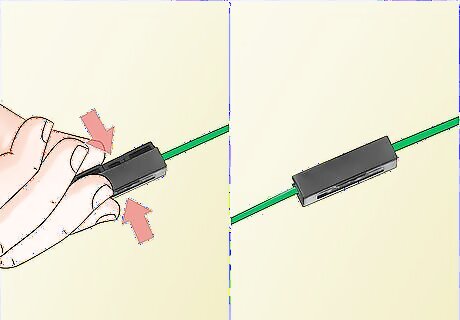
Snap the inline connector’s cover into place to secure the cable ends together. Press the plastic rectangular cover onto the inline connector. Push it all the way on until it snaps into place. This will keep the ends of the cut fiber optic cable inside the inline connector, so they cannot be pulled out.


Comments
0 comment