views
- Change the format of the cells to hide the time while maintaining the time value.
- Use INT or DATEVALUE to remove the time from a date.
- Alternatively, use Find and Replace or Text to Columns to remove the time.
Changing the Date Format
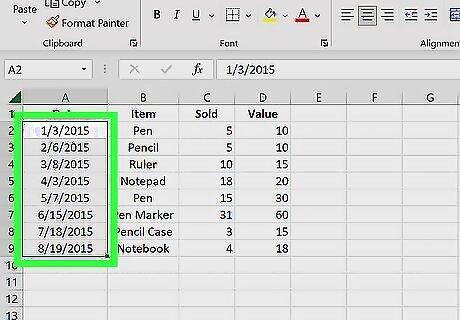
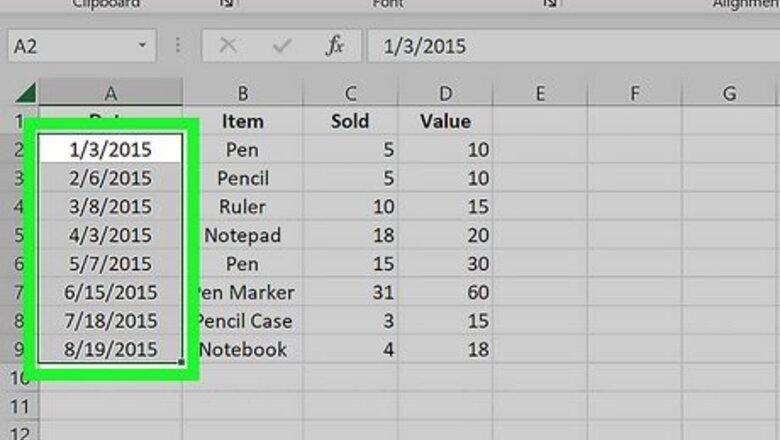
Select the cell range containing the dates. This method changes the date format to hide the time portion. The time data will still be in the cell after changing the format.
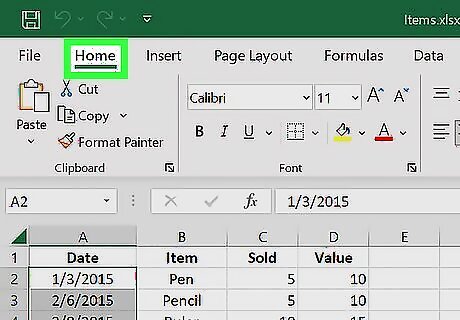
Click Home. This tab is at the top of Excel.
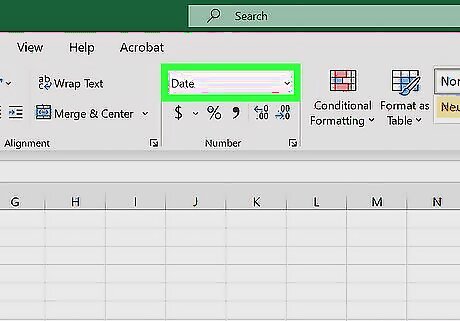
Click the down arrow next to the current format. This is in the “Number” section of the Home tab.
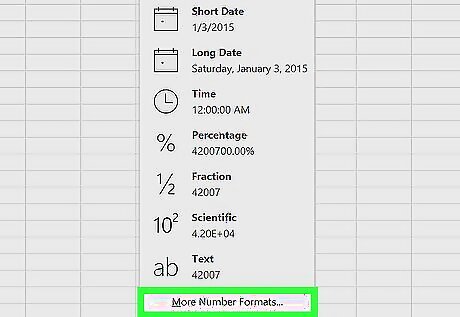
Click More Number Formats. This will open the “Format Cells” window.
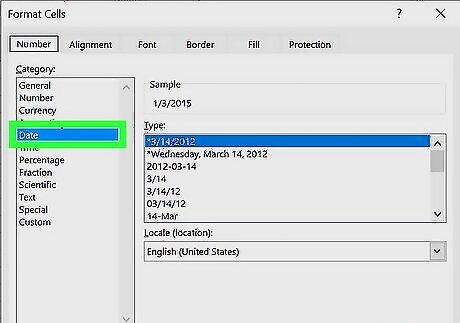
Click Date. This is an option in the “Category” options on the left side of the window.
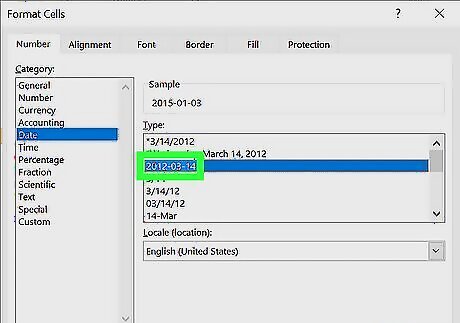
Click a date format in the “Type” section. Select a format that doesn’t contain the time. For example, 3/14/2012 or March 14, 2012.
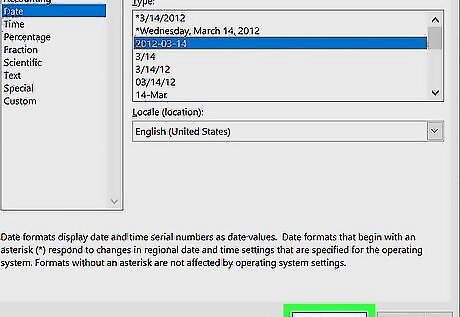
Click OK. This will confirm the format change. The selected cells should now be formatted without the time. For more Excel date info, check out our general guide on how to set a date in Excel.
Using Text to Columns
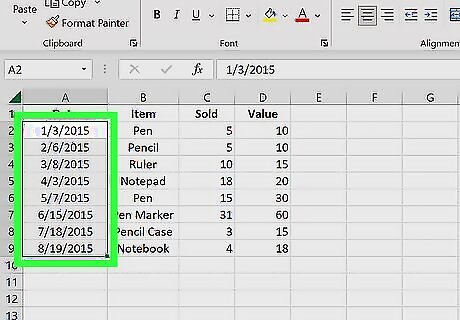
Select the cell range containing the dates. This method uses the “Text to Columns” feature to split the time from the date into two separate columns. Note that this only works if your date and time are separated by a delimiter like a space. For example, “1/8/23 5:34 PM” has a space between the date and the time. Since Excel stores date information as a serial number, removing the time from a date sets the date’s time to 12:00 AM. You cannot completely remove the time aspect from a date value.
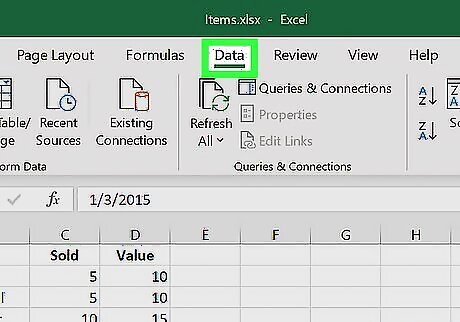
Click Data. This is a tab at the top of Excel.
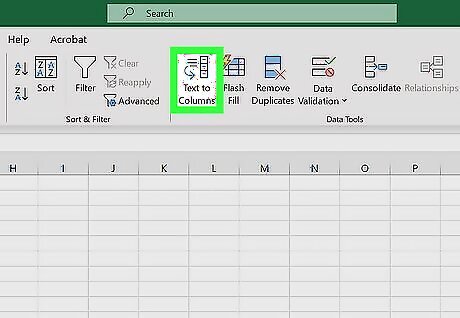
Click Text to Columns. This will open the “Convert Text to Columns Wizard” window.
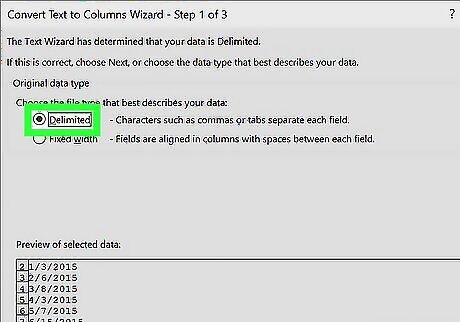
Select Delimited. This is an option under “Choose the file type that best describes your data:”.
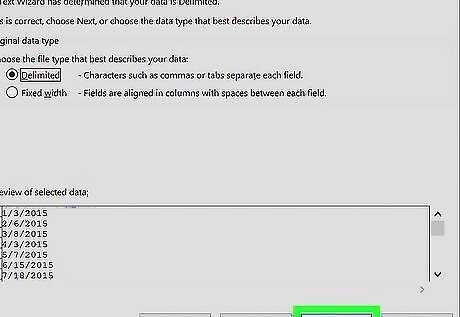
Click Next >. This will take you to Step 2 of the wizard.
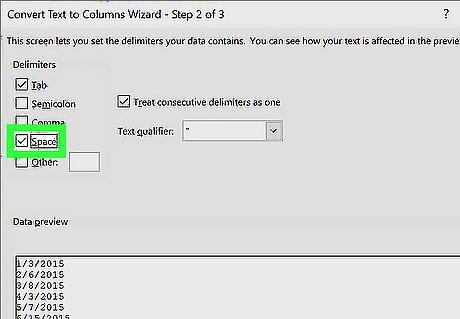
Select only Space in the “Delimiters” box.
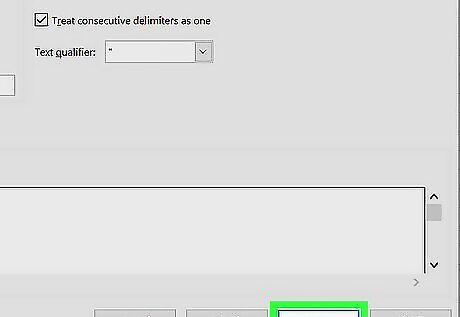
Click Next >. This will take you to Step 3 of the wizard.
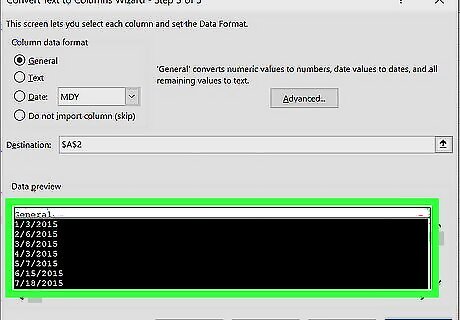
Enter the column settings (optional). You can click each new column in the “Data preview” box at the bottom of the wizard window. This will allow you to change the format or skip the column completely. You can also change where the columns will be placed using the “Destination” box.
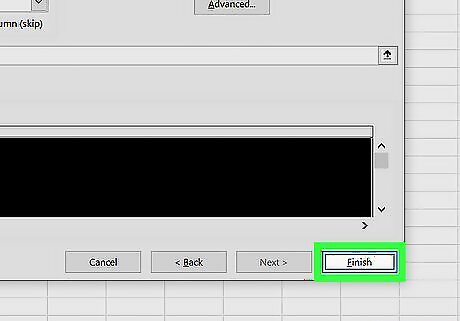
Click Finish. This will place the new column data at the specified cell destination. The dates column won’t show the time by default, but they are now all set to 12:00 AM due to the way Excel stores date and time information. For example, if you had the time “1/8/23 5:34 PM”, it would be split into three columns containing “1/8/23”, “5:34:00”, and “PM”.
Using Find and Replace
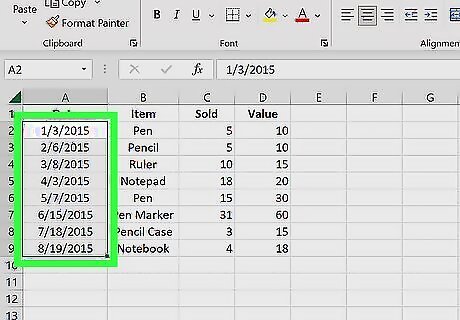
Select the cell range containing the dates. This method uses the Find and Replace feature to replace the time portion of the dates with a blank. Note that this only works if your date and time are separated by a space. For example, “1/8/23 5:34 PM” has a space between the date and the time. Since Excel stores date information as a serial number, removing the time from a date sets the date’s time to 12:00 AM. You cannot completely remove the time aspect from a date value.
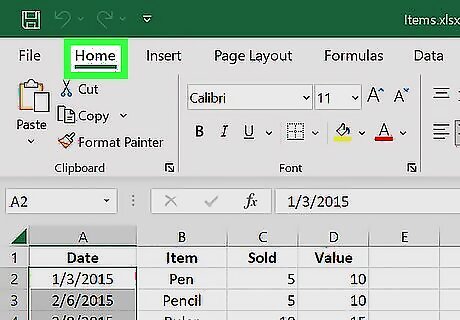
Click Home. This tab is at the top of Excel.
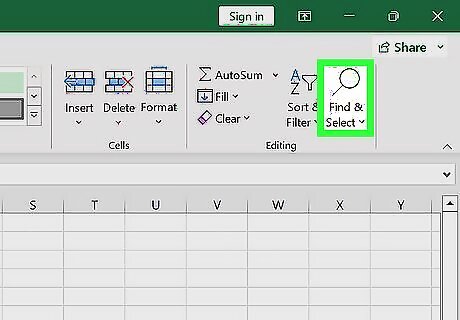
Click Find & Select. This button is in the “Editing” section of the Home tab.
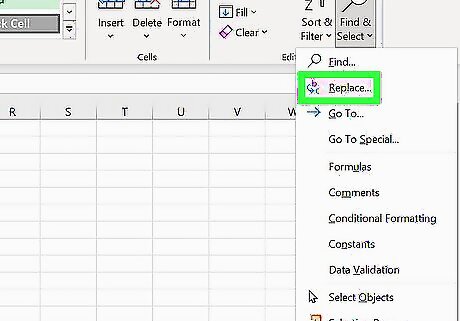
Click Replace. This is an option in the drop down menu.
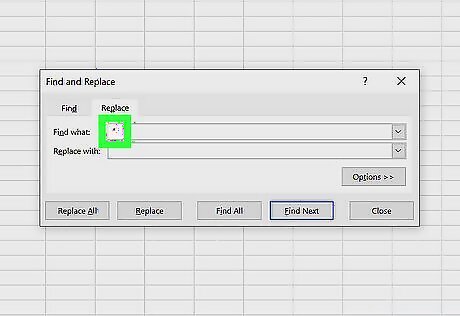
Type a space and * into the “Find what” box. This tells Excel to look for text where there is a space followed by any number of characters.
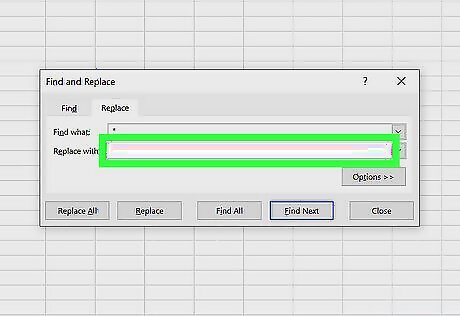
Make sure the “Replace with” box is blank. This means Excel will replace the space and all of the characters after it with a blank.
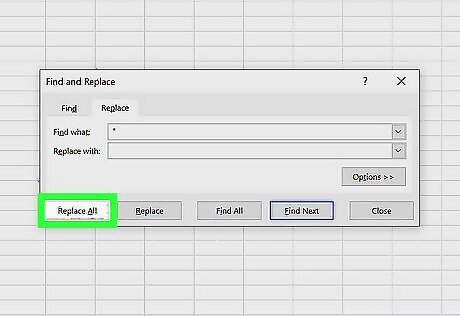
Click Replace All. This will delete all of the times from the selected dates. The dates will now have the time 12:00 AM. If needed, you can change the cell format to remove the time.
Using the INT Function
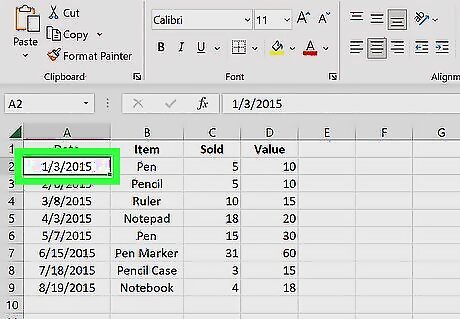
Click the cell where you want the new date. Excel stores dates as a serial number that describes the date and time. The time portion is a decimal value at the end of the date’s whole number. This method uses the INT function to remove the time’s decimal portion from the date. Since Excel stores date information as a serial number, removing the time from a date sets the date’s time to 12:00 AM. You cannot completely remove the time aspect from a date value.
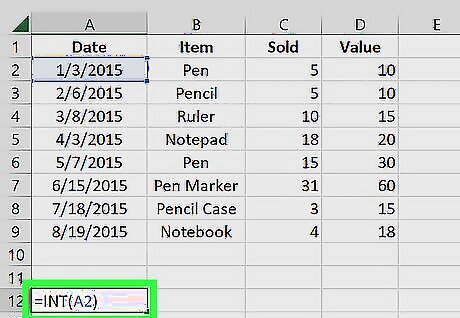
Type =INT(A1) in the cell. Replace “A1” with the cell reference for the original date when you type the formula.
Press ↵ Enter. This will confirm the formula. You’ll see the date followed by “12:00 AM”. If needed, you can change the cell format to remove the time. You can copy and paste the formula as needed to remove the time from other dates in your dataset.
Using the DATEVALUE Function
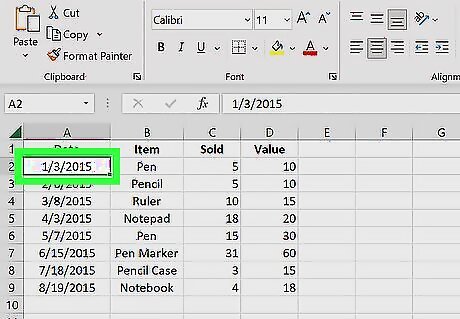
Click the cell where you want the new date. This method removes the time from a date using the DATEVALUE and TEXT function. Since Excel stores date information as a serial number, removing the time from a date sets the date’s time to 12:00 AM. You cannot completely remove the time aspect from a date value.
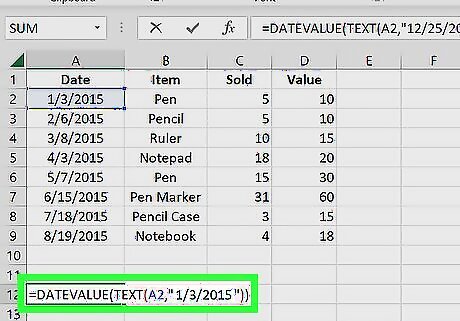
Type =DATEVALUE(TEXT(A1,"MM/DD/YY")) in the cell. Change A1 to the cell containing the original date. Since the DATEVALUE function creates a date value using a date written as text, you’ll need to convert the original date to text using TEXT. Specifying the "MM/DD/YY" format means DATEVALUE won’t get the time from the original date.
Press ↵ Enter. This will confirm the formula. You’ll see the date as a serial number. You can change the cell format to show the date in your preferred format.




Comments
0 comment