views
Choosing and Mixing the Dye
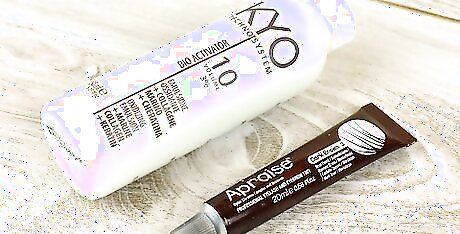
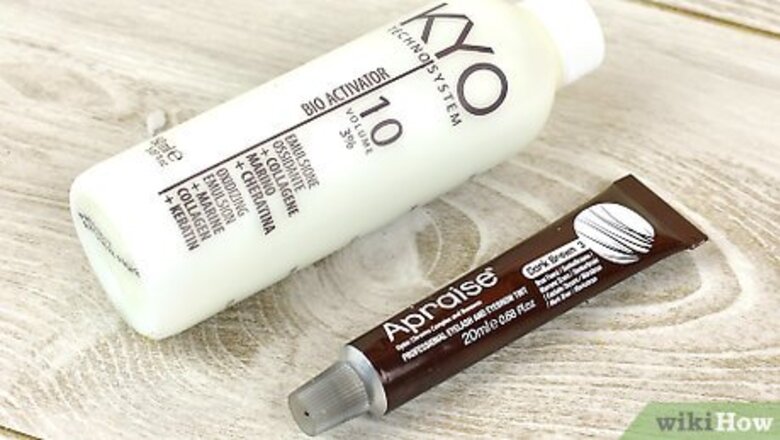
Choose an eyelash dye kit. You have many different colors to choose from, but just like mascara, black, blue, and brown are the most common. There are also color-tinted options, like blue or bright red. Most of these color tints are not especially noticeable, but they can create a more cohesive appearance with dyed hair. There are a few different types for you to choose from, just like hair dye. Vegetable dyes, like henna, are the most commonly used, since eyelashes are a sensitive area. You may be able to find chemical-based dyes for eyelashes, but you should use caution when using them. You are most likely to find eyelash dye at beauty supply stores and online, since it is considered a specialty product. Never use standard hair dyes when dealing with your eyelashes, as they contain chemicals that are dangerous to apply near your eyes. Instead, look for a dye specifically formulated for use with lashes and brows.
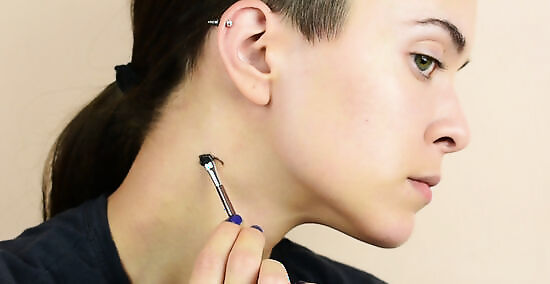
Do a sensitivity test with a bit of color and a drop of activator. Combine a small amount of color, no more than the size of half a pea, with a drop of activator. Apply the dye to the skin behind your ear, inside the elbow, or anywhere relatively hidden from view. Let the dye remain on your skin for 30 minutes before washing it off. Monitor the spot for 8 to 24 hours before proceeding. If the test spot begins to itch, burn, or become inflamed, you are likely having an allergic reaction to the dye and should not use the dye on your eyelashes. It is important to do this before mixing the rest of the dye, because prepared dye may spoil if you wait a full 24 hours.
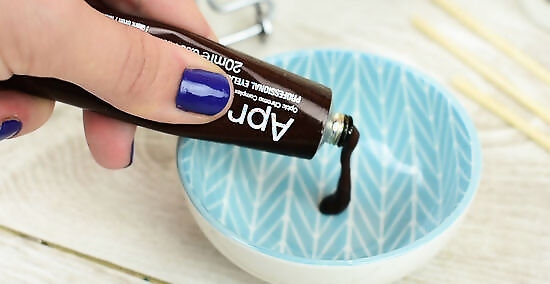
Combine the color and the activator to mix the dye. Follow the directions provided in the kit to squeeze the recommended amount of color, typically less than 1 inch (2.5 cm), out of the tube and onto the mixing tray. Add 2-3 drops of activator to the color, being careful about the amount, as adding too much activator can make the dye runny. Thin, watery dye will not stay on the applicator wand well. Most kits come with a tube of dye, a bottle of activating solution, a brush or mascara style wand, a stirring stick, and a mixing tray.
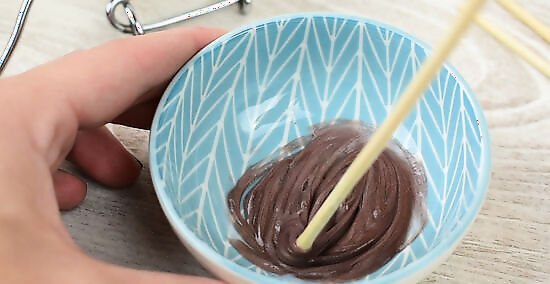
Stir the mixture together until it thickens. A thicker mixture is more effective and safer. Runny, thin dye may leak or drip into your eyes. Mix the activator and color together until it has the consistency of toothpaste and does not drip off the stirring stick. This will adhere to your lashes much more easily than a liquid mixture.
Applying Eyelash Dye
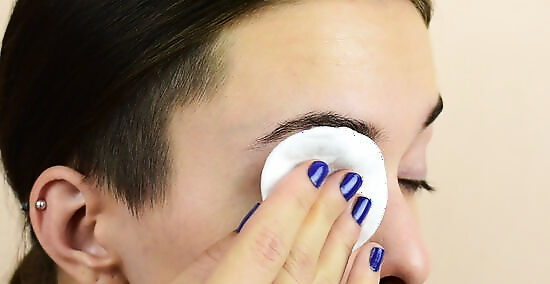
Wash your face and eyes. It’s important for you to remove makeup and any dirt that may have collected around your eyes and lashes before beginning to apply dye. Use your normal facial cleanser and an eye-safe makeup remover to wash your face. Be sure to dry your face afterward.

Use a cotton ball or pad to apply petroleum jelly around your eyes. Vaseline or petroleum jelly creates a barrier around your eyes. Apply it as far down as your lashes extend when you blink, as well as to the outer corners of your eyes, the upper lash lines, and the lids. The dye shouldn’t stain your skin in the first place, but the barrier of petroleum jelly will make it much easier to wipe stray dye away afterward.
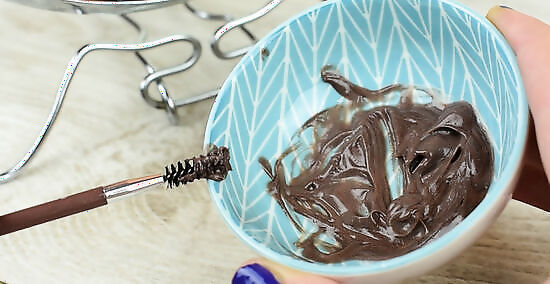
Dip the side of the applicator wand into the prepared dye. Turn the wand around several times so that all sides pick up the dye. You can get better coverage by covering the entire wand surface in dye, and avoid having to repeatedly apply the dye to get a fuller, deeper look. The applicator may be paintbrush-style or a wand very similar to the kind you use when applying mascara.

Look into a mirror as you apply the dye and keep your hands steady. The dye will sting if it gets into your eyes and may cause some irritation. If you get dye in your eyes, wash it out immediately before doing anything else. If you are unable to keep your hands steady, consider getting your eyelash dyeing done professionally at a salon.
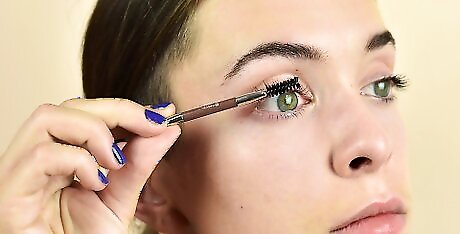
Brush the dye on sections of your upper lashes, one eye at a time. Use the applicator or micro swab to spread the dye onto the topsides and undersides of your upper lashes, getting as close to the roots as possible and working in sections. Brushing the dye onto small sections will help make sure you dye each individual lash. This will work with either a mascara wand-style applicator or one that resembles a paintbrush. You can wiggle the brush upward to apply the dye more evenly, making sure that you coat the ends of your lashes.
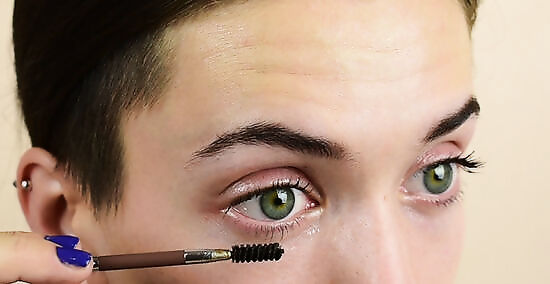
Blend the dye into your lower lashes in small sections. Work in sections on the topsides of your lower lashes, and then work on the undersides. Squint your eyes and look up to help keep dye out of your eyes as you work on the undersides of your lower lashes. Use the mirror to check that the lashes have been thoroughly coated.

Wait 10 to 20 minutes to let the dye set. Your eyelashes need to absorb the dye fully, so giving them ample time to set will keep them looking darker for longer. Try not to touch or mess with your eyes, or look down for too long during this time.
Dab the wet dye off with warm water and cotton pads. Dip the cotton into warm water, close your eyes, and wipe your lash lines. Rinse or replace the pad and repeat 3 or 4 more times. You can also apply a saline solution to your eyes. This will ensure that no dye residue remains stuck inside the eye. If your eyes sting when you open them, shut them tight again and rinse a few more times.
Re-dye your lashes every few weeks. Store-bought dyes typically last for 4 to 6 weeks. If you like the results, you'll need to repeat the process when the dye starts to fade to keep the look going.




Comments
0 comment