views
Preparing the Files
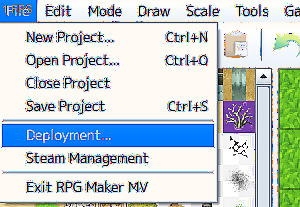
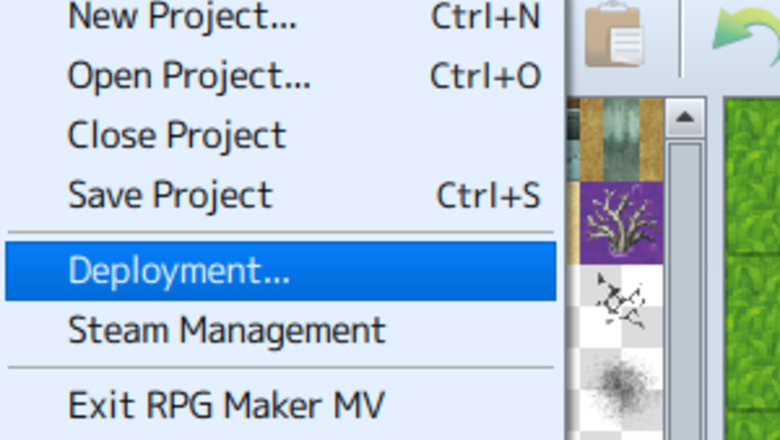
Deploy your game by going to Deployment > Android/iOS.Rpgmakerdeploymentstage0.png
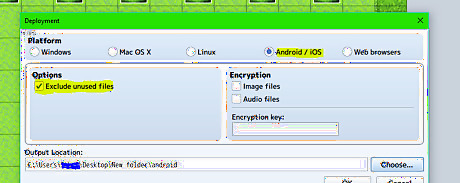
Choose where to deploy your game folder to. It is recommended to tick the "Exclude unused files" checkbox, as this will reduce file size.
Creating the APK
Download Android Studio if you don't have it already. You can find it at https://developer.android.com/studio/.
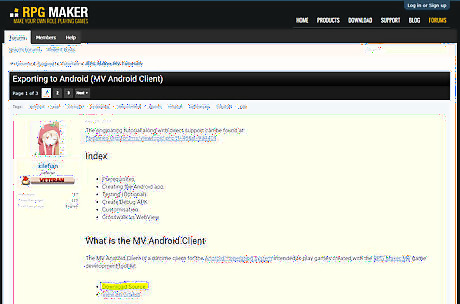
Download the MV Android Client. Get the MV Android Client from the offical RPGMV site. Make sure you hit the "Download Source" link.
Launch Android Studio once downloaded.
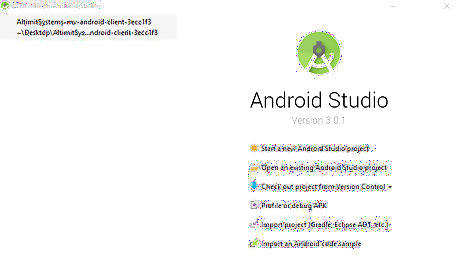
Select Configure on the title screen.
Pick any SDK platforms you need. If you don't know, just pick from Android 8.0 down to Android 6.0.
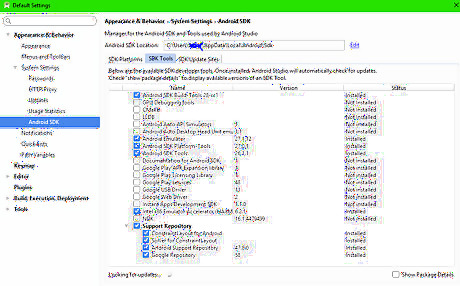
Select the Android SDK tools tab. Make sure you have these selected: Android SDK Build Tools Android SDK Platform-Tools Android SDK Tools Intel x86 Emulator Accelerator (HAXM installer) Support Repository
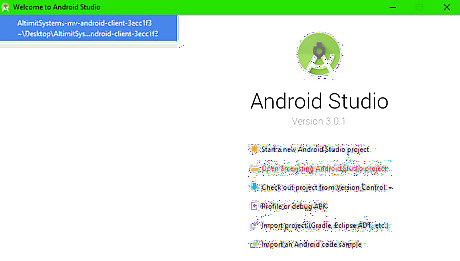
Open the MV Android Client. Click "Open existing Android Studio Project". Simply select the folder.
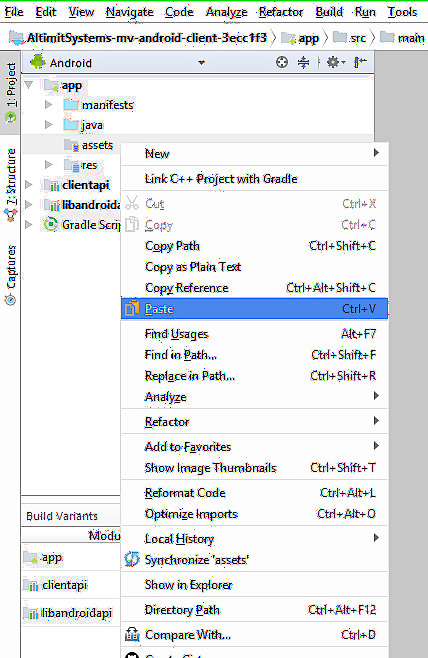
Import your game files. Right click on the "app" folder and select New > Folder > Assets folder. Once done, find the "www" folder from your exported game and copy it (Ctrl+C). Paste this folder into the newly created assets folder (right-click and select paste on the folder.)
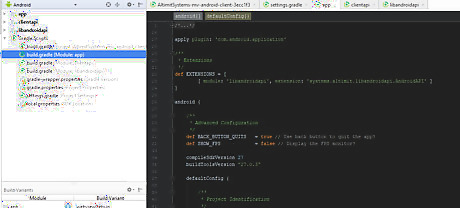
Change the applicationId, versionCode, and versionName. Select the Gradle scripts folder. Select the build.gradle file (Module: App). You should change the applicationId to something unique. Change the versionCode if you are uploading to the Google Play Store. +1 Each time you update the app. The versionName is more for development purposes. When you release it, this should be set to 1 in most cases. You should see a sync option at the top of your screen. You need to click this.
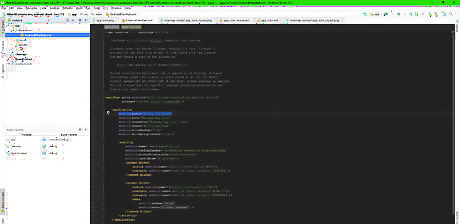
Change your APK name. Select the manifests folder. Open the AndroidManifest.xml file. android:label="Name" Change the above line of code for your APK name.
Customizing the Package
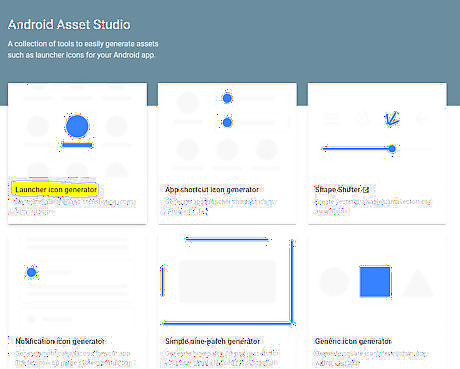
Change your app icon, if you want to. Head to Android Asset Studio to create your icon. Name your first icon set to "app_icon". Download and unzip your images. In Android Studio, go to "res > mipmap > app_icon". Copy each icon into its correct folder. Be careful to make sure you are copying to the right folder. Repeat the process with "app_icon_round", and "icon_foreground". When making "app_icon_round", make sure to change the icon shape to round.
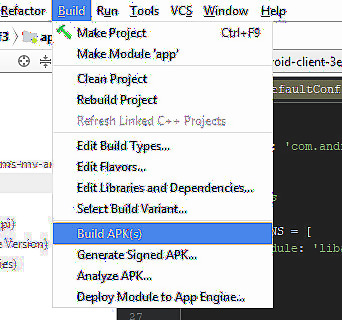
Build your APK. Select Build at the top of your screen. Click Build APK(s).
Enjoy the APK. You're all done.




Comments
0 comment