views
Access Disk Defragmenter in Windows 7
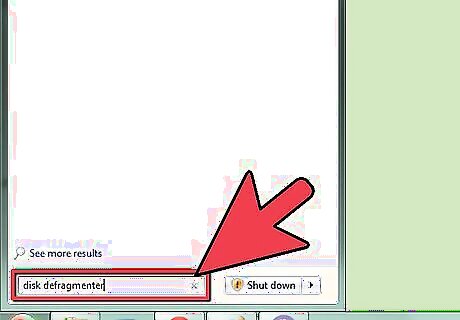
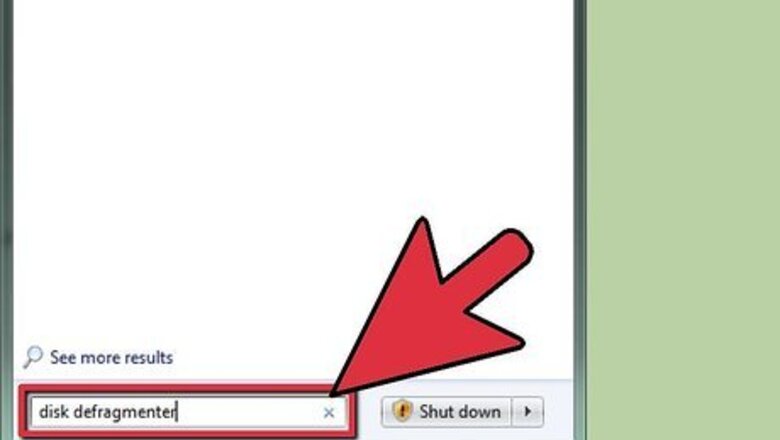
Click on your Windows 7 computer's "Start" button. Then, type "Disk Defragmenter" on the Search bar. Alternatively, you can go to Start > All Programs > Accessories > System Tools > Disk Defragmenter
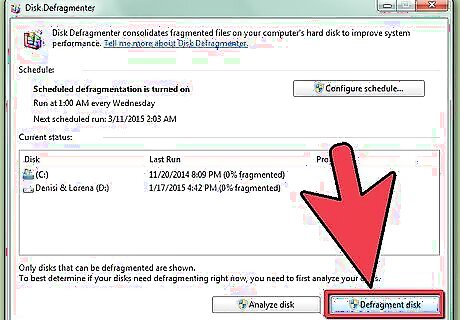
Click on "Disk Defragmenter" to access the program. Click on "Defragment Disk" to start the process.
Manually Run Disk Defragmenter
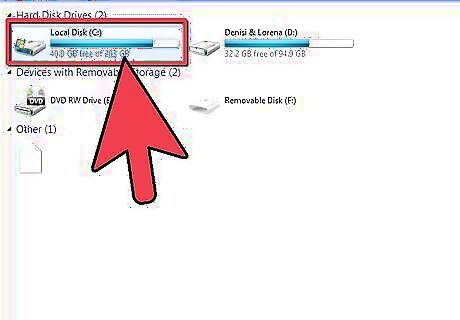
Click on the name of the disk you want defragmented. For example, if you want to defrag your computer's main hard drive, select "OS (C)."
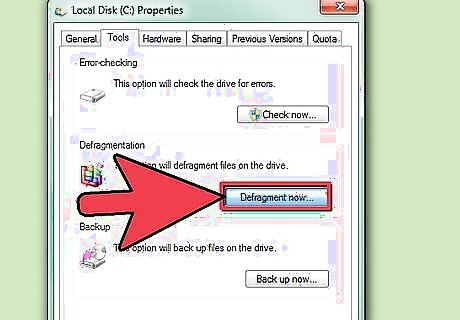
Click on "Defragment Disk" or "Defragment Now" to begin the defrag process. Your computer will take between several minutes and several hours to defrag the drive depending on its size and current fragmented status.
Configure a Disk Defragmenter Schedule
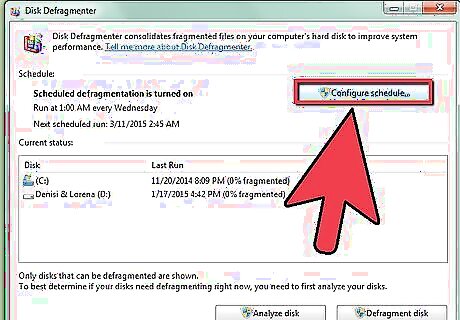
Click on "Turn on schedule" or "Configure schedule."
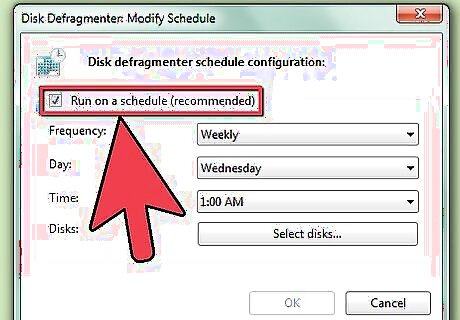
Place a checkmark next to "Run on a schedule."
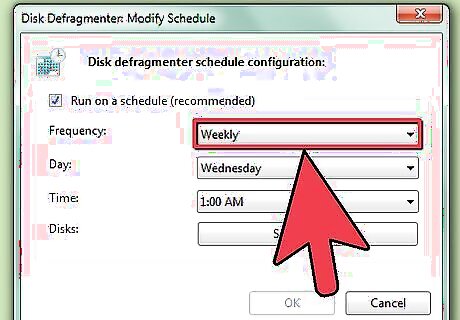
Select the frequency at which you want Disk Defragmenter to run. You can choose to defrag your computer daily, weekly, or monthly.
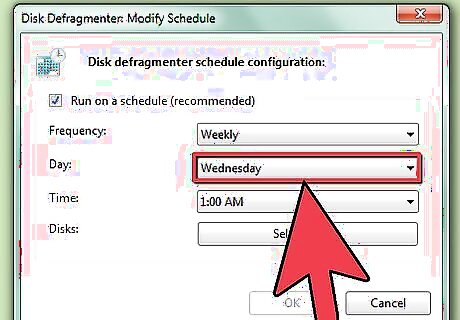
Select the day of week and time you want to Disk Defragmenter to run.
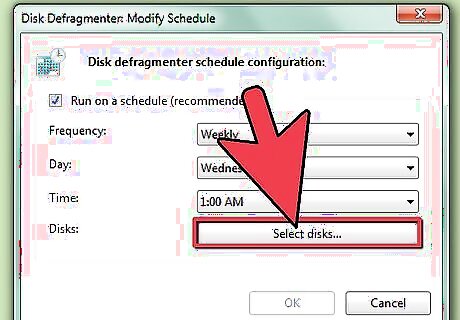
Click on "Select Disks" to choose the disks you want defragmented. You can choose to defrag all disks, or select disks.
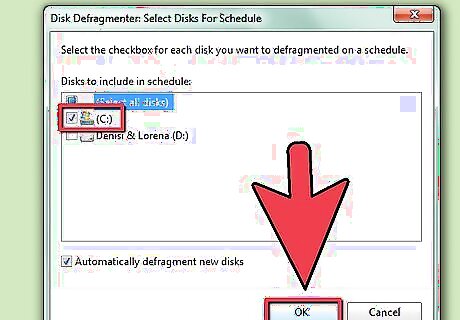
Click on "OK," then "Close" to save your Disk Defragmenter preferences. Your computer will then defrag regularly on the day and time you've selected for the schedule.





Comments
0 comment