views
Curl Your Hair With Hot Rollers
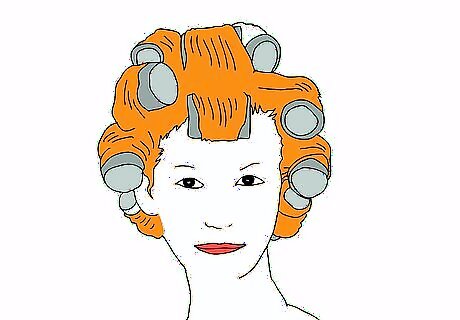
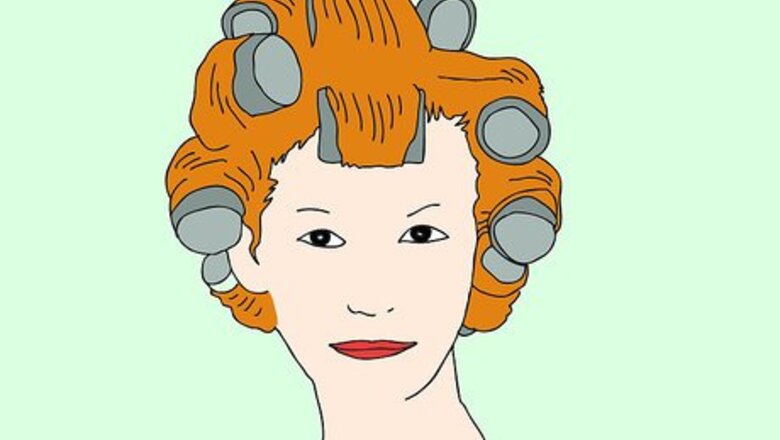
Apply the hot rollers. This will give you the smoothest and least frizzy curls.
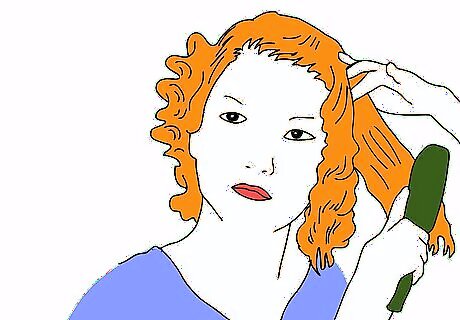
Pull out the hot rollers and brush the curls lightly. You want to soften the curls, but not separate them too much.
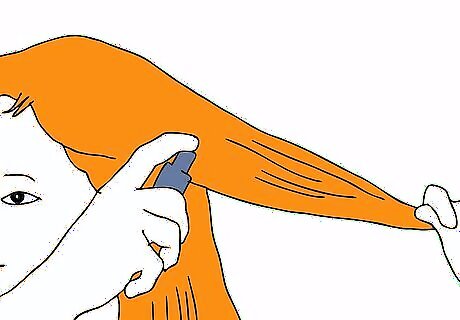
Use hairspray. Do not scrunch or use mousse or gel. This gives hair a wet look and hard or sticky texture.
Make Pin Curls
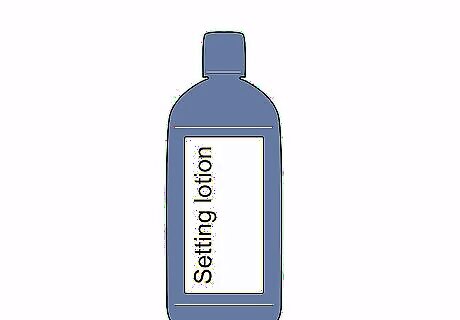
Find a setting lotion that works well your hair type. This may take some trial and error, so be patient.
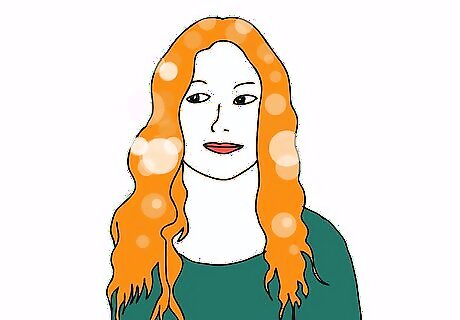
Start with washed hair. Let it air or blow dry so that it is still damp. It is most useful to put setting lotion into an atomizer because it can be applied more evenly.
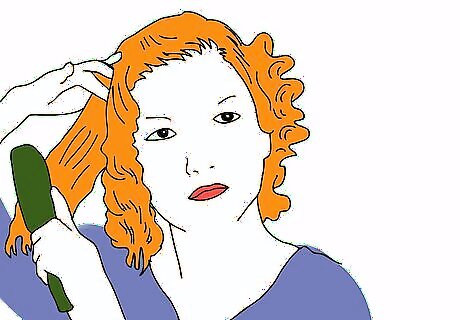
Comb through hair and part into sections. Sections of hair can be from ½ inch to 1½ inch in thickness, depending on how thick your hair is or how it reacts to curling. If you want a certain set, curl in the directions that it will need to go in the final style. If you want just the ends curled, start with the underneath sections of hair and work up.
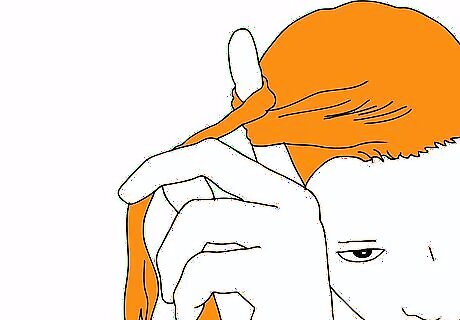
Wind the curl around your finger. Make sure that the strand isn't twisted in any manner that would disrupt the direction of the curl. Once the end is started, it is easier to roll up more.
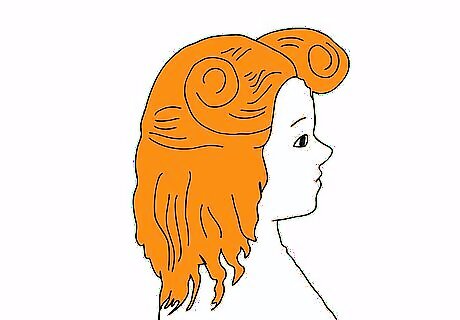
For more wavy curls, roll pin curls in a spiral. For more ringlet styles, remember to keep the curls uniform and make a little donut shape.
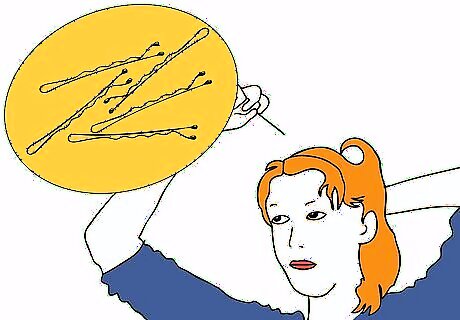
Pin with bobby pins (best for spiraled pin curls) or regular hair pins (better for pin curls that don't lay as flat).
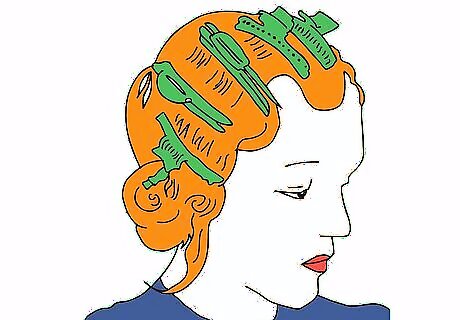
To make waves along the face, use wave clips. However, these are hard to sleep in and best for use with hairdryers. Avoid rolling ends too tightly or they will be frizzy. A set can last from one to five days if it is kept up at night in a snood or scarf.
Make Victory Rolls Or Side Reverse Rolls
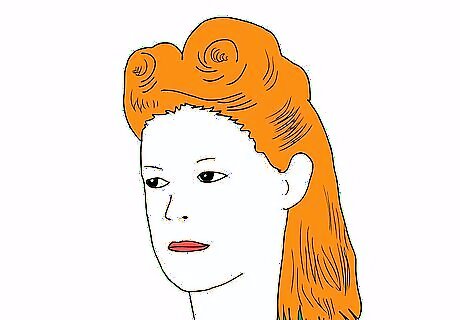
Victory rolls are swept up away from the face, rolled and pinned toward the top of the head. Side reverse rolls involve rolling a thick strand of hair into a circle and pinning it down
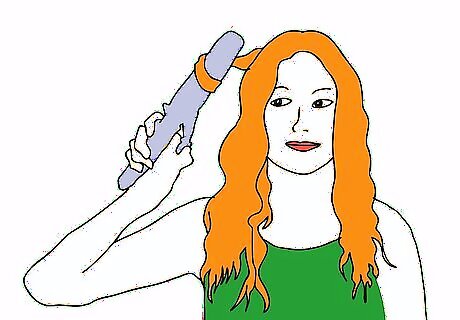
Curl all your hair with a curling iron in sections.
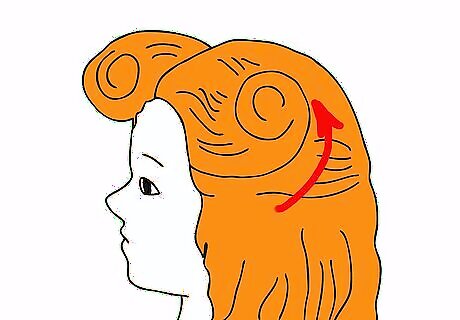
Use a light mousse on your hair to create a more malleable effect in a motion from the bottom up.
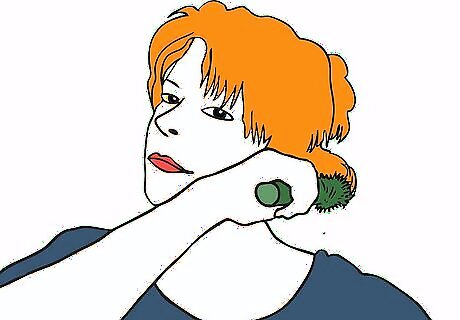
Part your hair with a round brush to the side and not directly to the middle.
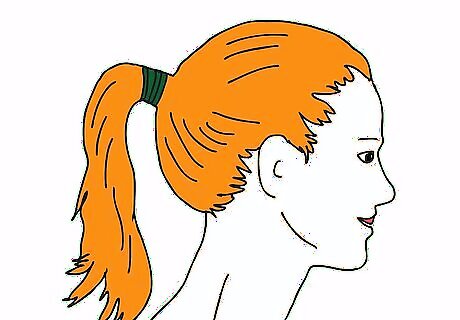
Pull hair into a ponytail to get it out of the way.
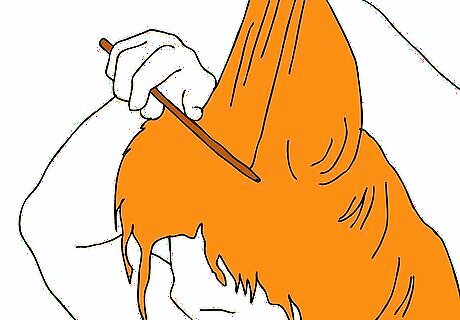
Tease your hair. Teasing is a technique used to volumize one's hair through an "in and out" motion with a comb while holding the hair tightly. In order to create as much volume as possible, separate your hair into parts to make this process more manageable.
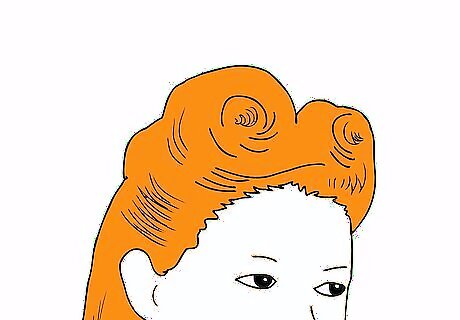
Make victory rolls. Starting with a roll and a slight tuck, begin your roll from the back and move slowly towards the front to get that vintage look.
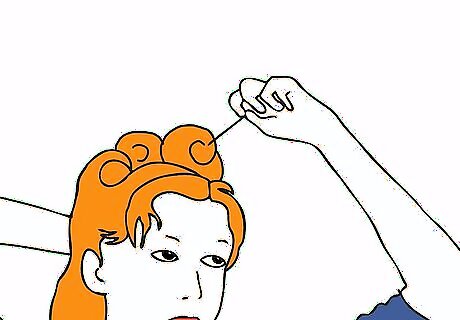
Fasten your curls with bobby pins and use a little hairspray to hold your look. This is an extremely important step because it allows the curls on one side to hold.
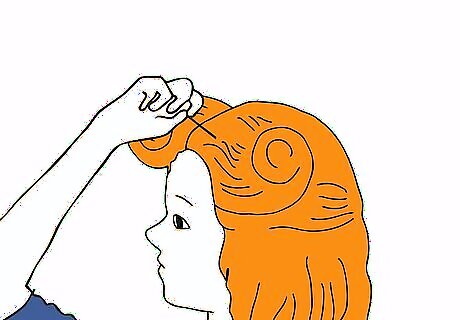
Repeat V-curls on the other side. Finish the look off with more pins and hairspray.
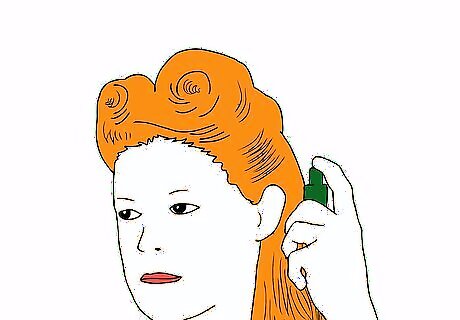
Spray the whole look with heavy-duty hairspray.
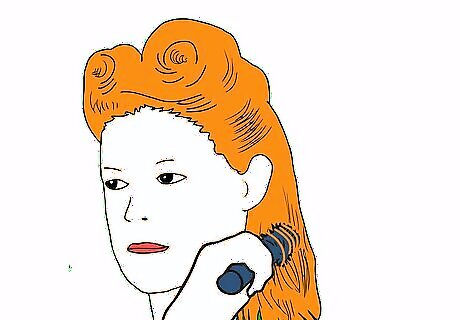
Curl ends with a round brush to clean up the hair style. Use a small portion of hair cream to clean up with a shine. Women with round or wide faces benefit from the height of the hair, that elongates the face. Women with oval faces will also look good with this hairstyle. Women with narrow faces can style the rolls more outward than up and will balance their features, but it may not work for all women of narrow faces. This can also can be a good look for women with glasses, so long as the frames aren't so thick on the sides as to disrupt the flow of the hair up from the face, so wire glasses would look best. Women who want a better balance between their figure and face will achieve a nice balance with this hairstyle. The hips, bust, and hairdo will all be in better proportion for curvier women, to heavier women. Slender women should wear this style in a more petite manner with limited height and width in order to keep proper proportions.
Rat Your Hair
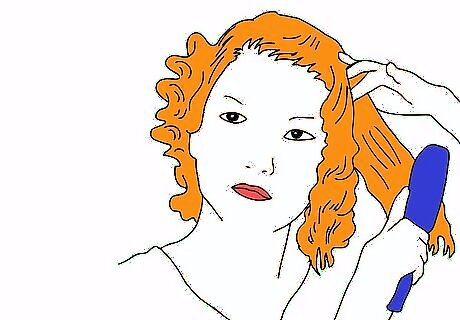
Brush your hair thoroughly. Removing knots and tangles before ratting will make the process easier to complete and less painful to undo later.
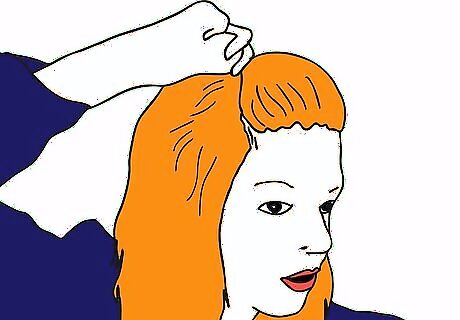
Hold a 4-inch section of hair straight up above your scalp. Ratting at the top of your head and working down around the sides keeps your hair accessible for holding or styling.
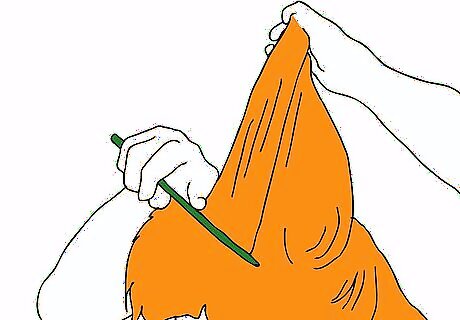
Continue holding the designated section of hair straight up and firmly swipe it with a fine-toothed comb or bristled brush, starting at the top by your fingers and moving down toward the roots. A bristled brush works best for hair styles involving the whole head, while a fine-toothed comb rats hair tightly in a smaller, concentrated area.
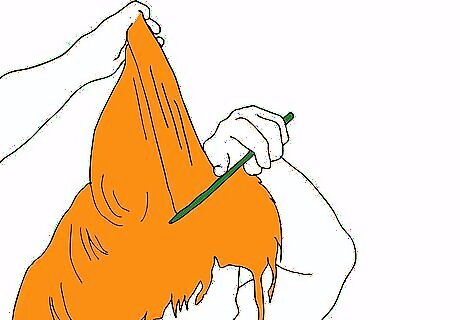
Repeat Step 3 until all of the 4-inch section you were holding is ratted. Prevent your ratted hair from falling loose by spraying each ratted section with hairspray.
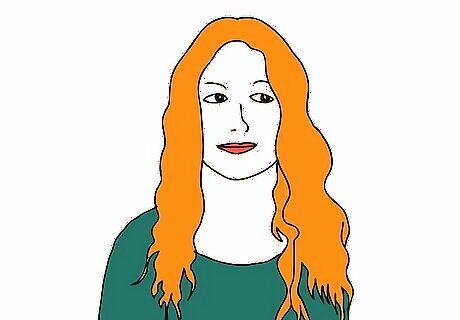
Manipulate the ratted hair based on your desired style. For example, for a front-bump, gently push the ratted hair together in a clump and comb a small section of un-ratted hair over the ratted ball. Secure the front-bump style with a clip.


Comments
0 comment