
X
Research source
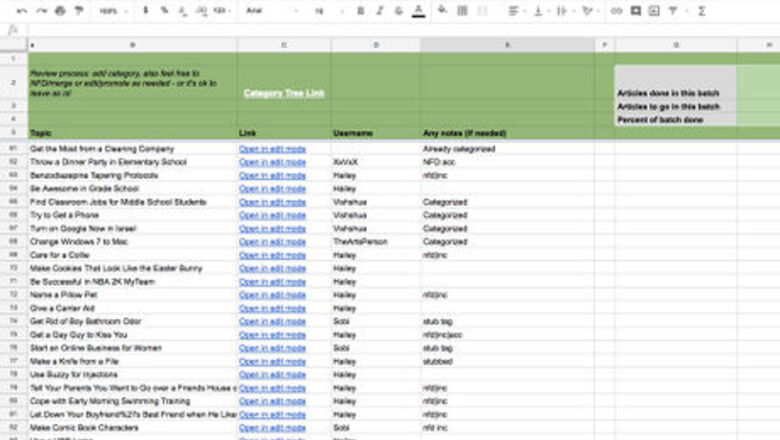
Open up the Google Sheet with the data you want to review.
Select the range of data that you want to filter. If you don't select the full range now, don't worry, because you can adjust it later.

Select the arrow next to the filter icon in the toolbar. Then select Create new filter view. You can also get there by hitting Data > Filter Views > Create new filter view in the toolbar menu.

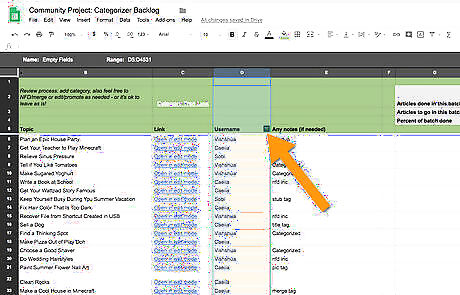
Adjust the filter name and range, if desired. You can name your filter so that you and others can more easily access it later. You can also adjust the range for the filter; for example, if you want to exclude your header rows from the data, you can start the range on the last line of your header. If you want to select multiple columns, you can do that, too.
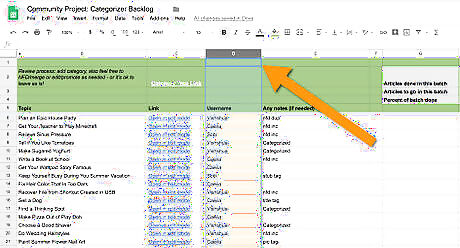
Hit the small filter icon at the top of the column for the data you selected.

Select your filter type. You can decide to Filter by condition or Filter by values. Filtering by condition allows you to pick a condition for the displayed data. For example, if you choose Cell is empty, only empty cells will be shown. If you choose Cell is not empty, only cells with data in them will be shown. Filtering by value allows you to select which values you keep. If an item has a checkmark next to it, that cells with that value will be displayed; if you remove the checkmark, the cells with that value will be hidden.
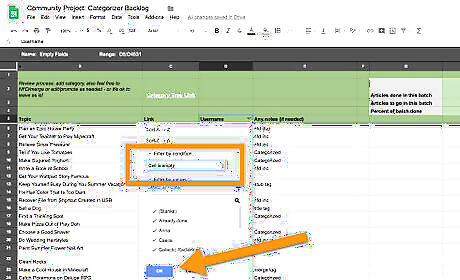
Hit OK once you've selected your desired filter settings. You'll see the results of your filtering right away. You can keep filtering different columns and adjusting your filters as you want to, all within the same filter view.

Select the cog in the righthand corner of the filter if you want to change the settings. From there, you can rename the filter, adjust the range, duplicate it, or delete it.
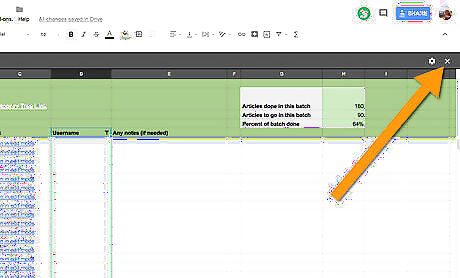
Hit the "X" if you want to close your filter view. The filter will still be saved for future use, unless you manually delete it.

Access the filter again by hitting the arrow next to the filter icon in the toolbar. From that menu, you can select the filter by the name you gave it earlier.


Comments
0 comment