
Using a Table
Go to https://docs.google.com/document in a web browser. This will open the Google Docs site if you're logged in with your Google account. If you aren't logged into your Google account, you'll be prompted to sign in with your Google email address and password first.
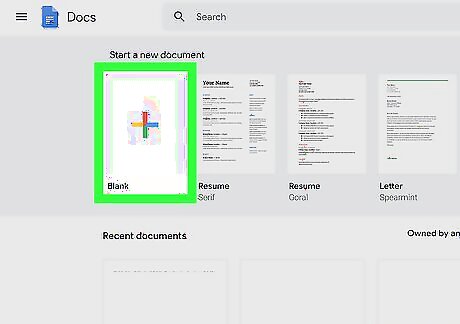
Click Blank. It's on the far-left side of the "Start a new document" row of options near the top of the page. Doing so opens a new Google Doc template.

Enter your month's name. Type in the name of the month for which you're creating the calendar, then press ↵ Enter. This will ensure that the month's name is above the calendar.
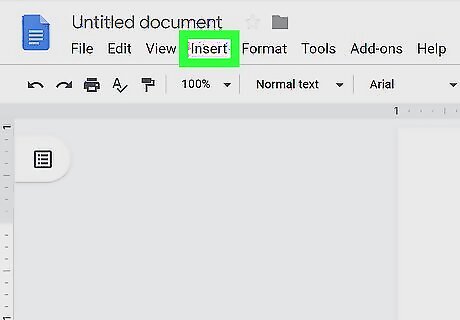
Click Insert. It's the menu bar at the top of the Google Docs web page.

Click Table. This displays a grid to the right that allows you to highlight and select the size of the table you want to create.

Select Insert table. It's at the top of the Table drop-down menu. Selecting this option prompts a pop-out window with a grid of cubes.
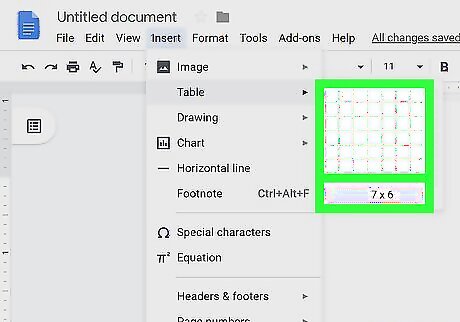
Create a seven-by-six table. Move your mouse cursor to select seven cubes at the top of the pop-out window, then move the cursor down at least six spaces. Once you have a seven-by-six grid highlighted in blue, click your mouse to insert the table. Depending on the month, you may need seven rows instead of six (e.g., if the first of the month is on a Thursday, a Friday, or a Saturday).
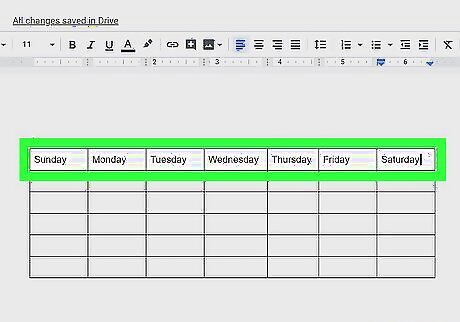
Enter the names of the days of the week. In the top row of your calendar, type in the weekday names. For example, you would put "Sunday" in the top-left box, "Monday" in the box immediately to the right, and so on. To save time, after you type the days of the week in the top row, copy the entire row and paste it in each subsequent row.
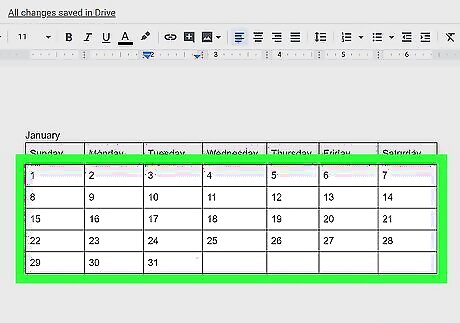
Add the dates. Type in the day numbers for each box below the day of the week.

Resize your calendar. To resize the rows and columns, click and drag the black lines below, and to the left and right of each cell. Make sure each cell is large enough to fit the day of the week, date, and any events you want to include. Resizing the calendar will also make sure that the numbers are in the upper-left corners of their respective cells.

Repeat for the remaining months. When you’re done inserting tables for the remaining 11 months, you will have a table for each month in the year.
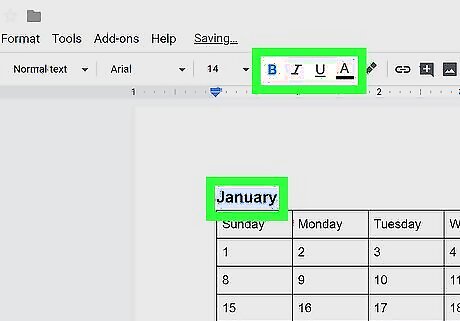
Customize your calendar to your liking. Tinker with what you can do to customize your calendar. Some common options include the following: Try using bold text on the days of the week or date. Try using a smaller font to list any events. Try using a large bold font to list the month names. Try changing the colors of individual boxes, columns, or rows by right-clicking the cell you want to change. Then click Table, then click Table properties, and changing the Cell background color value.
Exit the document. When you’re done with your calendar, you can close the tab or window that it's in. You'll be able to open it again from the Docs page, as well as from your Google Drive page.
Using Template Gallery
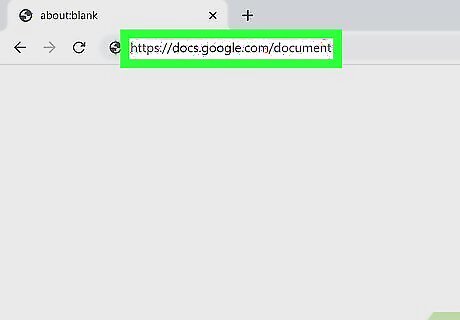
Go to https://docs.google.com/document/ in a web browser. This will open the Google Docs site if you're logged in with your Google account. If you aren't logged into your Google account, you'll be prompted to sign in with your Google email address and password first.

Click Blank. It's on the far-left side of the "Start a new document" row of options near the top of the page. Doing so opens a new Google Doc template.

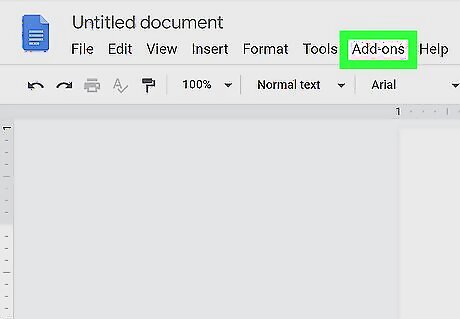
Click the Add-ons tab. You'll find this option in the row of tabs above the blank document. Clicking it prompts a drop-down menu.
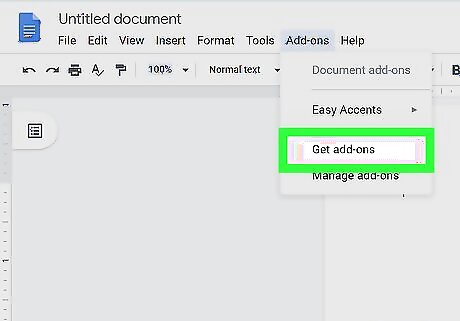
Click Get add-ons…. It's near the top of the drop-down menu.

Type template gallery into the search bar and press ↵ Enter. The search bar is in the top-right corner of the Add-Ons window.
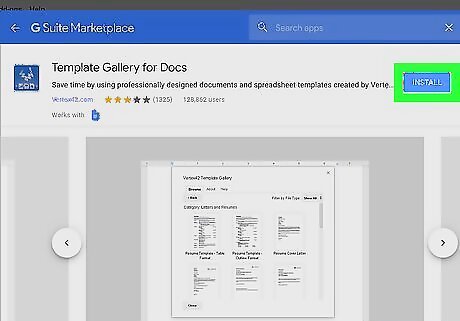
Find the "Template Gallery" add-on and click + FREE. You'll see Template Gallery at the top of the results page; clicking + FREE to the right of it will begin installing this add-on.
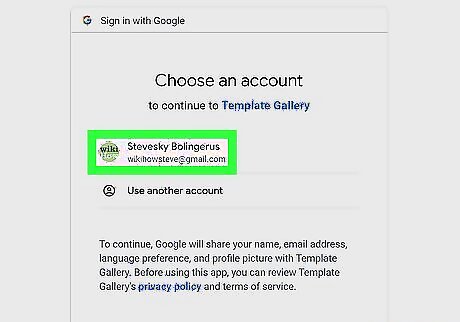
Select a Google account. Click the account you want to use in the pop-up window. If you're only signed in on one Google account, you may not see this step.

Click ALLOW when prompted. This will install Template Gallery.
Click Add-ons again. Doing so prompts a drop-down menu. You should now see Template Gallery listed here.

Select Template Gallery. This will cause a pop-out menu to appear.

Click Browse templates. It's at the top of the pop-out menu.
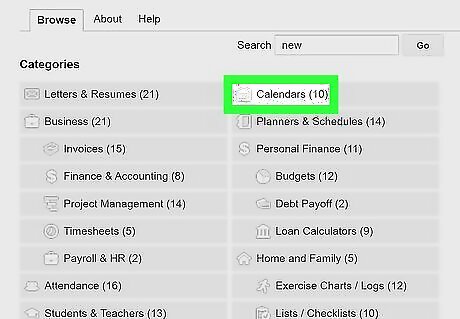
Click Calendars. You'll find this option on the right side of the Templates window.
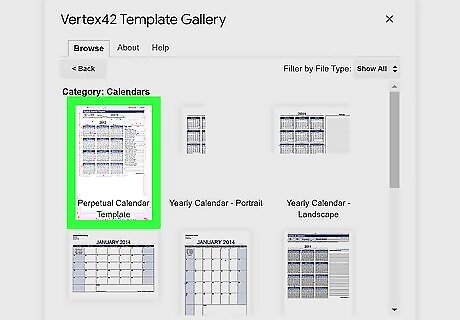
Select a calendar template. Click a calendar template that you want to use. Doing so opens the template's page.
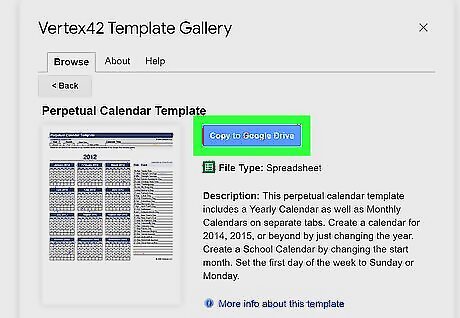
Click Copy to Google Drive. It's on the right side of the template's page. Clicking this will add the calendar document to your Google Drive.

Click Open file. It's in the same place that the Copy to Google Drive button was in. Doing so opens the calendar template.

Review your calendar. Your selected template should use the current year to generate the calendar, giving you an accurate 12-month calendar on which you can add information. You can access this calendar at any time by opening it from Google Drive.


Comments
0 comment