views
Mixing the Vinegar Solution
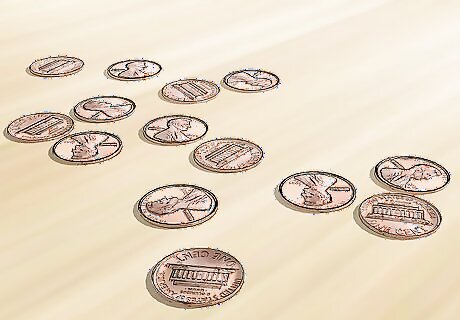
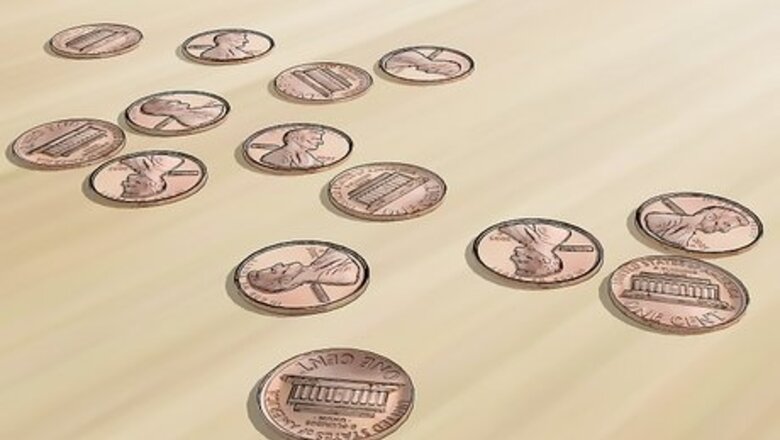
Gather together the pennies you want to clean. Go through your wallet, drawers, car and anywhere else that change tends to pile up to find pennies in need of cleaning. This process will work best on coins that are heavily tarnished or have a lot of stuck-on grime. The combination of vinegar and salt will cut through dirt and buildup effortlessly. Vinegar is most effective for cleaning copper. Other coins are molded from different metals, so the solution may not work as well on them. If you don’t have any vinegar on hand, a 1:1 ratio of water to acetone will produce the same effect.
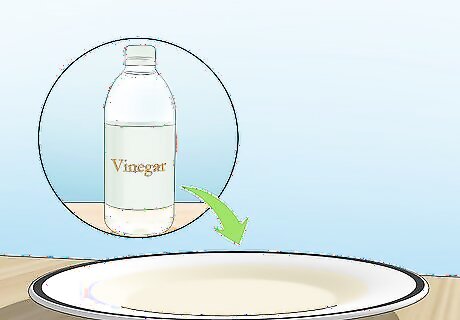
Pour a few ounces of vinegar into a shallow dish. Select a dish with an opening wide enough to allow you to reach in and grab the coins. A bowl will work best, but you could also use a coffee mug or small Tupperware container. Fill the dish with enough liquid to totally submerge several pennies at once. For best results, use a pure, potent type of vinegar, such as distilled white vinegar. Make sure you select a container that isn’t made of metal. The chemical reaction created by mixing salt and vinegar can also react with other types of metals, potentially causing rust, discoloration or mild corrosion.
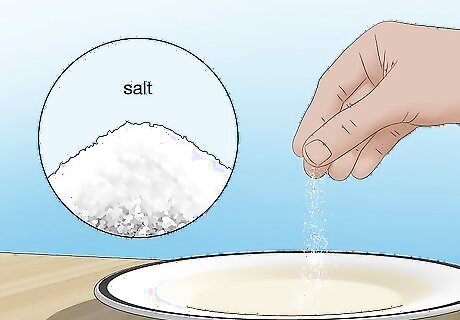
Stir in a pinch of salt. The exact amount of salt you add is not important—just grab a little bit with two fingers and sprinkle it in. Give the salt time to totally dissolve in the vinegar before you proceed to clean the pennies. Any variety of salt will do. It’s the chemical element that’s important, not the grains themselves. Vinegar alone is not strong enough to remove the worst buildup from old pennies.
Soaking and Rinsing the Pennies
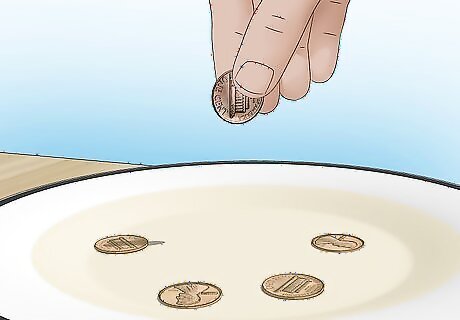
Drop a few pennies into the vinegar solution. Start with 4-5 pennies at a time to avoid overcrowding the dish. There should be enough room for each of the pennies to be completely immersed. Make sure the pennies stay separated at the bottom of the container. If you’re attempting to clean a large amount of pennies, you may need to empty the dish and mix up some fresh solution periodically.
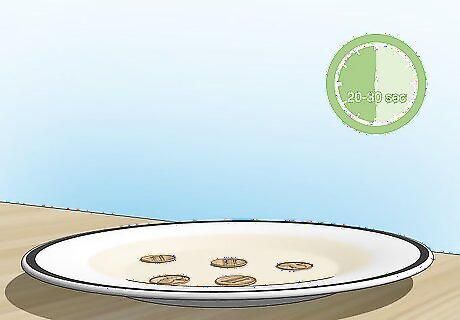
Let the pennies sit for 20-30 seconds. The vinegar and salt duo will act fast, so there’s no need to leave them in for too long. As the pennies soak, you should be able to notice the dark colored tarnish and other gunk melting away from the copper before your very eyes. Shake the pennies at the bottom of the dish as they soak to release even more buildup. Especially dirty coins can be left to soak for up to five minutes.
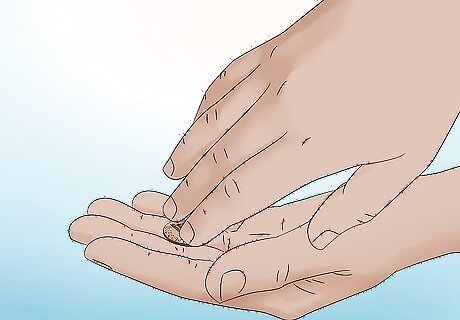
Scrub the pennies gently by hand. Remove the pennies from the solution one at a time and place them in the palm of your hand. Rub the pad of your finger over both faces of the penny to polish it. A little bit of friction will help buff away any remaining grime that the solution didn’t dissolve on its own. Go over the entire surface of the coin using smooth, circular motions. You can also lightly scour the pennies using a toothbrush or cotton swab for a more thorough cleaning.
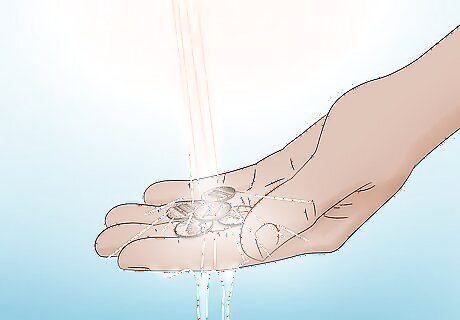
Rinse the pennies with clean water. Hold the pennies under the faucet for a few seconds, or swish them through a separate dish that’s filled with water. This will help flush away any loose dirt or vinegar coating the surface of the coin. When you’re done, the pennies should shine they like’re fresh out of the mint! Once you’ve rinsed the pennies, set them aside on a layer of paper towels to dry. You may not be able to erase every last trace of discoloration on very old pennies. Eventually, other substances can set up in the metal, making them more or less permanent.
Preserving the Appearance of Your Coins
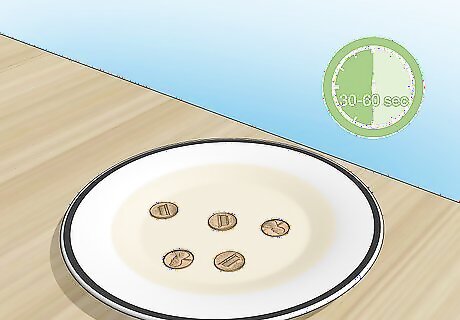
Don’t soak the pennies for too long. After a few minutes, the same reaction that dissolves stuck-on grime can begin to eat away at the copper. This may cause the pennies to give off an odd metallic residue, staining your hands or the container they’re in. In most cases, 30 seconds to a minute, in conjunction with some manual polishing, should be enough to do the trick. This can be especially damaging for pennies that already have a significant amount of scratching and wear.
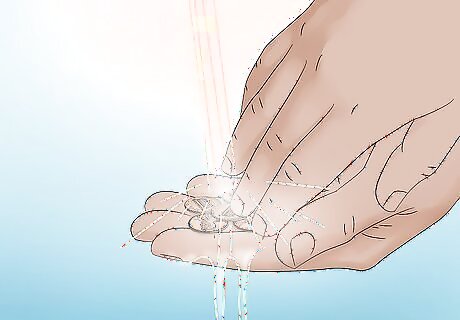
Be sure to rinse thoroughly. A good rinsing is needed to flush the acetic acid from the vinegar off the pennies. If left on the copper, this can lead to a buildup of a chemical called malachite, which will turn the pennies a bluish-green color. Since your original goal was to return the pennies to their original copper color, it’s important not to skip this step. A quick wash will also help neutralize the overpowering odor of the vinegar.
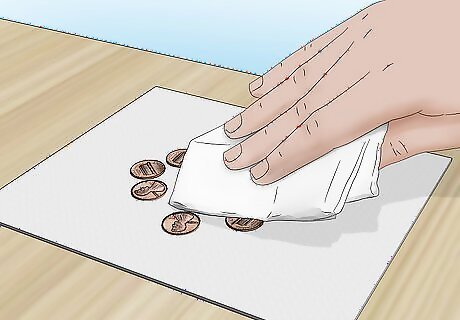
Dry off the clean coins. Though pennies don’t actually rust, they can corrode and develop an unsightly chemical buildup when exposed to water. To keep this from occurring, pat the pennies dry with a towel after you clean them. That way, their finish will stay brighter and more vibrant for much longer. It’s okay to let the coins air dry, as long as there’s no standing water on them.
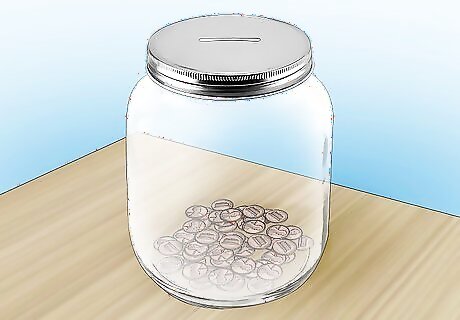
Set aside a dedicated place for your change. Coins can get dirty in no time at all in places like the kitchen counter or your car’s cup holders. Consider buying a coin bank that you can keep your small currency in until you cash it in or spend it. Having a central place to stash your coins will minimize their chances of contamination and prevent you from losing them. You might also use a small drawstring bag or jar, or carry it with you in a change purse. Placing your coins in a lidded container will defend them from deterioration-causing germs and moisture.


Comments
0 comment