views
X
Research source
However, occasionally EIFS surfaces may need to be cleaned to remove visible dirt, tar, algae, or mildew accumulation.[2]
X
Research source
As long as you are comfortable with mixing up a cleaning solution and using a pressure washer, you can avoid hiring professional cleaners.
Making Necessary Inspections and Preparations
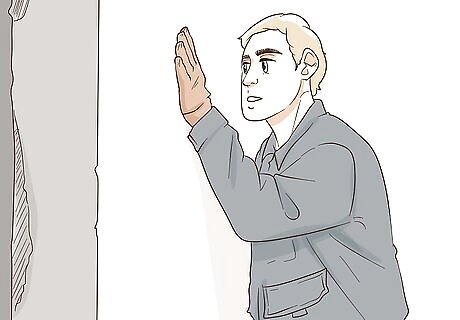
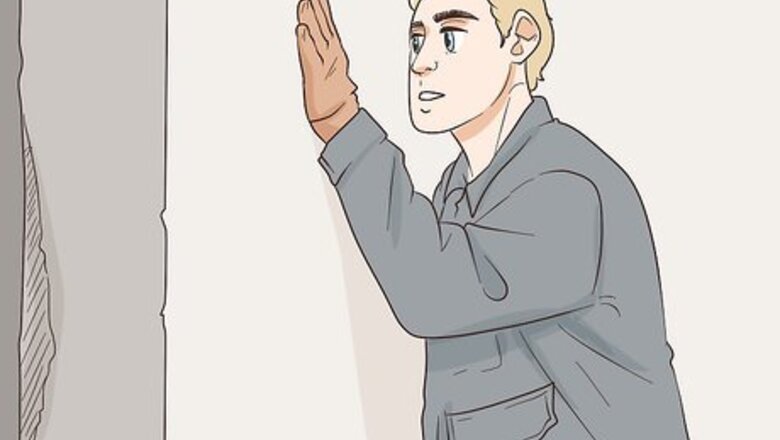
Inspect the EIFS surface for damage. Check for cracks, deterioration, and defects that may have occurred over time. Cleaning the surface while it’s damaged could further worsen the problem, especially if water or the cleaning solution enters the wall cavity. If you find any damages, then immediately consult a professional for repairs.
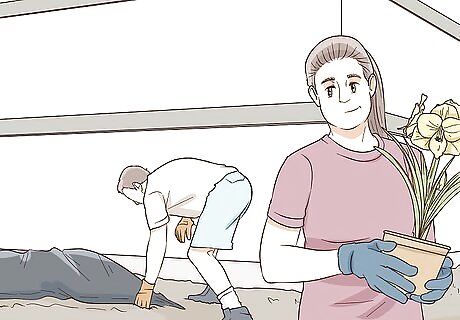
Tarp or remove anything that could be damaged by the chemicals. If you have nearby shrubbery, potted plants, or parked vehicles, then make sure to cover the shrubbery with plastic tarps, and remove the potted plants and vehicles from the area. You also want to make sure that any nearby doors or windows are closed.

Wear protective clothing and equipment. You are going to be spraying chemicals and dislodging dirt spores above your head, so it is important properly protect yourself. Be sure to wear rubber gloves, a dust mask, a hat or head covering, and safety glasses.
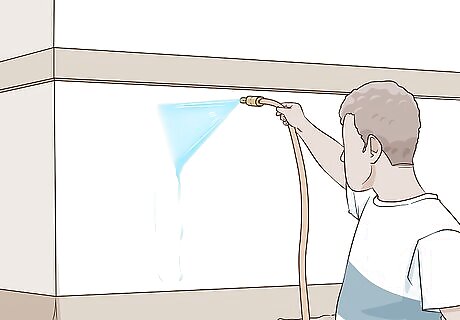
Pre-soak the wall with cool, clean water. You can do this with either a garden hose or a low-spray pressure washer. It is important to have the area wet before applying the cleaning solution as to prevent streaking. Even after applying the cleaning solution, you may have to wet the lower areas of the wall again to prevent runoff absorption from the top sections. This is especially important if you are working in sunny or warm conditions that can quickly heat up or dry the wall. Only use cool water for the entire pre-soaking, cleaning, and rinsing processes. Hot water can soften or even remove the EIFS finish.
Choosing the Right Cleaning Solution and Mixing It
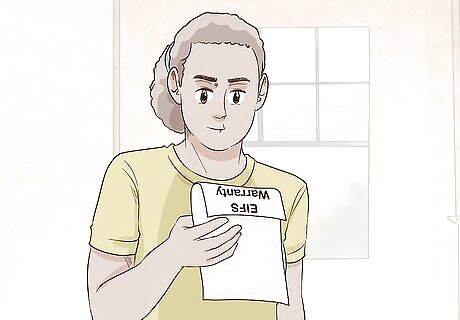
Check to see if your EIFS warranty has cleaning specifications. Sometimes, EIFS manufacturers will provide cleaning procedures or products tailored for your specific system. There are many different EIFS finishes, so you want to make sure that you are not going to use the wrong cleaning solution on your wall.
Talk to a local expert about picking the right cleaning solution. If your warranty does not specify a specific cleaning product to use, then you should consult your local outdoor supply store to see what cleaning product is commonly used in your area, or to see what cleaning solution is best recommended for the type of buildup on the EIFS.
Use non-acid cleaners for general EIFS maintenance. Non-acid cleaners will remove dirt accumulation, exhaust and oxidation stains, and some organic growth. These types of cleaners can range from high concentrated truck soaps, to specifically tailored products like the “SB 2600 EIFScrub.”
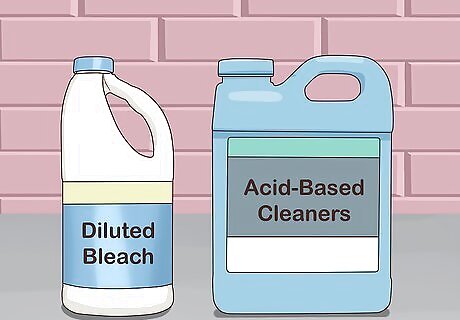
Use diluted bleach or acid-based cleaners for stubborn buildup. Diluted bleach concentrations and acid-based cleaners will remove tough oxidized or acid rain stains. However, some acid-based products can damage Terracoat or Terralite finishes — these are the most common types of finishes to have. So make sure you know what EIFS finish you have before selecting a cleaning product. If this is your first time working with acid-based cleaners, then it is best to go with a manufactured one like the “SB 2610 EIFS Acid Cleaner” instead of mixing your own. If you decide to spot treat the EIFS with diluted bleach or a bleach-based product, then make sure to rise it off thoroughly as it can leave a chalky residue.
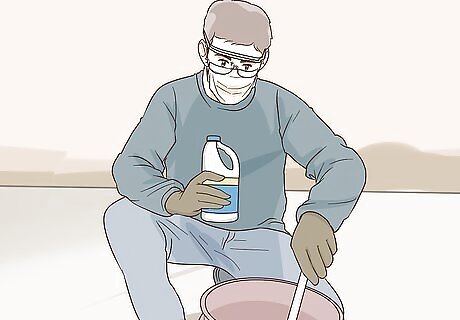
Follow the manufacturer’s instructions to mix the cleaning solution. EIFS cleaning solutions can mix differently, so make sure to follow the directions and wear your protective equipment while preparing the solution.
Applying the Cleaning Solution
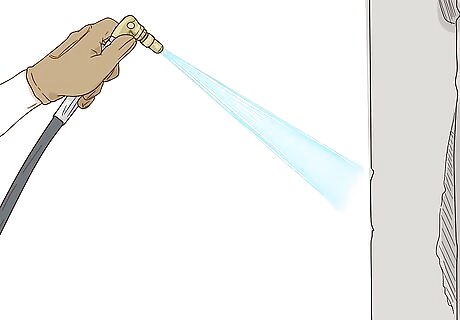
Apply the prepared cleaning solution to a small area and let it soak. Even if you have read over your warranty or consulted a local expert, you want to make sure that the cleaning solution you selected will not damage your wall. Make sure to follow the manufacturer's instructions for the soaking time.

Rinse the testing area with cool, clean water. Even in such a small area, the wall should look noticeably cleaner and the EIFS finish should remain unchanged. If the wall appears to be in good condition, then you are ready to begin cleaning the rest of the surface. If the wall appears brittle, damaged, or altered in any visible way, then consult a local expert to find a different product and get professional repairs done to the EIFS finish if needed.
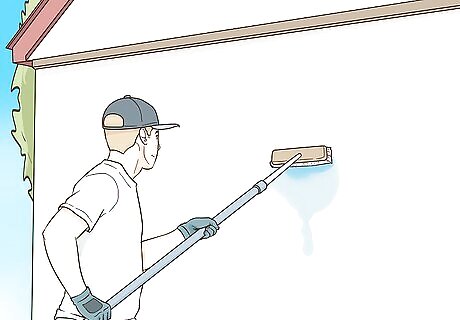
Apply the cleaning solution using a brush or pressure washer. It is important to always work in sections — moving from the upper wall area, downward. If using a soft bristled brush, then lightly scrub the area with the cleaning solution to generate foam. Do not use a metal brush because it can damage the EIFS finish. If using a pressure washer, then make sure it is set at 200 to 500 psi. Always use low pressure when spraying water or the cleaning solution; high pressures can drive the cleaning solution into the EIFS coating and cause future staining. When using a pressure washer, apply the cleaning solution with horizontal sweeps, starting at the top of a wall section, and keep the nozzle several feet from the wall to reduce overspray. You might have to follow up with a soft bristled brush and scrub stubborn areas.
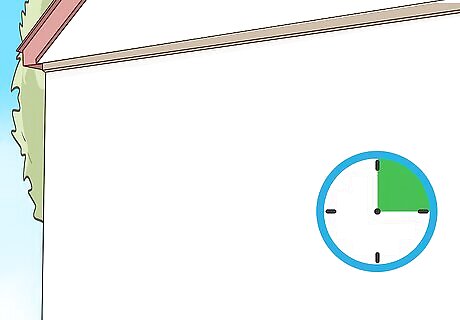
Let the solution soak as directed by the manufacturers of the product. Depending on the acidity, most cleaning solutions need to soak for approximately 15 to 20 minutes. However, the manufacturer might outline different soaking times for certain environmental elements which can alter the effectiveness of the cleaning solution.
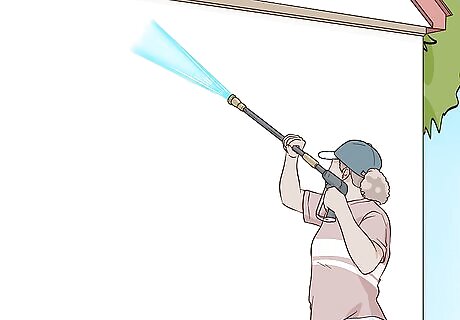
Rinse the wall thoroughly with clean water and allow the wall to dry. Start rinsing off the cleaning solution from the top of the wall and work your way down.
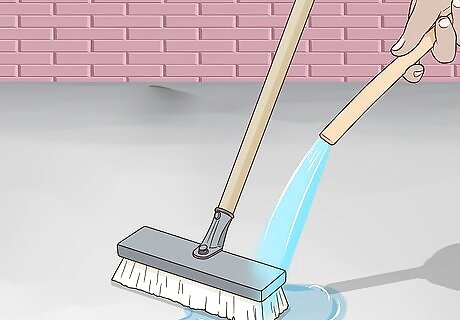
Rinse all tools when finished and remove any tarps. You don’t want to have any chemical buildup on your tools, especially if you are going to be using the tools for other projects.







Comments
0 comment