views
Cleaning an Upright Machine
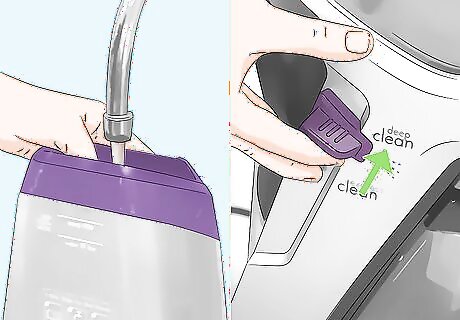
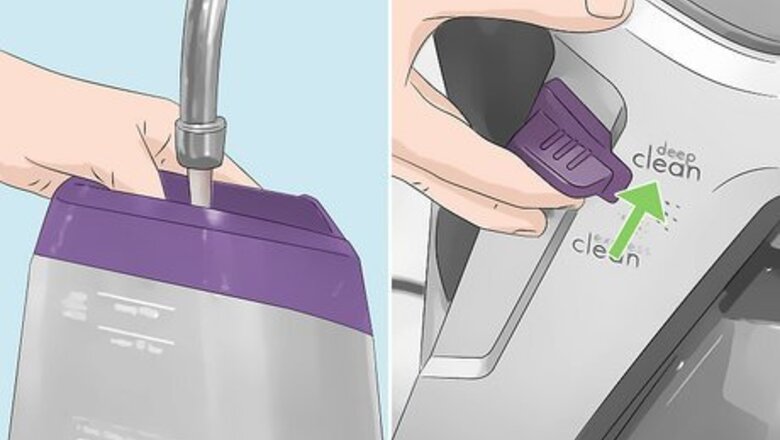
Flush the machine after each use. Fill the water tank with hot water. Set the machine to high traffic and the handle to the recline position. Move the machine back and forth on the carpet while pressing the spray trigger for fifteen seconds. Let go of the trigger, then press it for another fifteen seconds while moving the machine back and forth on the carpet. Release the trigger a final time and vacuum without spraying until the machine stops suctioning water. Flushing your machine with hot water after each use will remove any residual solution which can harden in the spray lines. Once the carpet has dried, vacuum once more to clear out dry debris like fuzz. Always clean the machine before putting it in storage.
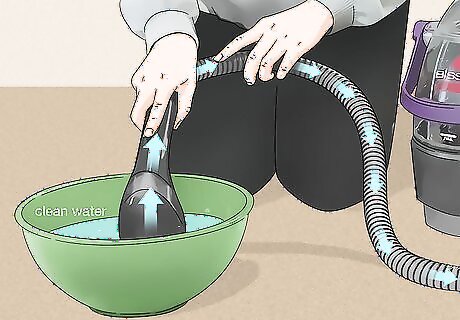
Wash out the hose. Suction clean water from a bowl or faucet to clean the hose. Once finished, lift the hose by the end. Stretch the hose to clear out the water.
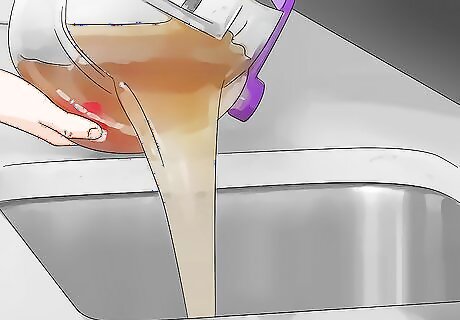
Empty and rinse the tank. Turn off and unplug the machine, wrapping the power cord up securely. Remove the tank and empty it into a sink. Rinse the tank with hot water. Make sure to rinse underneath and all around the bladder. Rinse away any debris from the red filter. Rinse the top half of the tank through the nozzle area. If your model has more than one tank, remove and clean them both.
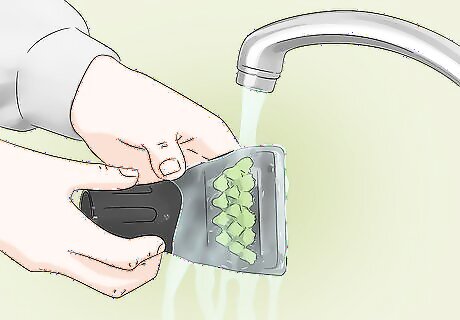
Clean the floor nozzle. With the water tank off the machine, remove the floor nozzle. Rinse the nozzle under a faucet with hot water. Periodically clean the fluid connection point with a small paperclip by removing the nozzle and turning it over. Replace the nozzle by lining up the locking keys with the corresponding slots. Put the end caps and nozzle back on the machine’s foot. Turn the keys to lock it in place. Turn the locking keys to remove the floor nozzle.
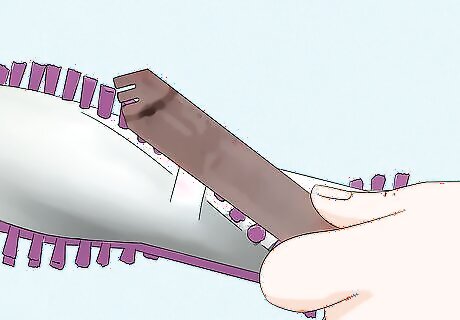
Remove debris from the brush rolls. Pull or cut off any hair or other debris. Turn the brush with your hand to ensure that it spins freely (there should be just minor resistance due to the motor). Depending on your model, you may need to remove screws to detach the brush roll if you’re unable to remove all debris otherwise. If you’re unsure how to remove the brush roll, consult with your individual model’s manual. Brush rollers can also be removed in some of the models like Bissell ProHeat 2X Revolution to clean the brushes in a better way, all you need is to remove the brush roll cover.
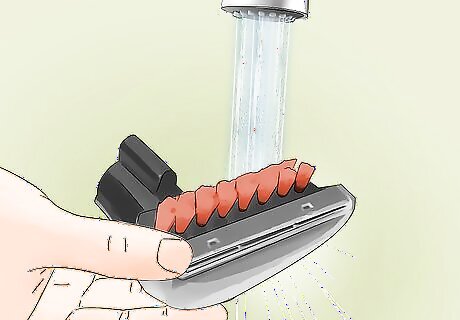
Clean the attachments. Separate any attachments from the machine. Rinse them under running water. Allow them to dry before replacing them on the hose rack.
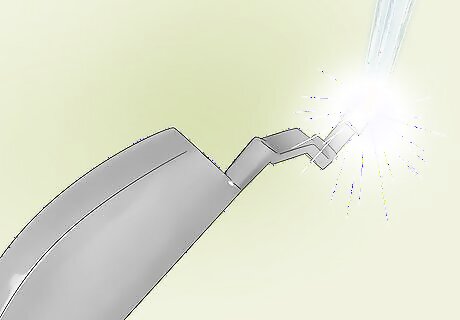
Clean the suction diverter. Take out the screws at the back of the diverter’s housing. Remove the diverter housing and rinse it under running water. Take out any debris. Put the diverter housing back and secure it with the screws. Removing any debris from the suction diverter prevents clogs from forming.
Cleaning a Portable Machine
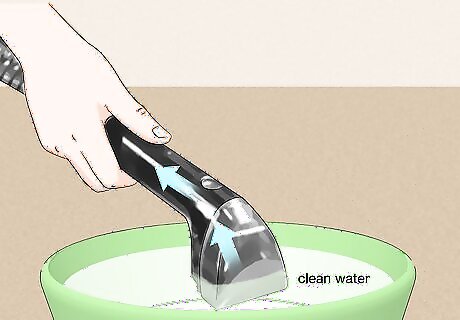
Rinse out the hose after each use. Fill a bowl with clean water. Turn your machine on and suction the clean water to rinse the interior of your machine. If your model has a hose, lift the hose up until any remaining water drains into the dirty water tank.
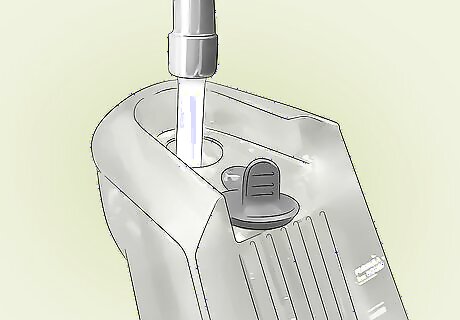
Rinse the dirty water tank after each use, or as needed. Turn the unit off by pressing the stop button. Unplug and wrap up the power cord. Lift off the dirty tank and empty it. Rinse the tank under running water, including the black valve inside the tank if your model has one. The tank will need to be emptied and rinsed when it reaches the maximum fill line. However, for the best results, empty, rinse and dry all tanks before storing. If your model has a SpotBot automated feature, clean the brushing area and window with a soft cloth or microfiber towel. It’s safe to leave water and solution in the clean tank unless you used Oxy Boost, in which case the tank will need be emptied and rinsed.
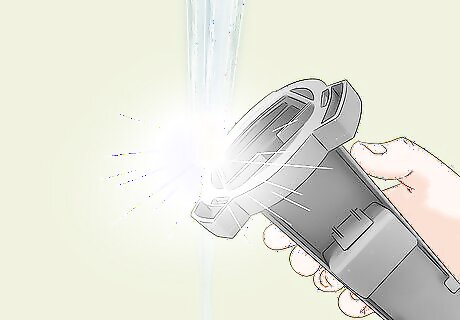
Rinse the float stack, if applicable. Some models, such as the Little Green ProHeat 5207, have a float stack in the dirty tank. Remove this by turning it counter-clockwise. Rinse it with water before replacing it.
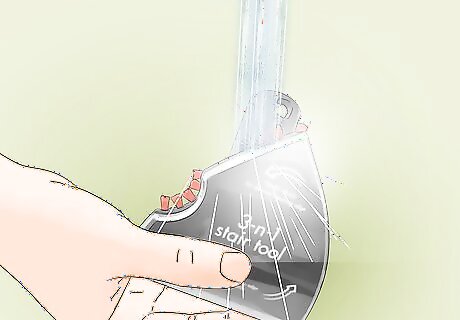
Rinse the cleaning tool. Remove the cleaning tool from the spray trigger. Rinse the tool under running water. Clean dirt from the spray nozzle with a soft brush, if needed. Don’t twist the cleaning tool; it should pull straight off after you push the lock button.
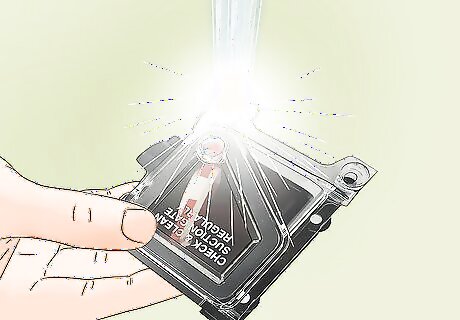
Clean the suction gate, if applicable. Some portable machines, such as the SpotClean Pro 3624, have a suction gate accessible once the dirty tank is removed. Unscrew the gate door. Wipe the gate clean and rinse it with water before replacing it.
Cleaning a Canister Machine
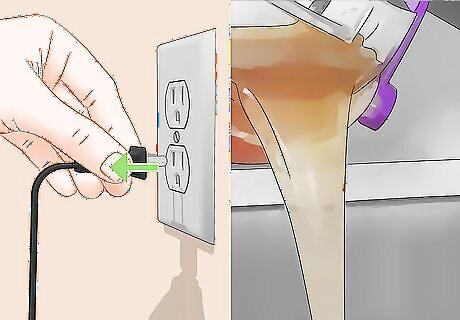
Empty and rinse the dirty water tank after each use. Turn off and unplug your machine. Empty the tank and rinse its basin thoroughly. Wipe or air-dry the tank before replacing it. Remove the tank by opening the hose door and lifting the collection tank straight up by the handle. Take off the top lid.
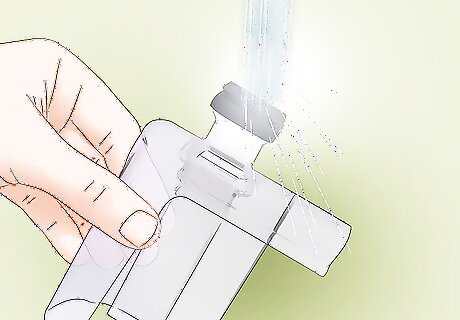
Remove and rinse any inner parts you used for wet cleaning. Take out the water filtration tower, mode selector, and/or hose. After rinsing them, let them dry entirely before placing them back into the machine. Remove the mode selector by turning it, then pulling it towards you. Remove the water filtration tower through the top tank.
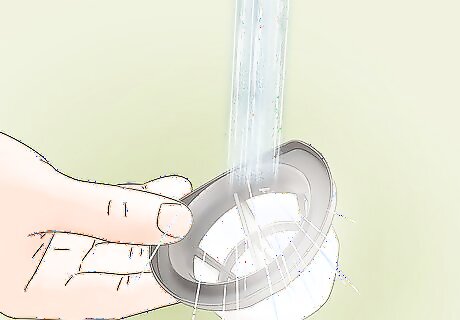
Rinse the filters as needed. Check the filters to see if they’re visible dirty. When they are, rinse them with water. Let them dry completely before replacing them in your machine. Check the pre-motor filter by opening the top lid and pulling the tab. Make sure the “T” parts are lined up under their respective grooves when replacing the filter. Check the filter at the back of the machine beneath the cord wrap. Press the latch to pull the door down. Open the door straight out and downwards. Remove the filter with two hands. Make sure the filter door is properly shut after replacing the filter.


Comments
0 comment