views
Gathering Supplies and Ants
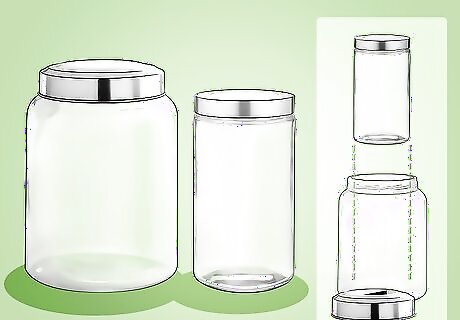
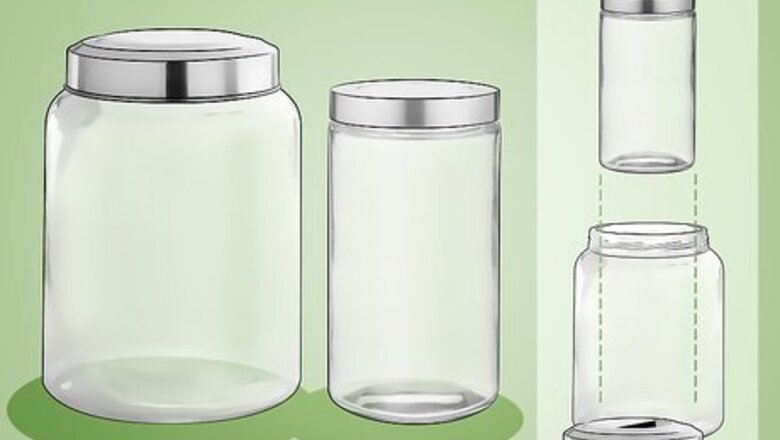
Get two glass jars with lids. You'll need a large jar and a smaller one that just fits inside. The dirt and ants will be placed in the space between the small jar and the large jar. The small jar functions as a way to take up space in the middle so that the ant colony will build tunnels and lay eggs close to the outer edge, putting these processes in plain view. Skipping this step will allow the ants to burrow deep toward the middle of the jar, which they'll naturally want to do. Different-sized canning jars are perfect for this project. But, if you want your ants to be happy, then buy a larger container. Look for jars without etching, print or raised numbers and letters. Plain, clear glass will give you the best view of the ants. If you'd prefer to have a flat ant farm, check out your local pet store and purchase a skinny aquarium. You can also order an ant farm setup from online retailers.
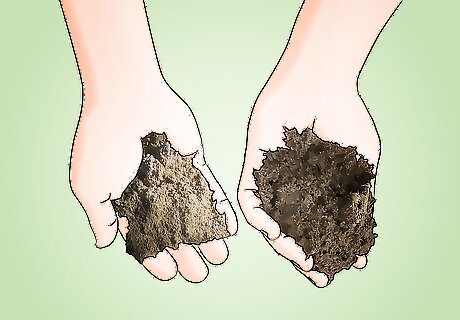
Prepare a soil and sand mixture. The ants will need a loose substrate that stays moist and allows them to dig and tunnel. If you're planning to source the ants from your yard or a nearby area, your best bet is to use dirt they already naturally live in. Dig up enough dirt to fill up the extra space in your jar. Use a fork or your fingers to loosen the dirt until it's nice and fine. Now mix 2 parts dirt with 1 part sand - less if your dirt is already naturally quite sandy. If you aren't planning on getting your ants from a nearby location and the dirt you have on hand doesn't seem suitable, you can buy potting soil and sand from a gardening store and mix it to serve as your substrate. If you order an ant farm kit, it should come with the right mixture for those particular ants. You want the mix to be slightly moist, but not soaking wet. If it's too dry, the ants will dry out; if it's too wet, they'll drown.
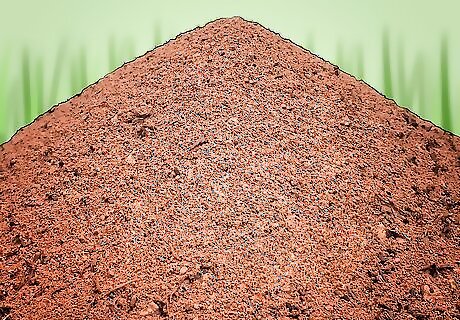
Find an anthill. There are many species of ants and, by and large, they nest in the ground. Look for anthills in slightly exposed areas in your yard. You'll know it's an anthill by observing the tell-tale volcano-shaped pile of small grains of dirt, with a tiny entrance hole near the top. Tracking ants is another good way to find an anthill. If you see a group of ants walking, follow them back to their nest. Observe the anthill to make sure you aren't dealing with fire ants or another type of ant that bites or stings badly. Brown field ants are a good bet. If you want to be on the safe side, order your ants online as part of an ant farm kit.
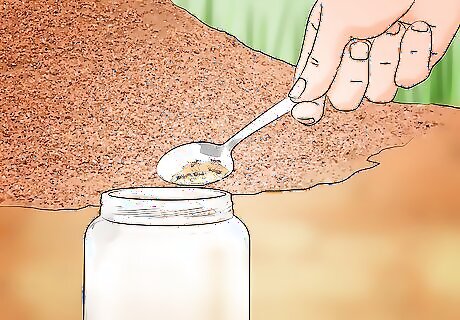
Collect the ants. Once you've identified an ant colony, bring a jar with a few holes poked in the top (not one of your ant farm jars) outside, alone with a large spoon, and scoop some ants into the jar. 20 - 25 ants should be a good amount to get your ant farm started. Here are a few things to keep in mind: The ants probably won't reproduce unless you include a queen in your ant farm. An ant colony's queen lays all the eggs, and a group of worker ants - those you're likely to see close to the surface of an anthill - are likely to be sterile. Therefore, if you want to see ants go through the process of laying eggs, you'll need to get a queen - which can be tricky and would require destroying the natural ant colony. If you're set on seeing the reproductive cycle, a better bet may be to order a kit that comes with a queen ant. That way, you won't have to worry about digging deep into the ant's nest to get what you need. Another method is to catch a queen during its nuptial flight and raise a colony from just a queen. If you create a farm without a queen, the ants will probably die within 3 - 4 weeks, which is their natural lifespan.
Assembling Your Farm
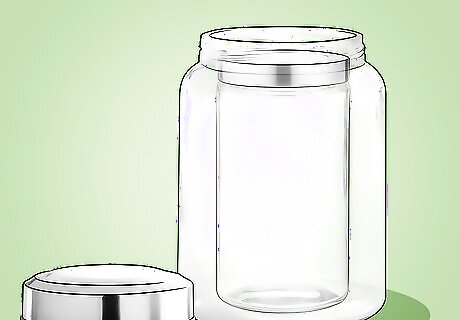
Place a cap on the smaller jar and set it inside the larger one. To keep it centered in the middle of the larger jar, you can put a dab of glue or tape on the bottom before you set it inside. Make sure you put the lid on securely since you don't want ants accidentally falling in.
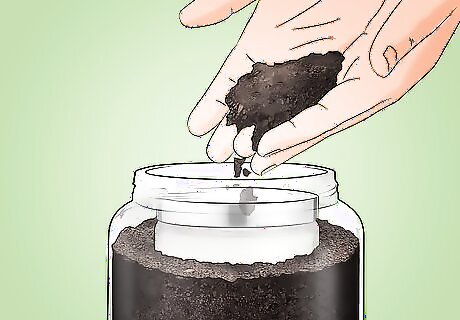
Fill the remaining space in the jar with the dirt mixture. Use a funnel to neatly fill the extra space with dirt, or spoon it in. The dirt should not be tightly packed; make sure it's nice and loose, so the ants will be able to move around. Leave about an inch of empty space at the top of the jar. You will now have created a layer of dirt that will serve as the ants' home. The inch of empty space will keep the ants from climbing up the glass and out of the jar when you need to open the lid.
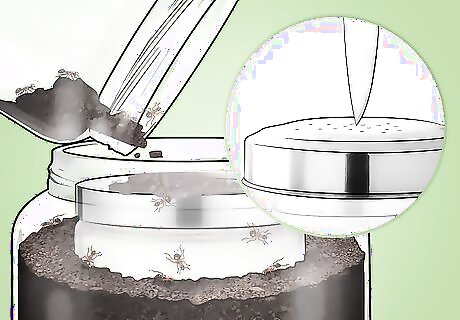
Place the ants in the jar and screw on the top lid. Carefully drop the ants in the jar, making sure they all make it into the fine dirt you provided. Cover the jar and use an awl or a sharp knife to puncture it with tiny holes, to allow oxygen to reach the ants. Make sure not to punch the holes too large, or the ants will escape and build a nest elsewhere. Don't cover the jar with cloth, as ants will be able to chew their way out.
Maintaining Your Farm
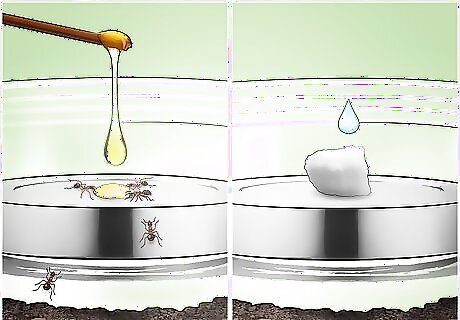
Offer them food and moisture. In order to keep your ants happy, you can feed them every few days with a few drops of honey, jam, or pieces of fruit - ants love sugar! If you have a queen you will need to give the colony feeder insects to feed the next generation. Don't overdo it, or you'll have mold in your ant farm. Ants can get most of the moisture they need from a wet cotton ball with water and place it at the top of the jar. Don't give the ants meat or other cooked food. This will attract other types of pests to your ant farm. Don't pour water into the jar. It'll get too wet, and the ants could drown.
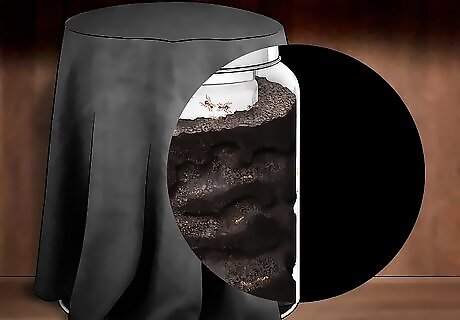
Cover the jar when you aren't watching the ants. Ants do their tunneling at night, in the dark. To replicate the environment they're used to, cover the jar with black cloth or construction paper when you're not watching the ants. If you forget to do this, the ants will be stressed out and much less active. They'll also tend to stay away from the glass and spend their time as close as possible to the center of the jar.
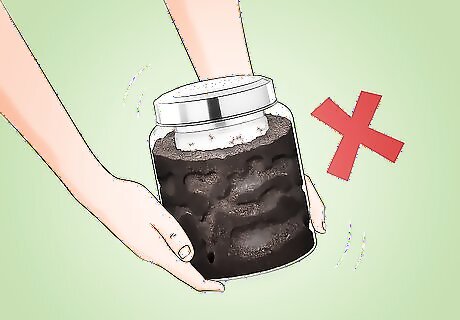
Don't shake the jar. Ants are fragile creatures, and shaking the jar or otherwise handling it roughly can cause them to die when their tunnels collapse on them. Handle the ant farm carefully.
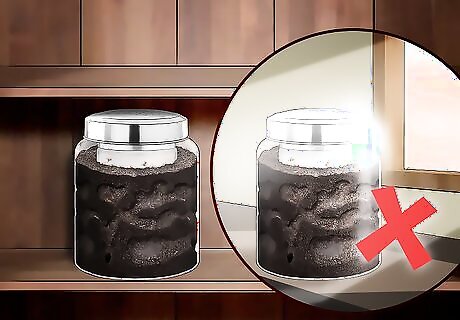
Store the farm in a warm room. Place it in a room that tends to stay at a good steady temperature. Don't place it in direct sunlight, or the glass jar might heat up too much and overheat the ants.


Comments
0 comment