
views
Building the Base

Decide on a spot for your yurt to protect it from the elements. To prevent any weather damages, be mindful of where you set up your yurt. The best spot will be protected from wind, receive sun in the morning, get shade in the afternoon, and be free of any overhead objects. This way, your structure will stay safe and secure. Overhead items include dead tree limbs, for example.

Use a circular platform that is the same diameter of your yurt. The particular size of your platform depends on the overall diameter of your structure. These instructions are for a yurt with a 12 ft (3.7 m) diameter, so review your particular instructions before you start and adjust the process as necessary. If your platform is not the same size and shape, your yurt may not be completely weatherproof. You want the side cover fabric to extend below the interior floor level for a draft-free, watertight seal.

Hire a professional to help you build your platform. The platform is the hardest and most complex part of building a yurt. If you are not familiar with carpentry work, hire a professional contractor to make your base. This is the easiest way to ensure you build your yurt safely and correctly. If you’d like to try building the platform yourself, review the instructions from your specific yurt manufacturer. Many companies offer preliminary instructions on building your base yourself. These instructions will vary based on your particular yurt kit.

Place the footings in a circular shape according to your framing plan. Use 10 or so concrete footings to make the base of your platform. The overall placement will depend on your particular framing plan, but in general the footings should be 2–4 ft (0.61–1.22 m) apart in a 12 ft (3.7 m) circular shape. Use precast concrete footings.
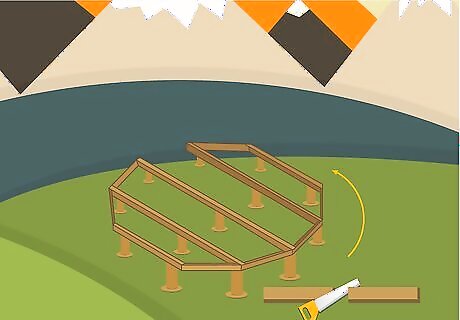
Cut the beams to the correct length and fasten them to the footings. Use a table saw to cut your wooden beams based on your floor plan. Then, place the beams across the footings, and use a level to ensure each beam is straight. Finally, fasten the beams to the footings using the attached holders on the wooden beams. For assistance with this process, ask your professional carpenter. Your specific beam placement will depend on your instructions.
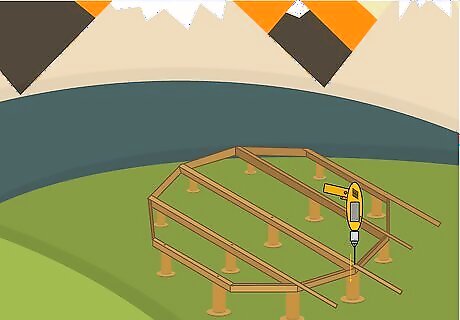
Secure your flooring onto the wooden beams with your drill. You can use 1.125 in (2.86 cm) thick plywood to create your flooring. Lay the boards over top of your beams so they are flat and parallel, and secure them on each side using a drill and a screw. Insert a screw through the plywood and the beam every 6–12 in (15–30 cm). The size and width of your flooring depends on your particular instructions.
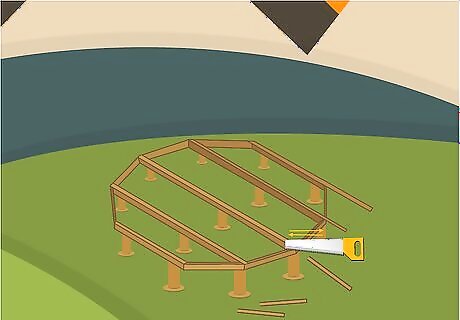
Cut the flooring into a circle to match your yurt’s diameter. Using a hand saw, go around the edges and cut off any piece of plywood that hangs over your beams. This maintains the overall circular shape of your yurt. Make your cuts so the flooring and beams are flush. It’s okay if the sides aren’t completely even. Try your best to cut the wood as straight as possible.
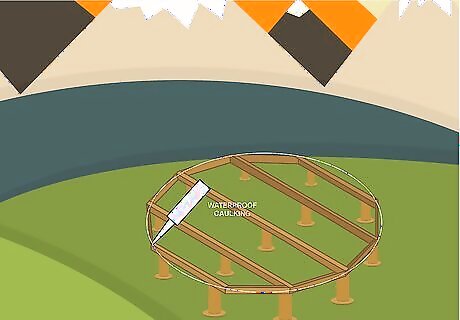
Apply waterproof caulking around the outside edge to seal out moisture. This seals the flooring and the drip edge. The drip edge is the outer edge of the yurt, and it is important to seal the edge and the flooring so no moisture gets inside. To do this, run a thin, even line of caulking around the perimeter of the flooring. This way, your wood is secured together and rain or condensation will not seep into your yurt.
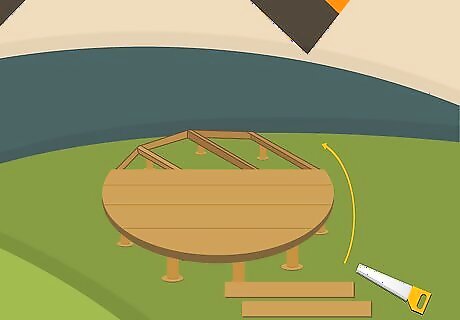
Secure a strip of plywood around the perimeter to finish the drip edge. Cut ⁄8 ft (0.11 m) exterior plywood into strips, based on your desired width. Hold the strips around the perimeter of the drip edge, and use a drill and large wood screws to fasten the strips of wood. Add 1 screw to each end of the strip. When you do this, you want 1 ft (0.30 m) of plywood to extend above the floor level. Use a table saw to cut your strips to your desired size.
Attaching the Lattice
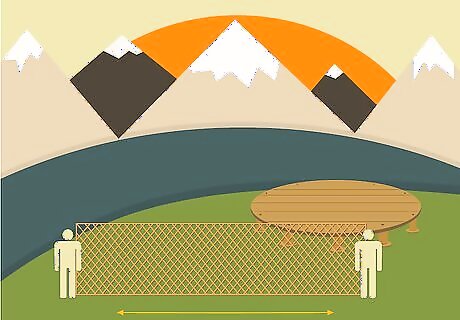
Unwrap your lattice wall and grab a helper to get started. The lattice wall often comes in a cylindrical package about 2 ft (0.61 m) in diameter and 8 ft (2.4 m) long (for a 12–16 ft (3.7–4.9 m) yurt). Remove the lattice wall, and have a helper assist you in moving it to the back of the circular platform.
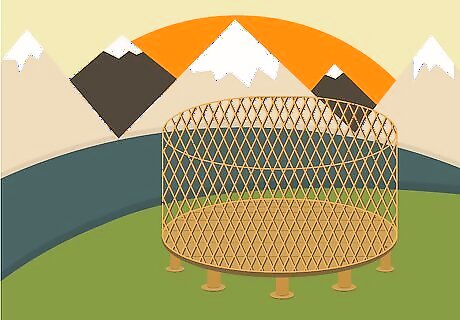
Stretch the wall around the perimeter of your platform. Start by undoing the straps around the lattice wall. Ensure the outside is facing the outward direction and the inside of the wall is facing toward your platform. Then, stretch out the lattice around the perimeter, just inside the drip edge. As you do this, keep the lattice wall stable by holding it securely. The outside of the lattice has holes in the middle of the rivets, while the inside has no holes. Keep your fingers out of the way, or they can get pinched as you unfold the lattice. This creates the circular shape of your structure.
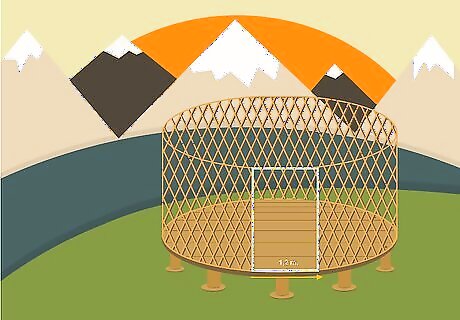
Leave a 4 ft (1.2 m) gap to install your door frame. You want enough space to position your door frame at your opening, though you can place your door wherever you'd like. To install the door, remove the wingnuts and washers from inside the door frame, and slip the end of the plate with the oval hole onto the clamp bolts. Then, replace the washers and wingnuts and twist them into place. Ensure that the key side of the door faces outward. Consult your instructions if you have any trouble installing the door. It should be easy and straightforward. There may be a notch in the door threshold behind the door frame. Make sure the door threshold is outside of the drip edge.
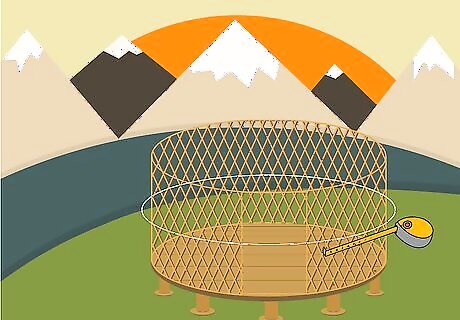
Check the perimeter of your yurt to ensure the wall height is consistent. Use a tape measure to check the height of your structure every 2–3 ft (0.61–0.91 m). Make adjustments to the lattice wall as needed by repositioning the wall. Your finished height depends on your overall yurt size.
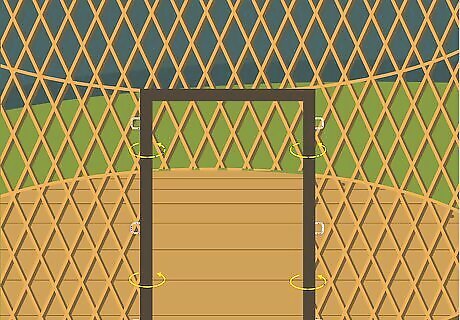
Secure the lattice wall to the door with the included hardware. Once your lattice wall is properly placed, you can attach it to the door. Remove the cap nuts, washers, and bolts located along the bottom of the lattice about every 6th crotch. Then, attach the lattice wall anchoring straps using the included screws. Hold the anchor into place, and line a screw up with the hole. Then, use your drill to secure the screw in place. The crotch of the lattice refers to where 2 pieces of wood intersect. These brackets are made so the screws go through the drip edge and the flooring material. The anchors and screws come in your yurt kit.
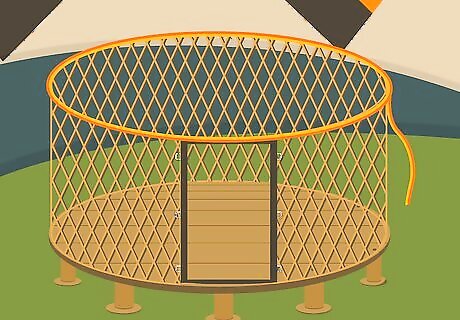
Secure the belly bands to the door frames. Once the door frame and lattice walls are attached, make any final adjustments if you need to. Then, lay the belly band along the top of the lattice wall. Tie 1 end of the belly band to the hook in the top door frame, then feed the band through each crotch of the lattice. As you go, remove the slack in the line. Finally, tie the belly band to the opposite door frame hook when you reach the other side. Belly bands are nylon or other stretchy, strong straps. They are usually 50 ft (15 m) long. Alternatively, your kit may come with tension cables instead of belly bands. These often hook onto the door instead of tying to it. After everything is securely fastened, make adjustments as needed to improve the shape of the yurt.
Installing the Rafters
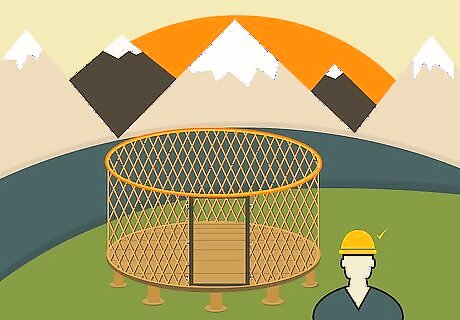
Put on a hard hat before you start installing the rafters. Treat the interior of the yurt as a hard-hat zone until the rafters are installed, as the rafters can fall on your head. Once the rafters are installed, you can take off your hard hat. While raising the center ring and installing the rafters is an exciting part of the assembly, it should be executed with care. Children or observers not involved with assembly should stay outside of the yurt.
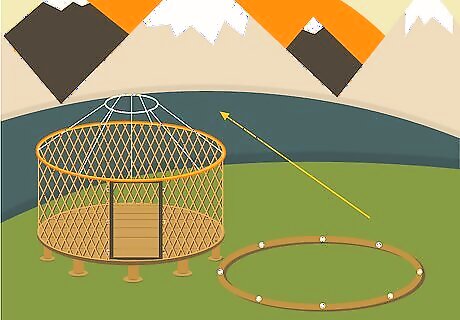
Lay down the center ring and mark 3-4 evenly-spaced holes for the rafters. To easily install the center ring, keep the bolt heads down and the nutted ends up. Then, use a marker to make a spot for 3-4 evenly-spaced holes around the circle. The distance between each spot will depend on the size of your center ring. Then, mark each spot where the “set up “ rafters will rest on the cable, based on your instructions. If you need help with this step, take a look at your rafter spacing diagram. Your marks are where you insert the “set up” rafters to raise the center ring.
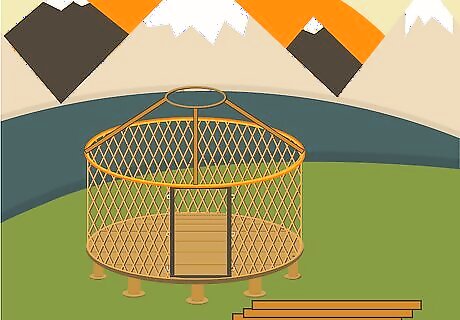
Attach 3 of the rafters to the center ring. Align your rafter at 1 of the spots you made on the center ring. Use your hands to lift up the ring, and insert the pin of the rafter into the ring to attach it. Then, repeat the procedure for your second rafter. To attach the third rafter, raise the ring off of the ground. When you lift up the center ring, let the first 2 rafters support 1 side. Then, insert the pin of the third rafter into the marked hole. Lift the center ring into position using the third rafter. Maintain pressure on the first 2 rafters, and place the notched end of the rafter on the cable. There is a metal pin on the side of the rafter that easily slides into the center ring. When attaching your rafters, be sure to follow the marked holes and cable spaces. It is helpful to have a friend stand close with another rafter to push the ring up. Until you have a few rafters in place, it may be a bit tricky.
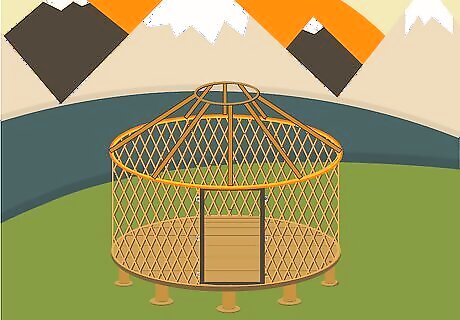
Slide the remaining rafters into the top of the yurt. To insert the rafter, put the end with the pin in completely, move the other end to the cable, push the lattice wall slightly outward with your shoulder, and hook the rafter to the cable. Install the rafters over your doors as your final step, since these rafters help hold the belly band or tension cables in place. Keep your rafter pattern symmetrical to balance the weight and placement. It is also helpful to keep 2 lattice wall crotches in between each rafter. Once you angle the rafter correctly, the rafter easily slides into place. Do not force the rafter into the ring. Alternatively, stand outside the structure, put the rafter over the lattice walls, and push the end into one of the slots along the roof ring. When you have 4-6 rafters secure, the person holding the center support can let go and get out of the way. The number of rafters you need depends on your particular instructions.
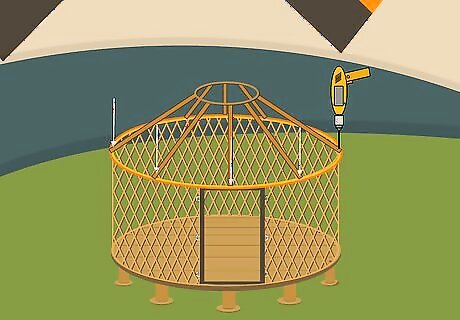
Install a screw into the pre-drilled hole just below the belly band. To prevent the rafters from lifting up, use your drill to add the included screws to the underside of the rafter. To find the pre-drilled hole, look on the bottom of the rafter near the tension cable or belly band. Do not use different or longer screws. The screw provided is the correct size for the pre-drilled hole.
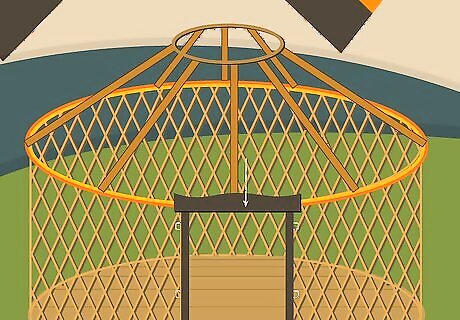
Secure the rafters to the door frame using header brackets. Each rafter has a slight notch to hold the tension cable or belly band in place against the door. Go inside the yurt, and place the header bracket onto the rafter on top of the door. Rest the flat side on top of the door header. Then, slide it forward so it is flush with the tension cable. Secure the brackets to the rafters using the included screws and your power drill. Before you fasten the header bracket to the door header, make sure the door is straight.
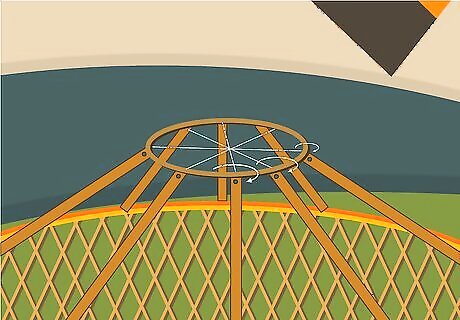
Install the safety cable to the rafters to hold them in the ring. To do this, remove the cable clamps from the safety cable, and thread the cable through the pre-drilled holes in the rafters. When you reach the starting point, bring the end of the cable through the loop on the opposite end, and pull it tightly. Reposition the cable clamps and tighten them so they are secure. You can then cut off any extra cable using a cable cutter.
Securing the Cover
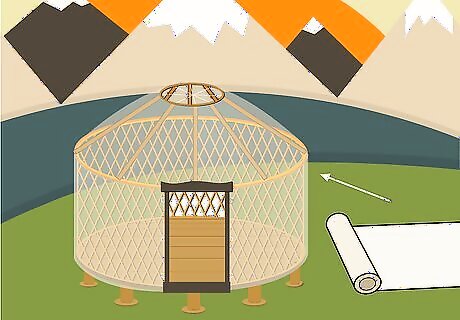
Install your roof insulation and liner facing if included in your kit. Not all yurts require insulation or lining, but they conserve heat and protect your yurt from the elements. Install your insulation on a day that is not very windy, and do this once the rafters are all in place. Use a step ladder to reach the top middle of your yurt, and spread the liner over the rafters. Have a friend pull the hemmed end around the rafter ends. Then, place the insulation on top of the liner. You can secure the upper area while your friend secures the perimeter. To secure the lining and insulation, use a staple gun to add a staple every 4–8 in (10–20 cm). Once the insulation seam is aligned properly, use the foil tape to secure the seam. If you’d like, trim the insulation around the door frame so it does not get in the way.
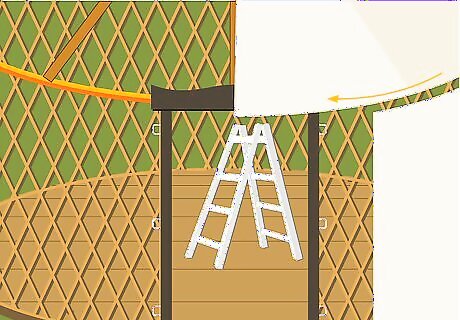
Take out the cover and place a step ladder in the middle of your yurt. Remove the cover from the bag and get rid of the binding straps. The cover of your yurt is often in a bag made of the same material. Untie the straps around the cover. Then, place your step ladder inside your yurt so you can unroll the cover.
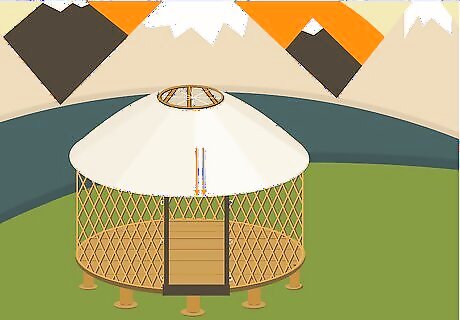
Unroll the covering toward the door frame. To do this, bring the top of the covering through the center ring opening. Once the covering is through the opening, you can let the covering unroll until it reaches your door.
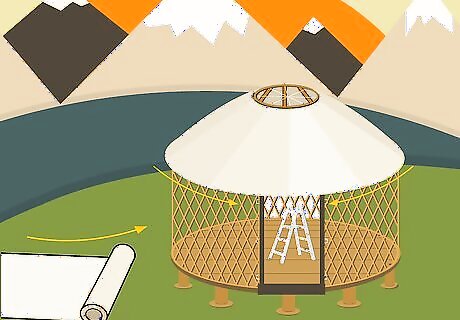
Unfold your covering 2-3 times to begin wrapping the perimeter. As you stand on the step ladder, have a friend work around the perimeter. Once the covering is unrolled, unfold it 2-3 times to cover a bit in each direction. As you do this, look for the cut-out opening for the door in the top cover valance. The cut-out has many oval grommets, rather than round grommets. Ensure the cut-out is centered over the door so you can easily install the rest of the covering.
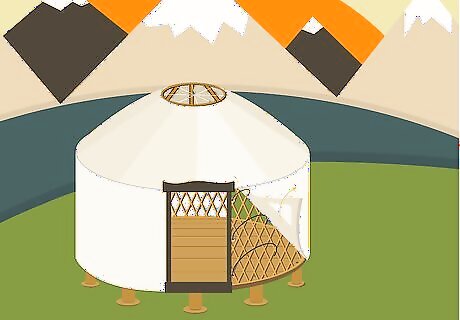
Unfold half of the covering and secure it using connectors. Work with your friend to unfold the rest of the covering across the top and perimeter of the yurt. Once the covering is halfway unfolded and covers half of your rafters, install a 2-5 twist-lock connectors or S-clips to secure the top cover at the door. Securing the cover near the door keeps the door detail aligned.
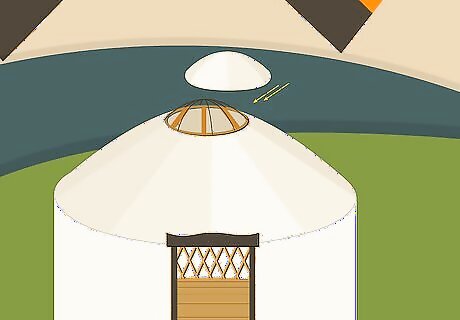
Pull the top layer of the cover over the center ring and down the other side. Then, tie a cord to a few of the grommets on the top cover. Use the cord to help pull the rest of the fabric over the center ring and around the perimeter. Finally, pull the outside edge around so it is snug around the ends of the rafters. It is imperative that the top cover is centered on the center ring and pulled down evenly. If not, your covering will be crooked. You do not need to fasten the cover to the center ring.

Mark the oval grommet locations around the door to secure them. Once the covering is in place, inspect the door frame to make sure everything fits properly. Then, use a marker to indicate the oval grommet locations. Drill ⁄64 ft (0.033 m) pilot holes with the provided bits, and then fasten the twist-lock connectors. If you don’t drill pilot holes, you may break the twist-lock shank. If you overtighten the twist-lock connectors, you can also break the shank. Once your roof is in place, consult your instructions regarding any specific finishing touches.



Comments
0 comment