views
Breeding Pheasants
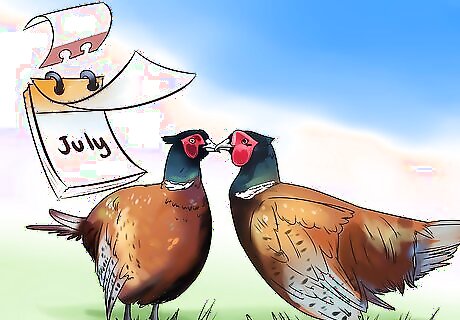
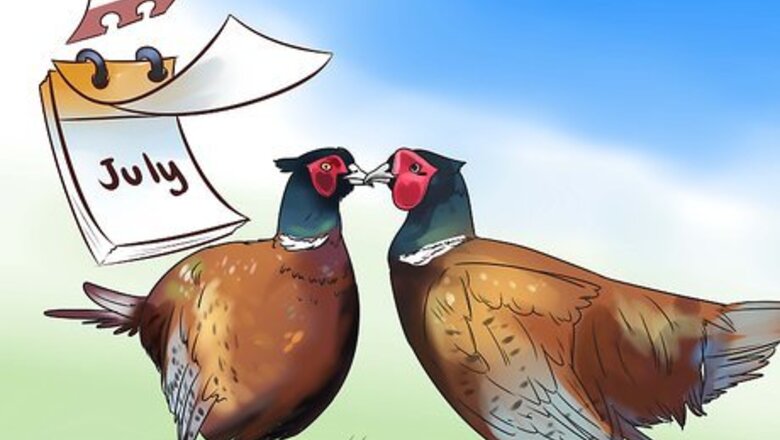
Look up your pheasants' breeding season. Pheasants breed in spring and summer, generally beginning in March in the Northern Hemisphere. Look up your specific pheasant species to find a more accurate start date. For best results, you should move the pheasants into their breeding pen about a month before the season begins.
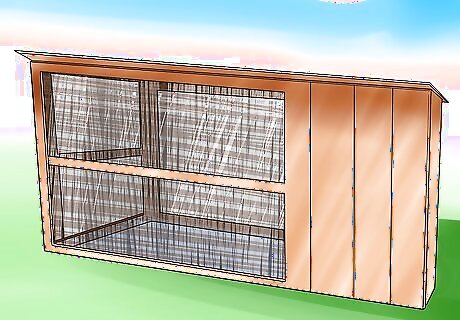
Set up the breeding pens. Pheasants thrive in large environments with plenty of brush cover. A space with an irregular shape works better than rectangular or round areas, as it provides more nooks and crannies for nesting hens. These factors are especially important if you plan to have the mother brood the eggs, but they are important even if you're only concerned about egg production. The ideal environment includes fully grown trees and shrubs. If this is not feasible, provide stacks of cornstalks or other brush for hiding and nesting spots.
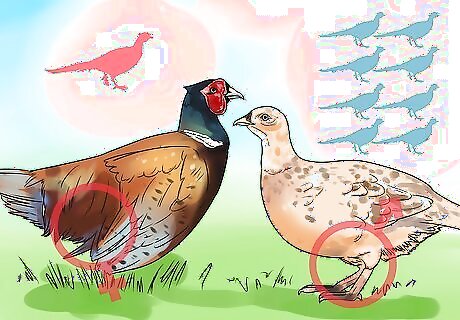
Decide on a male:female ratio. A breeding pen typically has a ratio of seven or eight hens per rooster. Males will often fight during the breeding season, so lowering this ratio may be dangerous. If you have the space, dividing the pen into multiple breeding groups will reduce violence and broken eggs. If a males dies or has to be removed, do not attempt to replace it during the breeding season. The remaining males may kill the intruder.
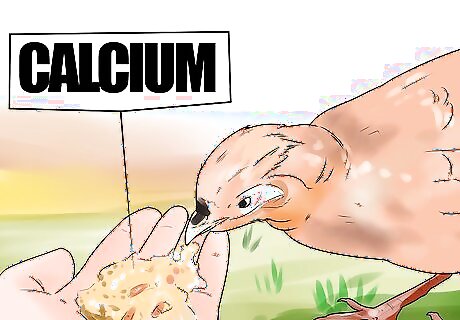
Provide calcium. All egg-laying birds require a calcium source to produce strong eggs. Oyster shells, limestone grit, and other options are available at farming supply stores. Pheasants are able to manage their own calcium levels when provided with enough of the source, so the exact amount is not critical.
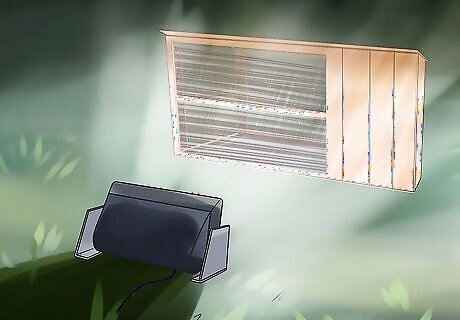
Install artificial lights (optional). If you are running a commercial farm, artificial lights are recommended to increase egg production. Set these to an automatic timer to produce 15-hour days. Add the artificial light starting at sunset; sudden light before dawn may startle the pheasants.
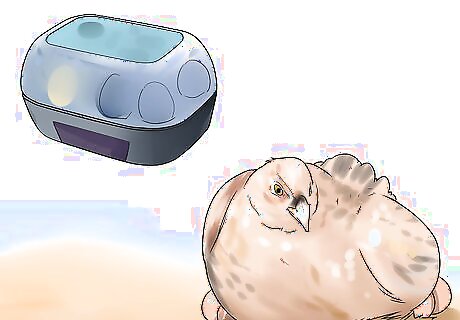
Decide on an incubation method. There are three ways to incubate the eggs: Incubators: These machines are almost always used in commercial operations, as they can incubate many more eggs at once. They also allow precise control over the environment, which can greatly increase hatching percentage — at least once you've had some practice. Pheasant hens: This is the cheaper option, and may be more fun for a backyard breeder who wants to watch pheasant behavior. However, as described below, this requires plenty of space and vegetation. Brooding halts egg production, so you will end up with fewer fertilized eggs than the incubation method. Hens of other species: Even in good conditions, some pheasant species or individual hens will fail to raise the eggs. You may use domestic fowl to brood their eggs, but there is a risk of disease transfer or poor mothering once hatched. Note — One efficient way to handle this is to allow the pheasant hen to brood for 7–10 days. Take the eggs to the incubator, then allow the hen to lay a second clutch and raise it herself.
Hatching Eggs in an Incubator
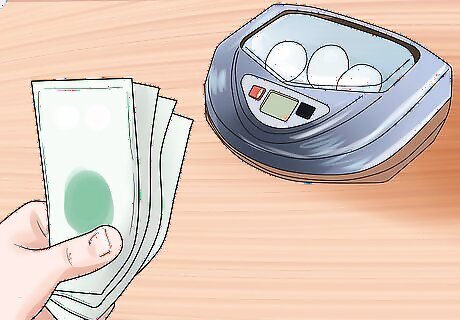
Purchase an incubator. There are a wide range of incubators available, costing anywhere from one hundred to several thousand US dollars. Choosing a model is beyond the scope of this guide, but these basics can inform your decision: Forced-draught incubators have better ventilation systems and are generally easier to manage. However, some studies suggest that the more labor-intensive still air incubators get better results for pheasant eggs. Read the manual before buying if possible. If installed incorrectly or in the wrong environment, the incubator may overheat.
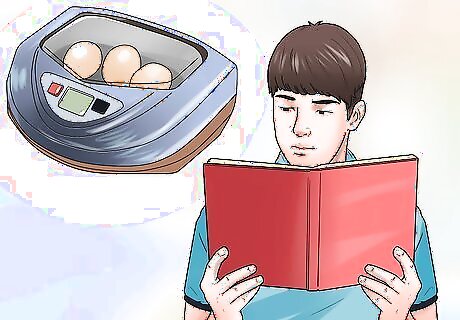
Review incubator basics. If you've never used an incubator before, read our detailed guide to the general process. This includes important setup and sanitation information before you get started. Return to this guide to find information specific to pheasant incubation. Start this at least a week in advance. Leaving incubator on this long will allow it to reach a steady temp and humidity before eggs are introduced.
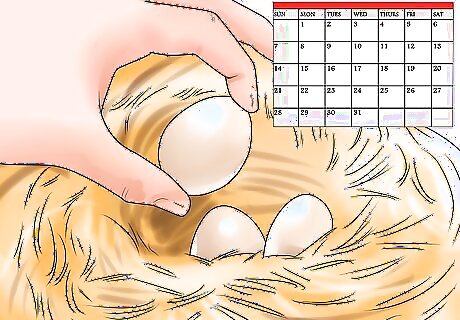
Collect eggs daily. If the pheasant hens are not sitting on the eggs, collect them every morning, and perhaps again later in the day. Eggs left out are vulnerable to heat damage and predation.
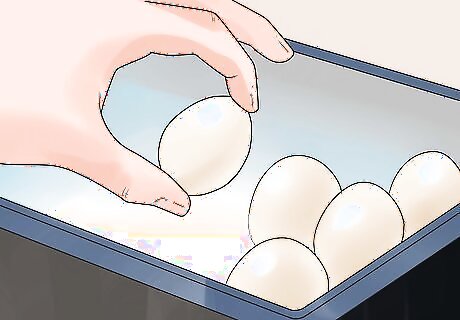
Store eggs until ready to incubate. If your incubator is not ready yet, store the eggs in a tray of clean sand, with the pointed end tilted downward at a 45º angle Measure humidity and temperature daily, keeping the area as close to 55ºF (12.7ºC) and 65–70% relative humidity as possible. Even a change of 5ºF (change of 2.8ºC) can make an additional 10% of the eggs unviable. Rotate each egg once a day. Mark two opposite sides of the egg with an X and an O to help you keep track, using a pencil or felt-tipped pen. Move on to incubation as soon as you can, and always within 11 days of collection.
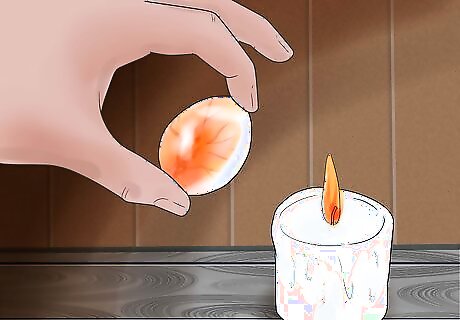
Candle the eggs (optional). A bright light can reveal signs of healthy development or failure. If you have limited space in your incubator, perform this test to determine which eggs you can discard. Place the remaining eggs inside the incubator. Do not expose eggs to the light for too long, as the heat can cause damage. You may perform this test periodically while the eggs are being incubated, but try to minimize handling.
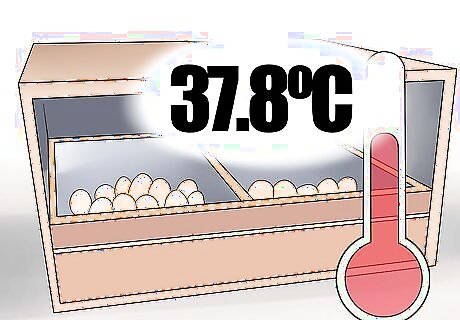
Track temperature daily. For pheasants, a forced-draught incubator should be kept as close as possible to 100ºF (37.8ºC), and still air incubators at 102–103ºF (38.9–39.4ºC). Place the thermometer ½ inch (1.2cm) above the top of the eggs, and check it daily. The right temperature is vital to the eggs' development. Keep a master thermometer (accurate within 0.18ºF / 0.1ºC) in a cool place where it will not be jarred. At least once a year, compare your daily thermometer to the master and replace the daily thermometer if it is not accurate within 0.9ºF / 0.5ºC. Incubators can easily overheat on a hot day, or if there is not enough ventilation in the room. In an emergency where the correct temperature is not feasible, a few hours at a low temperature (90ºF / 32.2ºC) is safer than a high temperature (105ºF / 40.6ºC).)
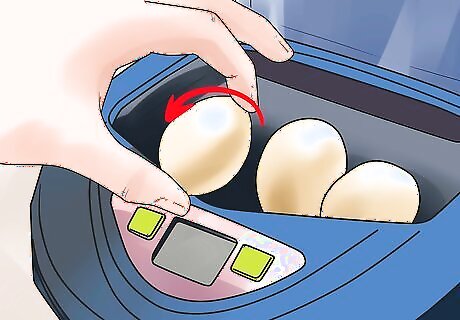
Turn the eggs regularly. If the machine does not turn the eggs automatically, turn them by hand at least three times a day, and preferably five or seven times a day. To ensure the eggs are rotated 180º, mark the opposite sides with an X and an O, using a pencil or felt-tipped pen. Turn an odd number of times each day so the two sides alternate positions each night.
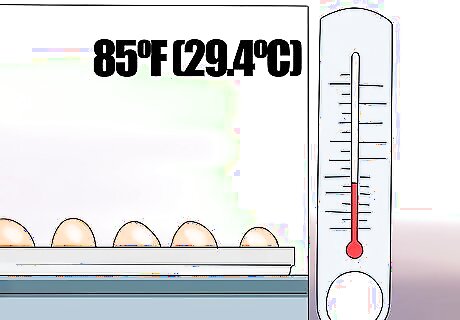
Track humidity. Use a wet bulb thermometer to test humidity daily. Most incubator manufacturers recommend a relative humidity of 55%, which is equivalent to an 85ºF (29.4ºC) wet bulb reading at air temperatures of 100ºF (37.8ºC). If you have a different air temperature, refer to a psychrometric chart to find the desired wet bulb reading at 55% relative humidity. The wrong humidity can cause serious developmental problems. The effects are less immediate than a mistake in temperature or egg turning, but the humidity should never be more than 10% off these recommended levels for more than a day or two To increase humidity, keep the incubator's moisture trays full of warm water. Many incubators have automatic controls to adjust humidity as well. At the correct humidity levels, the egg should lose weight at a steady pace, down to about 85% of its original weight by the time it hatches. For more accuracy, weigh the egg regularly and draw a chart of its progress. If it is on pace to lose too much or too little weight, consult an expert or an in-depth incubation guide for information on adjusting humidity.
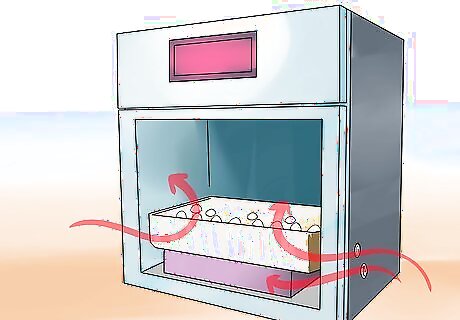
Ventilate the machine. Forced-draught incubators should ventilate on their own, while still-air incubators only have small air holes and should be placed in a well-ventilated room. Since models vary greatly, refer to your incubator manual for instructions on adjusting ventilation. Ventilation can be adjusted to change humidity, but this is not its only purpose. Do not reduce ventilation too far in an attempt to increase humidity, or the chicks may be cut off from oxygen.
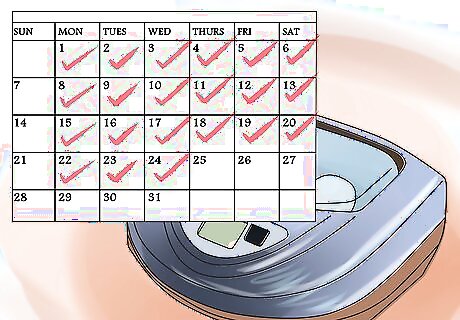
Look up expected hatching times. "True pheasant" species (also called typical pheasants) tend to hatch after 24 or 25 days of incubation. Other species range from 20 to 29 days, so look yours up so you know what to expect.
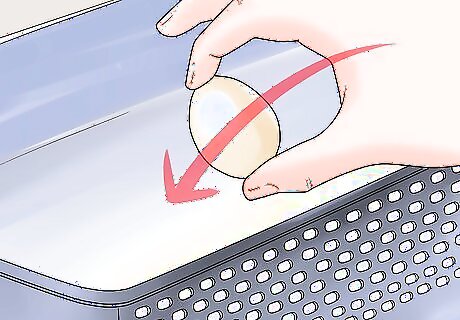
Make adjustments near hatching time. About three days before the expected hatch date, make the following adjustments: Move the eggs to a hatcher (optional). A hatcher is essentially a simple incubator with no turning mechanisms. Turning is not required during the final stages, and newly hatched chicks can get caught in the moving parts. Hatched chicks also introduce disease, so their presence in the incubator requires a new round of disinfecting. Increase relative humidity to 65%. This will help soften the egg membrane, allowing chicks to push through. If necessary, hang wet hessian or install automatic misters to increase humidity. Increase ventilation. Open the air vents wider during this period. Never keep the vents narrow in an effort to increase humidity during this time.
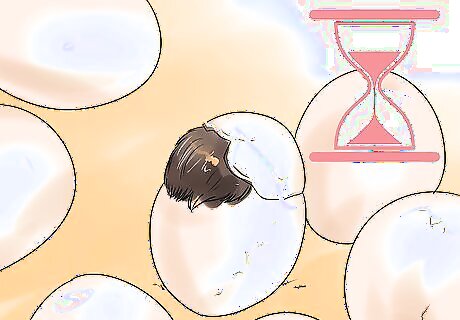
Wait for the chicks to hatch. Some basic info in pen setup is covered in the section below. This guide does not go into the broader topic of pheasant chick care, but breeding associations and university extensions have excellent resources available online and by mail order.
Hatching Eggs with Brood Hens
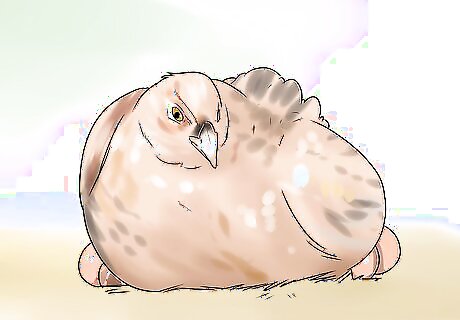
Confirm that the pheasants are brooding. As described in the section on breeding, pheasants require plenty of space, hidden nooks, and vegetation. Even then, many species are notoriously reluctant to brood. Check daily to see whether any of your hens have become broody. If they have, you can leave the incubation process to the mothers. If the pheasants refuse to brood, you can give the eggs to other poultry species. Because the possible transfer of disease is specific to species and region, speak to a local pheasant breeder or veterinarian before you try this.
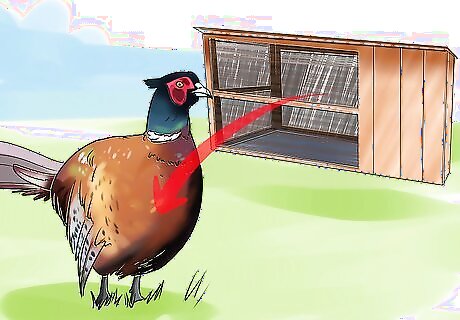
Watch for signs of male aggression. If the females do not have space to hide from males, the males may become aggressive or destroy the eggs. The risk is greater after the chicks have hatched, so consider moving the males out of the pen once your hens are brooding. Occasionally, a male will help the female brood. If you're a backyard breeder who's not too invested in the outcome, you can try keeping in the rooster for the first season and seeing what happens.
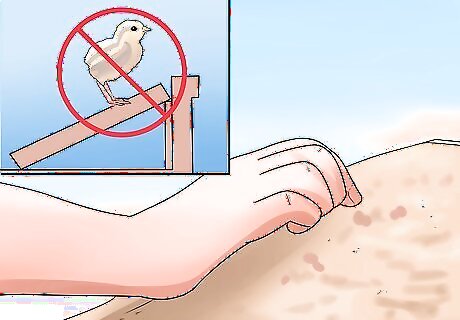
Construct sand ramps to roosting areas. Newly hatched chicks cannot fly and may die if the pop hole (the entrance to the roost) is too high to reach. A ramp allows the chick to follow the mother up and down. Sand ramps are best, as solid ramps usually leave crevices that chicks can get lost or stuck in. Also provide ramps between any "steps" in the pen.
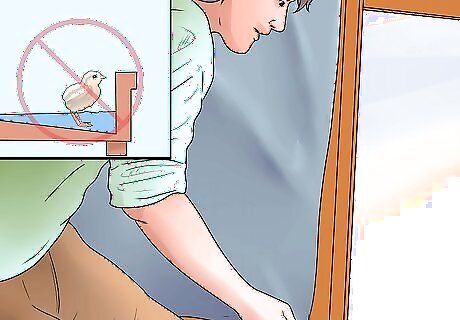
Drain bodies of water. Chicks easily drown even in small bodies of water. Empty these or surround them with chick-proof barriers.
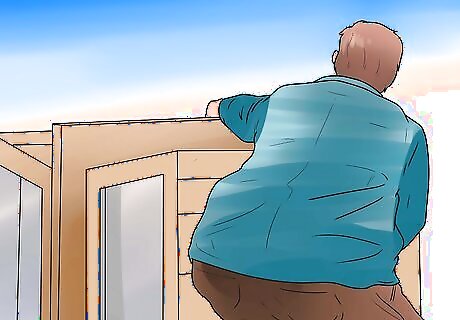
Block off walls adjacent to other pens. Birds in adjacent pens can catch chicks through the mesh. If two pens share a wall, block the area low to the ground with a solid barrier. Also make sure you are using a mesh fine enough to prevent chicks from walking through the holes.


Comments
0 comment