
views
Quick and Easy Options
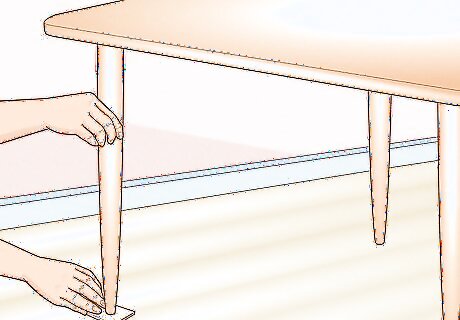
Slide a matchbook under the shortest leg to level it. This is the simplest way to solve an issue with a single short leg. Just grab a small, flat item and slide it under whichever table leg is giving you the most problems. You could use a matchbook, thin strip of cardboard, a coaster, or a folded up paper towel. This may take a little bit of trial and error.
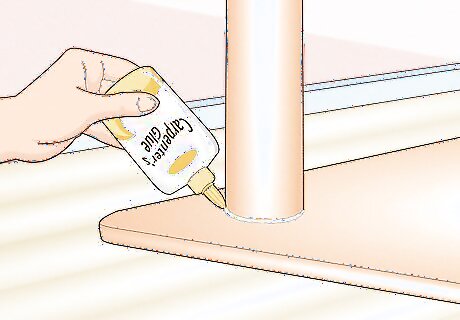
Fill a single wobbly or loose joint with wood glue. If one of the joints is loose and that’s what is causing the wobble, you can typically remedy the problem by filling the joint with glue or epoxy. Flip the table over, gently hold the legs in place, and fill the gaps with wood glue. You can even unscrew the leg, fill the area with wood glue, and then reinstall the leg before it dries. You can use a clamp to hold a leg tight against the table while the wood glue dries if necessary. You can also use epoxy if you prefer. Wood epoxy is going to be stronger than wood glue most of the time, but it’s a little harder to work with.
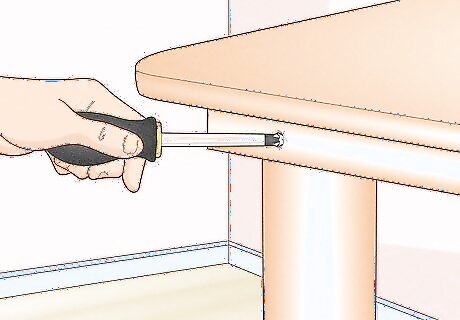
Try retightening any loose screws or bolts on your table. If you just moved, rearranged your room, or use the table frequently, the joints can become loose. Grab a screwdriver, hex key, or any other hardware you need and inspect each joint. Retighten screws and bolts as needed to get rid of the wobble.
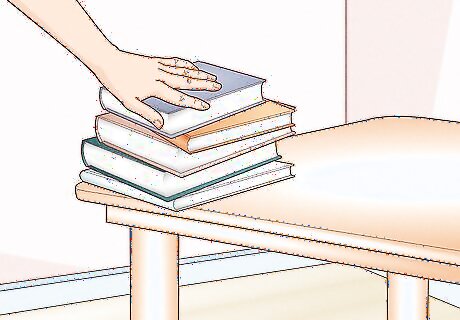
Put something heavy on the table to keep it in place temporarily. If one of the legs is shorter than the other, but you just need a super quick fix, put something heavy over the shorter leg. It could be a stack of books, a planter, or some kind of other item. This should push the table leg down and keep the table from wobbling all over the place. You can achieve a similar effect by leaning a wobbly table against a wall depending on how the table wobbles. This only works if one of the legs is short. If the table is wobbly because the joints are weak, this might break the table.
Leveling Uneven Table Legs
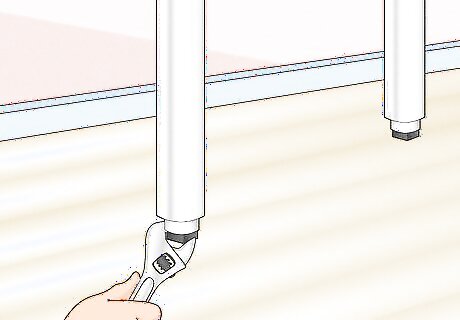
Twist the adjustable glides if your furniture has them on the bottom. Glides are adjustable little pads that sit at the bottom of furniture legs where they rest on the floor. If your table isn’t level and you have glides on it, just twist them counterclockwise to make the table a table leg longer, or clockwise to make them shorter. Continue adjusting the legs until your table is even and stable. You can monitor how even the table is by putting a spirit level flat on top of the tabletop while you’re adjusting. There are also level apps you can download to turn your phone into a spirit level.
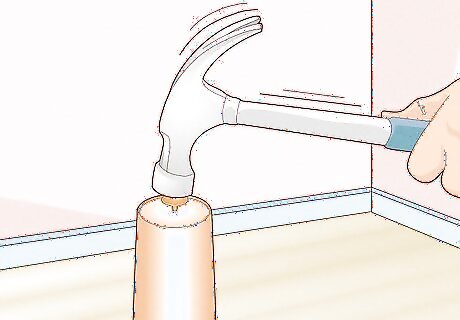
Install a furniture tack if your table doesn’t have glides. If one of your legs is shorter than another, measure the distance between the ground and the end of the leg. Buy a furniture tack that matches the size of that gap. Flip the table upside down, hold the furniture tack over the bottom of the leg, and hammer it into place. Some furniture tacks have “pressure pads” on them. These are great if you can’t measure the gap between the leg and the floor, since they’ll give you a margin to work with while preventing the wobble.
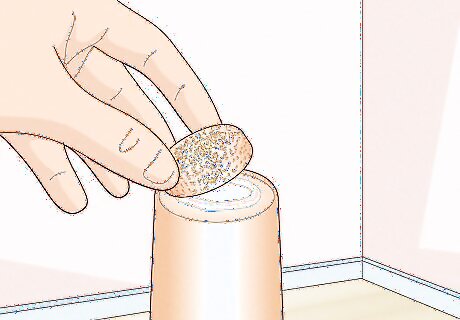
Cut pieces of a wine cork out and glue them to the legs for a DIY option. If you can’t screw or drill into the legs of a table, make a riser! Use a utility knife to cut a slice off of an old wine cork and then use hot glue or wood glue to secure it to the bottom the shortest leg. This will keep the table from wobbling, and the cork won’t stand out at all. Make sure that the glue has totally cured before you move the table around.
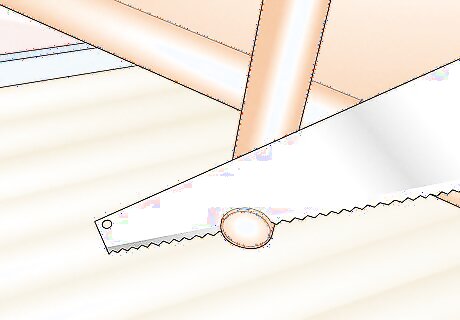
Saw the longer legs down for a professional-looking solution. You can do this with a hand saw, circular saw, or jigsaw. Use a measuring tape to calculate the gap between your floor and the shortest leg. Then, mark that distance off on each of the longer legs using a pencil. Saw the end off of each of the longer legs, and sand the bottom of each leg you cut. Add a furniture pad or furniture tack to each leg and you’ve got a perfectly level table! Wear safety goggles and a dust mask. If possible, make your cuts outside to keep sawdust from getting all over. Keep your hands away from the blade of whatever saw you’re using. If it will make things easier, take the legs off of the table. That way, you can set them on a set of sawhorses or in a C-clamp to make the cutting process easier.
Using L-Brackets to Reinforce the Joints
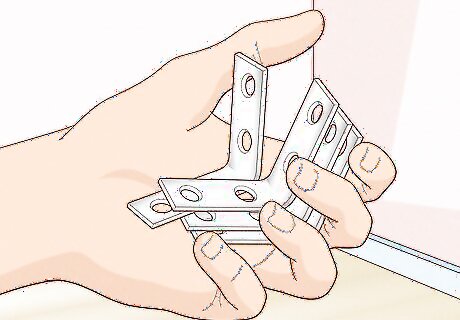
Purchase some L-brackets to brace the table and legs. L-brackets are L-shaped pieces of soft metal that have holes for screw slots. By installing them at the junction where your table legs meet the tabletop, you’ll give the table legs some additional support to prevent wobbling. Purchase at least 4 of these brackets to brace every leg on your wobbly table. You can also use small blocks of wood to do this if you don’t have L-brackets. That’s going to be tougher though, since you can bend L-brackets, but you’ll need to cut the wood blocks to size with a saw. Some L-brackets come in kits with screws that will work for them. These are ideal if you can find them and the screws aren’t longer than your table’s thickness. If you only have 3 table legs, you can just use 3 L-brackets.
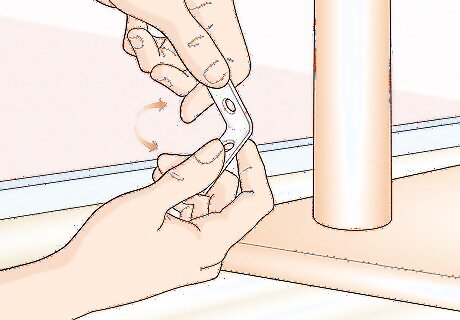
Bend each bracket to match the leg where it meets the table. Flip your table upside-down so the tabletop sits on the floor and give each leg a little push and pull. For every leg that wobbles a bit, place a bracket at the 80- to 100-degree angle where the leg meets the table. Bend the brackets so that they sit perfectly flush against the leg and the tabletop. You do not need to adjust the angle of the leg at all. So long as the legs rest on the ground, the angle there doesn’t matter. Your table is wobbly because the joints are weak, not because the legs need adjusting. If you can’t bend the brackets by hand, you can use two wrenches or sets of channel locks to gently bend the brackets to size. These things typically aren’t that strong, though.
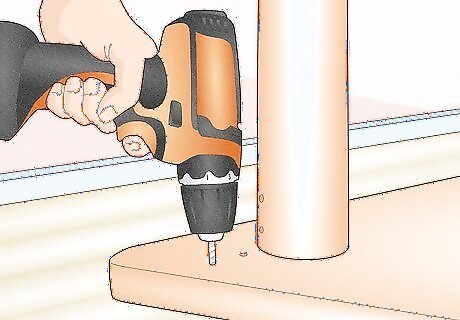
Drill pilot holes into each slot where the screws will go. Grab some screws that are shorter than the width of the tabletop and legs. Put a pilot bit on your drill and hold the bracket in place. Drive a pilot hole into each opening where you’re going to be placing a screw. The pilot hole doesn’t need to be as deep as the screw. So long as there’s some threading in the hole, the screw should catch. You don’t want to go too deep and risk driving the pilot bit all the way through the table!
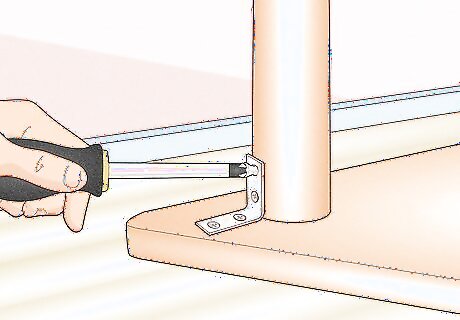
Screw the brackets into the leg and table. Place your bracket in place so the pilot holes align with openings in the bracket. Then, drive your screws through the openings with a drill to secure the brackets in place. When the screws are in, give the leg a little tug. If it doesn’t move, you should have no more wobble! Repeat this process on any other legs that needed support. You can do this on every leg if you want to keep things uniform.



Comments
0 comment