views
- To add pictures in InDesign, click "File" → "Place" and select the picture.
- Drag to picture to the desired position.
- To change the picture's size, use the "Select" tool. Click and drag one corner to resize it.
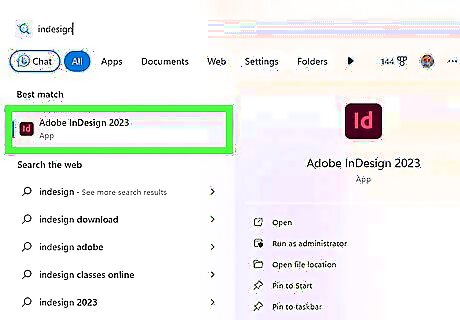
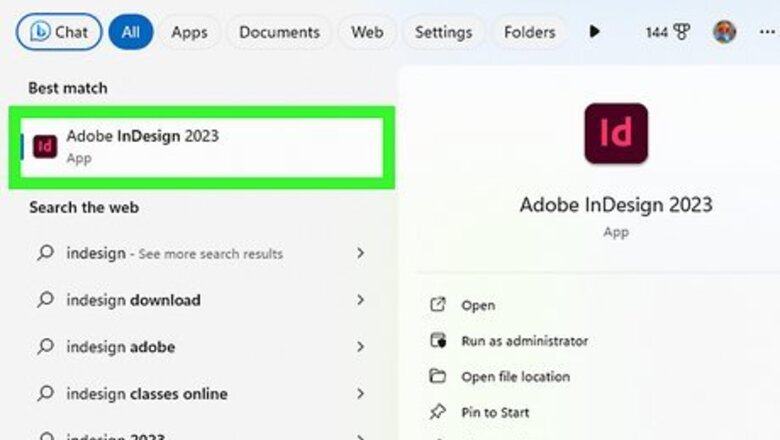
Open Adobe InDesign.
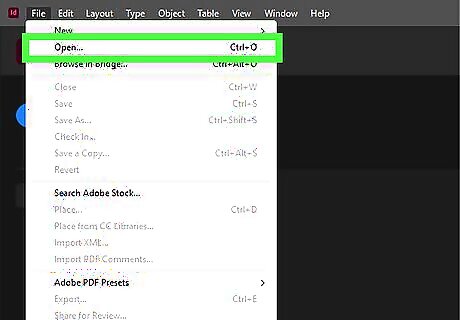
Open the InDesign document you will be working from. Do this by selecting File>Open from the Control panel at the top of your workspace. If you do not have an existing InDesign document to work from, create a new document by selecting File>New>Document and specifying the settings for your new document.
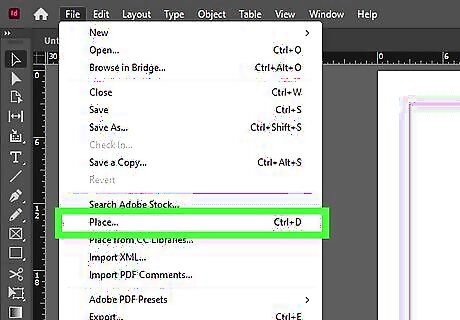
Click File>Place in InDesign's Control panel. Navigate to the picture file you would like to import and double click the file name.
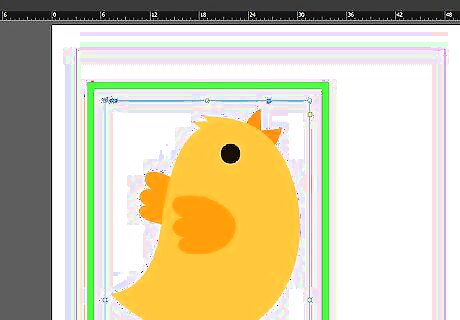
Drag and place your picture to your desired position and click your mouse.
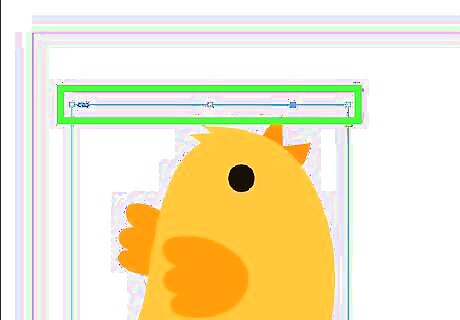
Adjust the size of your picture, if necessary, by selecting the picture using your Select tool and clicking one of the handles (small squares) located on the frame. Drag the handle while simultaneously holding the Control and Shift keys (Or for a mac, Command+Shift). Holding the Shift key will adjust the pictures size proportionally. If you want to crop out a particular portion of your picture, hold only the Control key as you drag the handle. You may also enter precise values for the pictures height and width in the Height and Width fields located in the Control panel.
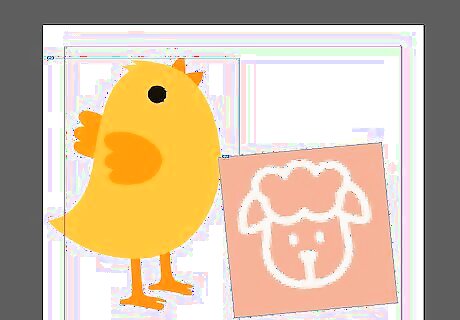
Repeat these steps for all pictures you wish to add.







Comments
0 comment