views
Creating a Welcome Message Before Login
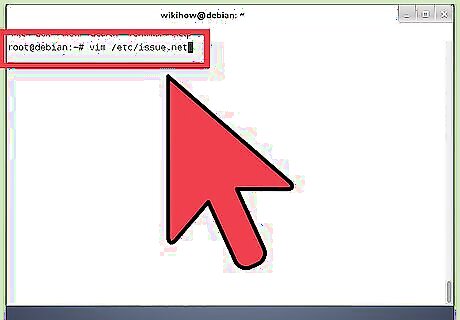
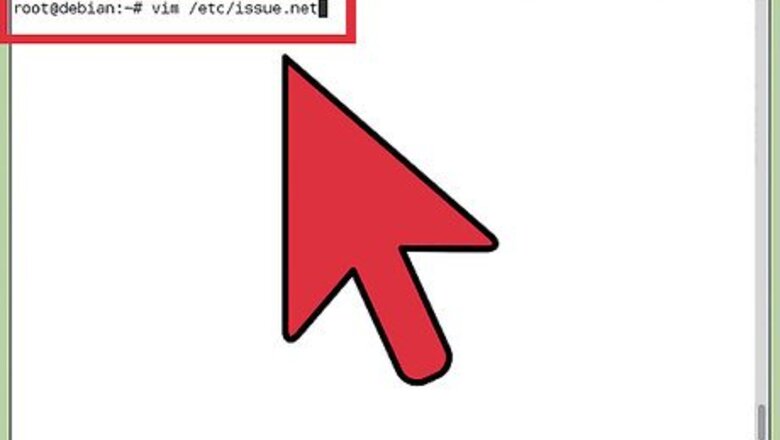
Open /etc/issue.net in your favorite text editor. This file contains the message that appears to remote users before they log in, just above the login prompt. Since this is a plain text file, you can edit it with your preferred text editor (like Nano or Vim) to create any custom welcome banner you wish. Use sudo to edit the file. For example, sudo vim /etc/issue.net. /etc/issue.net is only shown to remote users. If you want the pre-login welcome message to be displayed to local users as well, edit /etc/issue instead, and delete (or rename) /etc/issue.net By default, the file displays the current version of Ubuntu.
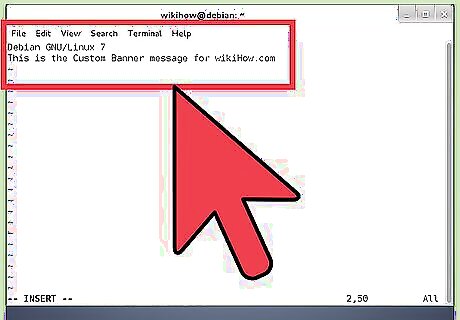
Add your message and save the file. Below the Ubuntu version, type the message you want to appear when remote users log in to the server.
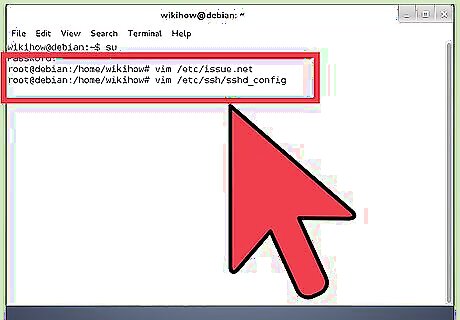
Open /etc/ssh/ssh_config in a text editor. Now that you've created your custom banner, you'll need to make sure it's configured properly in sshd.
Add your Banner line. First, if you see a line in ssh_config that begins with #Banner, just remove the hash symbol to uncomment it. If not, scroll to the bottom of the file and create a new line beginning with the word "Banner," followed by the path to /etc/issue.net. The new line (or uncommented Banner line) should look like this: Banner /etc/issue.net
Restart sshd. To do so, use the command sudo systemctl restart ssh.service. When sshd restarts, you can test your new banner by connecting to the server via SSH from a remote system.
Creating a Message of the Day Banner After Login
Navigate to /etc/update-motd.d. To customize the banner that appears to remote users after they log in to your Ubuntu server, you'll need to edit the scripts in /etc/update-motd.d. Instead of using a single file, MOTD (Message of the Day) concatenates banner fragments from a series of scripts in this directory. You can edit the existing scripts and create your own to appear along with them. Use ls in /etc/update-motd.d to see the names of the scripts—notice that all begin with two numbers (00, 10, etc.). The number preceding each script's name determines the order in which it appears in the banner. For example, 00-header is the first part of the banner, and all subsequent numbers appear after it in order. To see your current MOTD banner, use the command run-parts . to run all scripts in the directory.
Edit an existing script. By default, you'll find 00-header, 10-help-text, 50-motd-news, 91-contract-ua-esm-status, 91-release-upgrade, and 92-unattended-upgrade, all of which are combined into a single banner message in that order. Other packages may also add their own scripts. You can edit these scripts individually by opening a script in your text editor with sudo. Unlike the welcome message you can create in /etc/issue.net that appears before login, these files must be shell scripts—not plain text files.
Create a new script to add to the banner. To do this, you'll want to create a new file beginning with a two-digit number representing where it should appear in the banner. For example, if you want your new addition to appear just beneath the header, you might call it 01-my_custom_msg.
Remember, this must be a shell script, not plain text.
After creating your script, make it executable so it can run. Use chmod +x
Test your MOTD banner. To do this, use the command run-parts . to run all scripts in the current directory. The banner you see here is now what remote users will see when they log into the Linux server.
Adding ASCII Letters to MOTD
Create your ASCII letters. If you're not up for creating your own ASCII art from scratch, you can use an ASCII text generator like this highly-customizable one.
Create a new shell script in /etc/update-motd.d. To do this, create a new file in the directory that begins with two numbers so the message appears where you want it in the script. For example, to make it appear after 10-help-text, you might call it 11-ascii. #!/bin/sh
Paste your ASCII art into the text file. This will likely take up several lines in the file. You'll also need to format the art so that it is echoed to the screen. Here's an example: echo " _) | _) | | " echo " \ \ \ / | | / | __ | _ \ \ \ \ / " echo " \_/\_/ _| _\_\ _| _| _ | \___/ \_/\_/ " echo "" echo "" However, some characters need to be escaped, or the shell will think they are commands. In our example, we'd actually need to escape all backslashes (\) and pipes (|) in the art by placing a backslash before each. But don't worry—the added slashes won't appear in your banner.
Save the script and make it executable. When you're finished editing, you'll need to use sudo chmod +x





Comments
0 comment