views
- If you accidentally changed your USB flash drive's format, some files may be hidden. You can reveal them in Finder.
- Use Command Prompt to show hidden files that were hidden by malware.
- Terminal will show you hidden files on your USB pen drive.
Using File Explorer On Windows
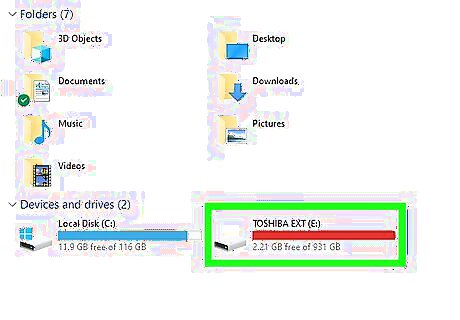
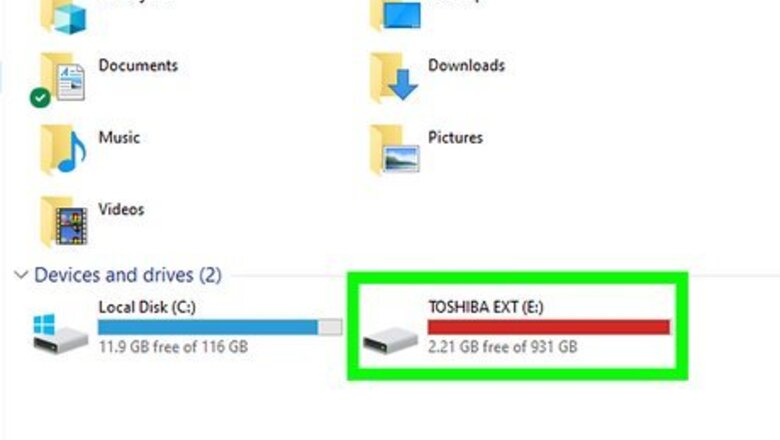
Plug your USB flash drive into your computer. Insert the USB flash drive into one of the thin, rectangular slots in your computer's housing. If you're using a desktop computer, USB ports are typically in either the front or the back of the computer's CPU case. If you're using a laptop, they are usually located on the sides.
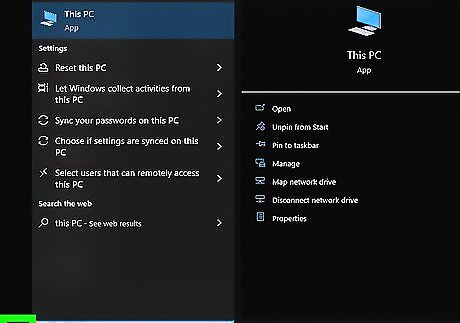
Open Start Windows Start. Click the Windows logo in the bottom-left corner of the screen.
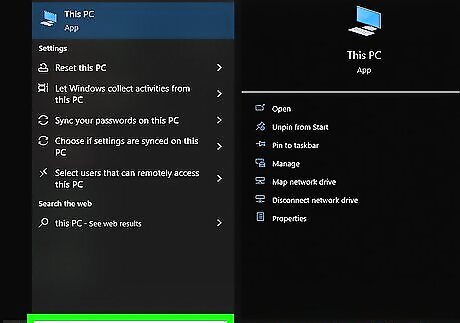
Type in "this pc." Doing so will search your computer for the "This PC" program. Click the search result to open File Explorer. It's a computer monitor-shaped icon at the top of the Start window.
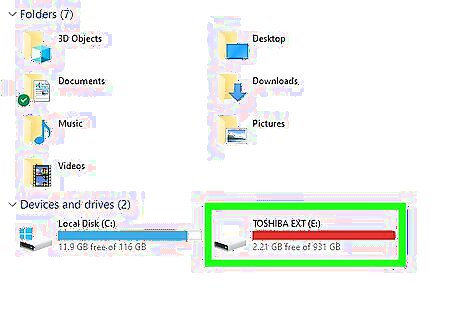
Open your flash drive. Find your flash drive's name below the "Devices and drives" heading in the middle of the page, then double-click it. If you don't see your flash drive here, try unplugging the flash drive and plugging it back into a different USB slot.
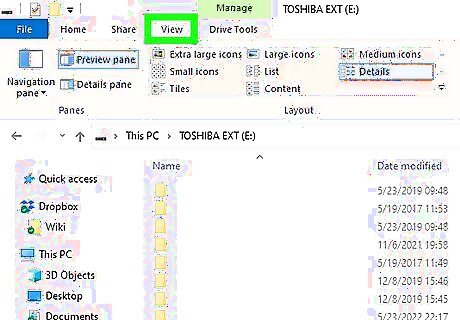
Click the View tab. It's in the upper-left side of the flash drive's window. Doing so prompts a menu bar to appear at the top of the File Explorer window.
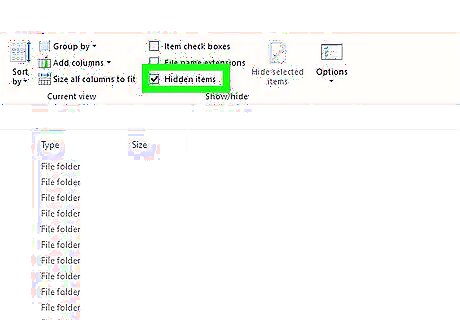
Check the "Hidden items" box. Click the box to the left of the "Hidden items" option in the "Show/hide" section of the menu bar. Doing so will both place a checkmark in the "Hidden items" box and force any hidden files on your USB flash drive to display. If there's already a checkmark in the "Hidden items" box, your USB flash drive is currently displaying hidden files. Hidden files are generally dimmer and more transparent-looking than regular files. If you're using Windows 11, you'll need to click the Show menu, before you will see the "Hidden items" option.

Double-click the hidden file you want to open. Doing so will open the file, allowing you to view its contents. If the file you're trying to open is a system file, you may not be able to complete the opening process. If you are certain that there is a file on a drive that you can't see and this doesn't work, try using Command Prompt to unhide your files.
Using Command Prompt on Windows
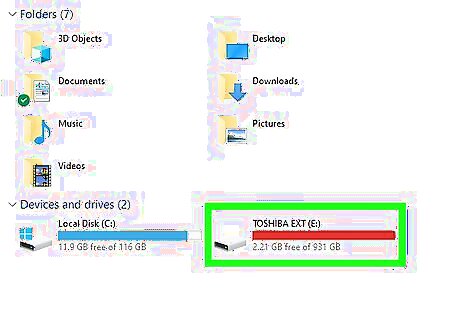
Plug your USB flash drive into your computer. Insert the USB flash drive into one of the thin, rectangular slots in your computer's housing. If you're using a desktop computer, USB ports are typically in either the front or the back of the computer's CPU case. If you're using a laptop, they are usually located on the sides.
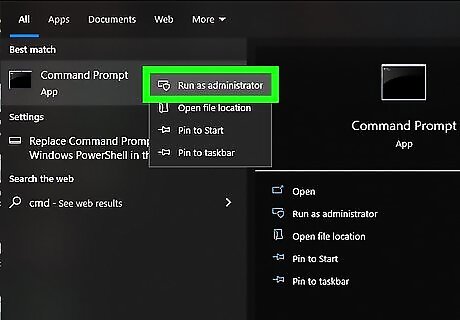
Launch Command Prompt as an administrator. To do this, press the Win key and type in "Cmd Prompt". In the search results that appear in the Start menu, click Run as administrator. If something like a virus or malware is causing your files to hide, this method will work to unhide them. Even after running a scan or removing the problem, you'll still need to unhide those files.
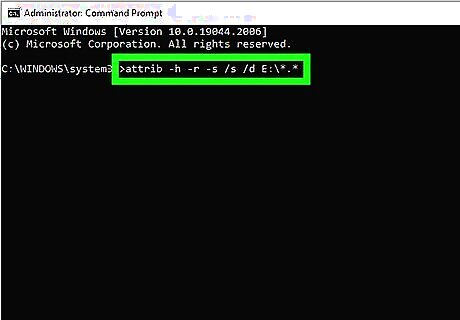
Enter the following command: attrib -h -r -s /s /d X:\*.*. Replace the "X" with your USB drive's location. Press Enter after typing in that command.

Open a file that was hidden. From File Explorer, you'll be able to see all the files that were previously hidden on your USB pen drive. If you haven't removed the malware from your computer, your files will probably be hidden again the next time you plug in your USB pendrive. Avoid this by removing the malware.
Using Terminal On a Mac
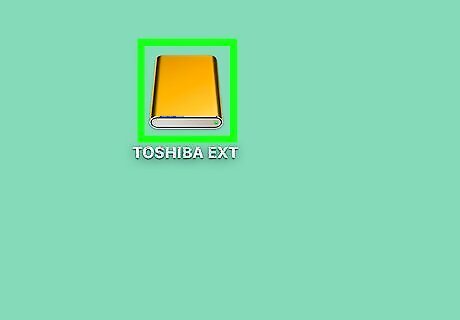
Plug your USB flash drive into your computer. Insert the USB flash drive into one of the thin, rectangular slots in your computer's casing. If you're using an iMac, you may find the USB ports on the side of your keyboard or on the back of the iMac's screen. Not all Macs have USB ports. If you're using a newer Mac that doesn't come with USB ports, you'll need to purchase a USB to USB-C adapter.
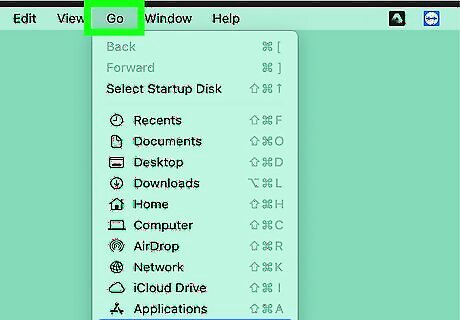
Click Go. This menu item is in the upper-left side of your Mac's screen. A drop-down menu will appear. If you don't see Go, first either click your desktop or open Finder (the blue, face-like app in your Mac's Dock).
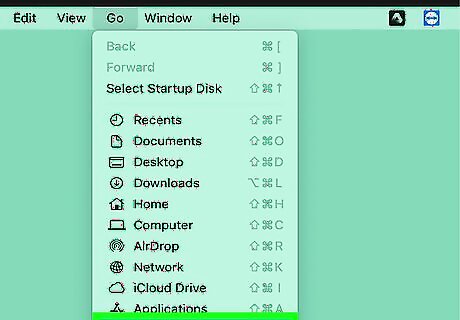
Click Utilities. This option should be near the bottom of the Go drop-down menu.
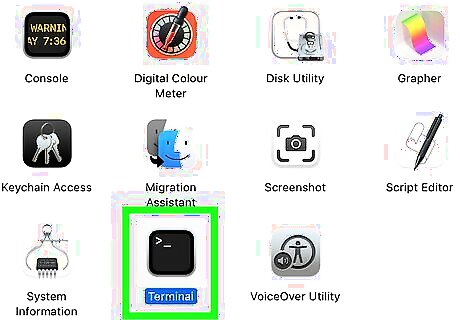
Double-click Mac Terminal Terminal. You may have to scroll down through the Utilities folder to find it.
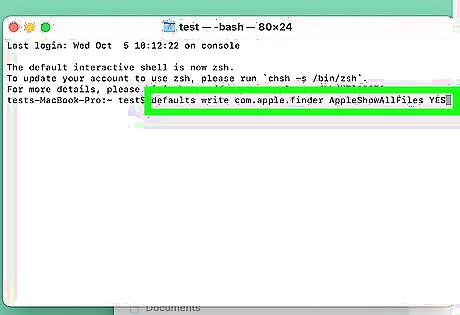
Enter the "show hidden items" command. Type defaults write com.apple.finder AppleShowAllFiles YES into Terminal, then press the ⏎ Return key.
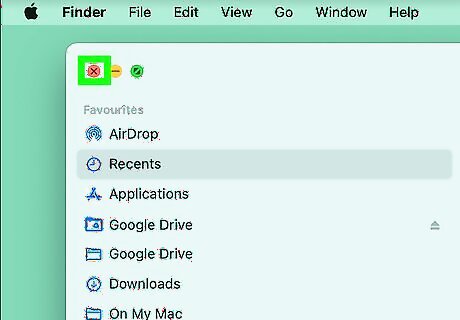
Close and re-open Finder if it's open. If your Finder program is open, close it and then re-open it to refresh it. You can also enter killall Finder into Terminal to automatically perform this step.
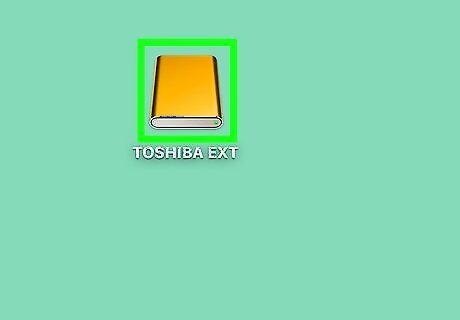
Click your USB drive's name. It will be in the lower-left side of the Finder window. Doing so opens the USB drive's contents, including any hidden files and folders that are on it.
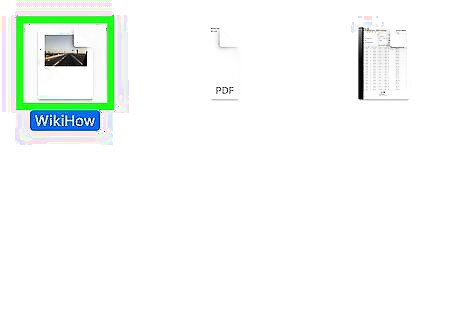
Double-click a hidden file or folder. Hidden items resemble greyed-out versions of regular files or folders; double-clicking a hidden file or folder will open it.








Comments
0 comment