
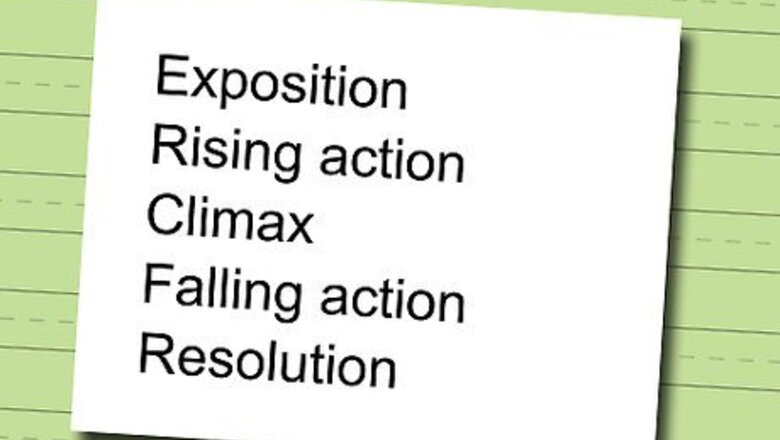
Know the 5 parts of the witch's hat diagram. There are Five Parts to the witch's hat diagram: The exposition, the rising action, climax, falling action, and resolution.
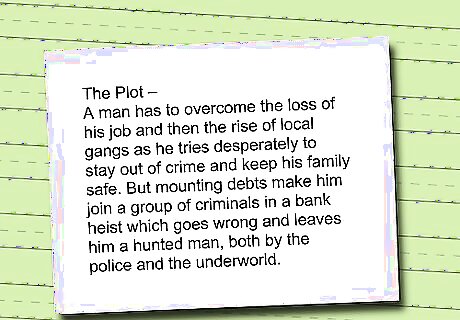
First, you must have an idea in your head. Thinking of the plot as you go along is perfectly fine, but you *will* have to do some editing later on.
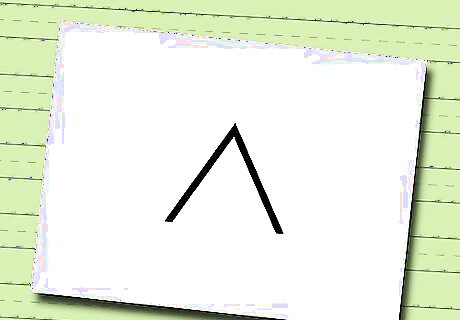
Draw the beginnings of the hat. This diagram gives you a visual aid to the basic outline of your story. First, you will need to draw an up-side-down "v" shape on a piece of paper. Hold the paper sideways, so that it is in "landscape" form.
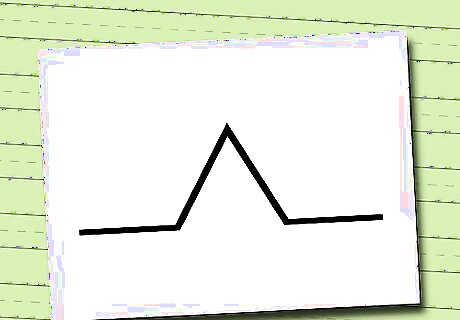
Then draw two horizontal lines that connect to the edges of the "v" shape that reach across the paper. They both should be about 3 or so inches long.
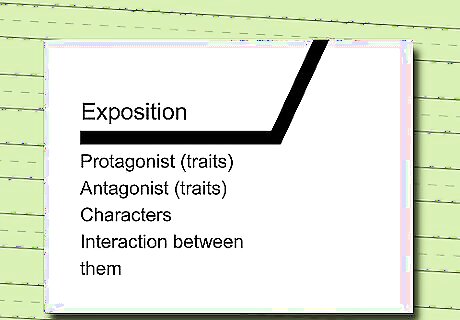
On the first line, on the far left, label it Exposition. Underneath it, write out the name of your protagonist, and a trait that makes them distinctive. Do the same for the antagonist. Then list the other important characters and their interaction with the protagonist or antagonist.
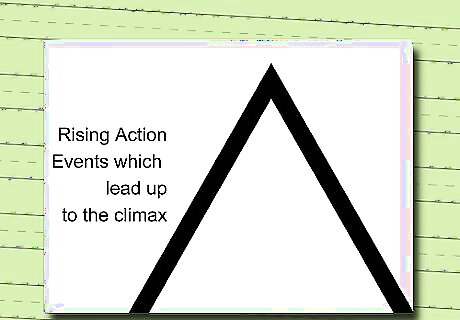
On the slope on the left of the up-side-down "v", label it "rising action" and write all the events the character faces, leading up to the climax.
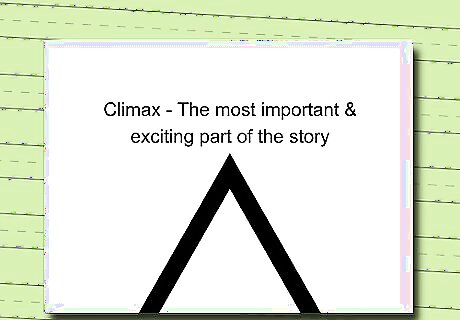
At the climax, label the moment of biggest suspense, when the protagonist achieves his goal, or achieves something very important. Remember, this is the biggest event in your story.
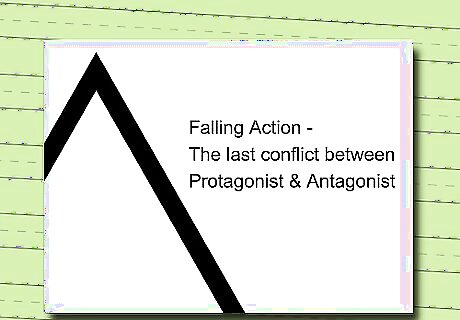
Lay down the falling action. Then comes the falling action. This is usually the last conflict that the protagonist encounters, and towards the end of the story, where he defeats the antagonist. This will be on the right side of the "v" on the witch's hat.
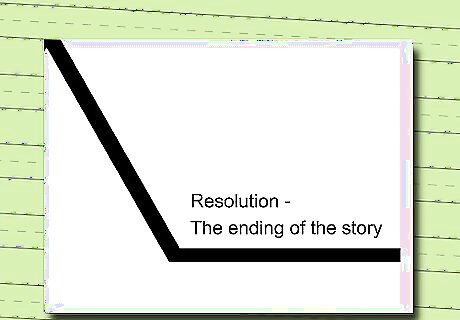
Decide on the resolution. Finally, there is the resolution. This is the ending of the story, where all the conflicts are resolved. This is on the right horizontal line of the diagram. This is what the final product should look like. The witch's hat diagram is good for novels+ and short stories. NOT for books that are in or part of a series.


Comments
0 comment