views
How to Apply Gold Leaf
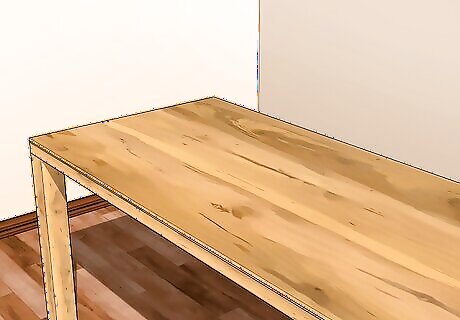
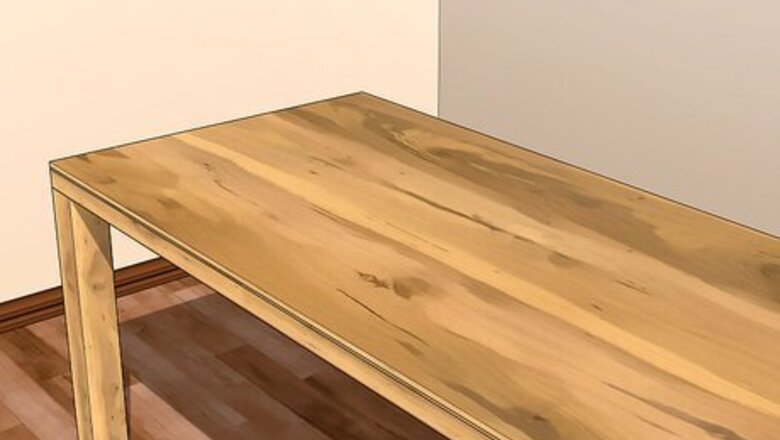
Set up a clean workspace free of moving air. Gold leaf comes out best when you take your time with it—rushing leads to a clump of mess and a waste of gold. Close nearby windows and turn off fans to avoid spreading metal particles. Similarly, you may want to wear a mask and put on gloves to avoid inhaling small gold particles.
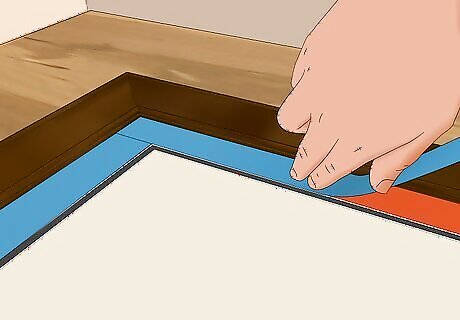
Cover the areas you don’t want to gild with painter’s tape. If you’re adding gold leaf to a small area of your object—like a picture frame, knobs on a cabinet, or a canvas painting—use painter’s tape to cover the parts you want ungilded. Gilding is the process of applying thin sheets of gold leaf to a surface. Because the tape adhesive isn’t strong, you can remove it easily without damaging anything.
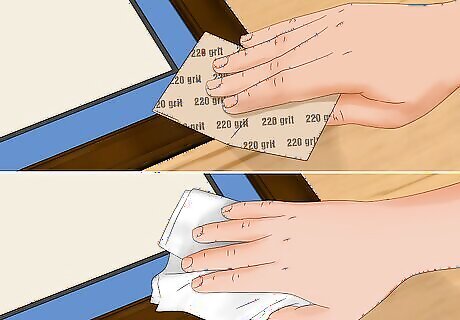
Wipe the surface clean and sand it if you’re working with wood. Before priming the surface, use a damp microfiber cloth to wipe the surface of any lingering debris or dust particles. For wood pieces, take a 220-grit sandpaper or less to smooth the surface. Remove the dust with a tack cloth.
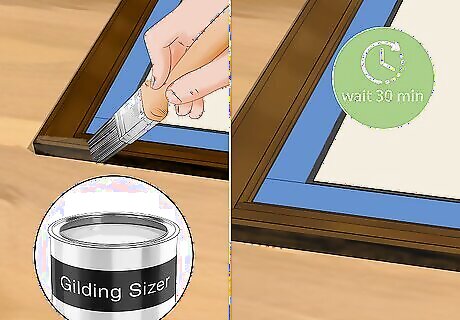
Prime the surface with an adhesive, like a gilding sizer. Dip a paintbrush with a primer formulated specifically for gilding, like a gilding sizer. Wait at least 30 minutes until the sizer has dried to a clear finish. At this point, the sizer will feel tacky, which is what you want. Spray adhesives typically take 10 minutes to dry. In either case, run your knuckle down the surface of the object. If you can hear a squeak, it’s ready for gold leaf. Use a water-based gilding adhesive unless you’re adding gold leaf to an oil painting. Then, use an oil-based gilding adhesive. Alternatively, Interior Designer Patricia Penker recommends using a paint color as a base color for the gold leaf. Paint two coats of the new paint color. Once it’s dry, cover the area with a coat of adhesive.
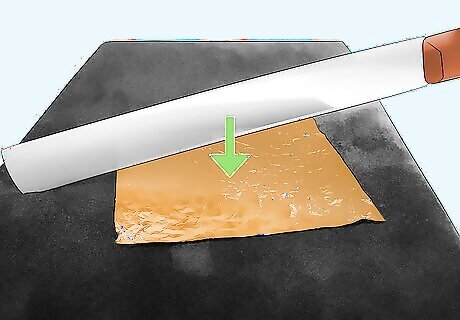
Cut the gold leaf to size on a gilding cushion, if necessary. Since gold leaf is easily tearable, working in small sections is best. Lay a sheet with the matte side facing up on a gilding cushion. Cut the gold leaf into smaller pieces with a gilding knife. Alternatively, you can use a sharp blade or scissors. Use gold leaf sheets for smaller projects, like accents in drawings or small picture frames. If you’re covering a large surface, like the countertop of a wood dresser, opt for a roll. Gilding cushions have a leather smooth surface that prevents leaf tearing. Degrease the leather before use with pumice powder. Apply the powder to the surface with a gilding knife and gently brush the excess away before laying down the leaf.
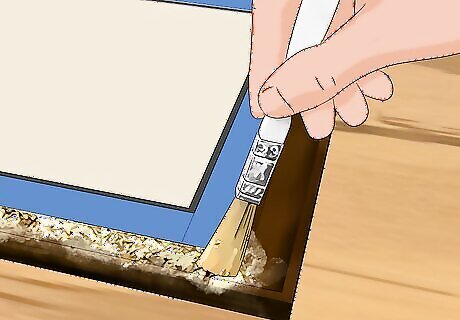
Press the leaf on the surface and brush over it with a gilder's brush. Place a small piece of leaf onto the tacky areas of the object. If you’re using a sheet with backing, apply even pressure to ensure all the adhesive is covered. Use a soft gilder’s brush or paintbrush to burnish the leaf onto the surface. This will also help remove any air pockets. If there’s backing paper, slowly lift it off. Repeat as necessary. Don’t worry if some areas overlap—excess gold leaf will brush right off. If the sheets don’t cover the entire surface width, arrange the pieces in a grid pattern.
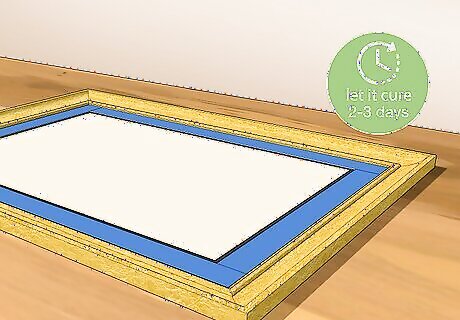
Let the leaf cure for 2-3 days before brushing off the excess. Both imitation and real gold leaf should have adequate time to cure before brushing the excess gold off. Check the sizer’s instructions before proceeding. When it’s ready, take a gilder’s brush and move it in a gentle back-and-forth motion to adhere the leaf to the object. Remember, the object should look like it’s made of gold rather than covered in gold. This process will also remove any excess gold leaf as you brush it. Look for any imperfections and apply small bits of leaf to cover them. Smooth and brush the new bits before proceeding. Use the excess leaf to avoid wasting the product.
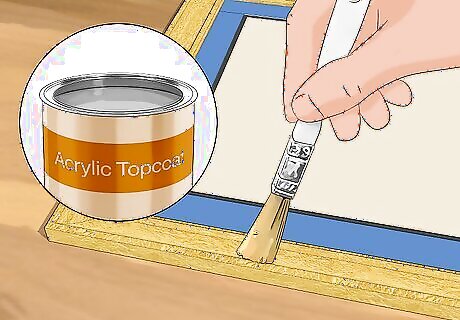
Apply an acrylic topcoat to prevent imitation gold leaf from tarnishing. Apply a liquid or spray acrylic topcoat to protect the leaf from dust, water, and UV light. Allow the topcoat to dry for five hours before placing or using the object. If you’re using genuine gold leaf, you don’t need to seal it since it won’t tarnish. The top coat isn’t necessary if you’re gilding perishable items like food. If you’d like to give the surface an antique look, apply glaze with a paintbrush afterward. Move in straight lines, going back and forth as you coat the object. Wipe off excess glaze with a soft dust cloth. However, this is optional.
What surfaces can you use gold leaf on?
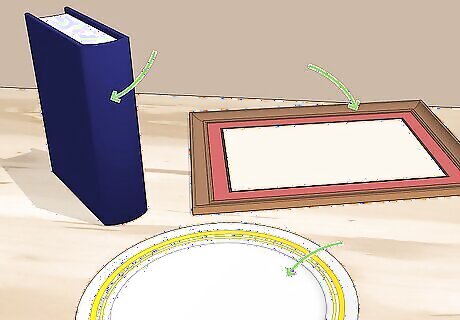
Gold leaf can be applied to virtually any surface. Want to decorate the edges of old books? Or transform old porcelain plates with a unique gold leaf design? You can! Gold leaf has been used as a decorative art since the ancient Egyptians. It can be used on paper, wood, ceramic, glass, textiles, and metal surfaces to elevate the appearance of mundane items.


Comments
0 comment