views
Choosing a Cooler
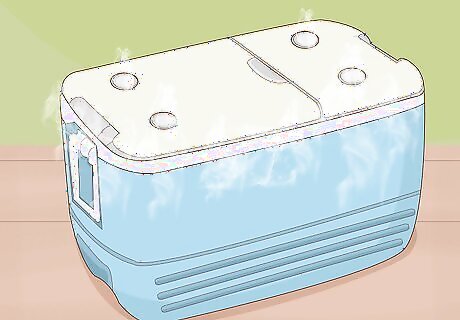
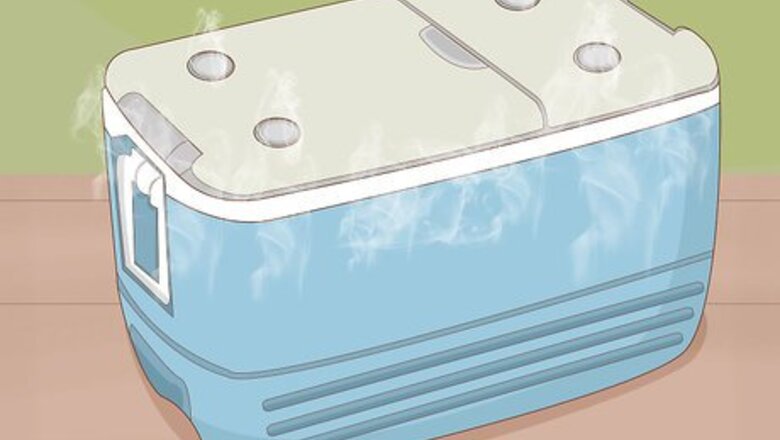
Choose a cooler with ventilation to suit your needs. Dry ice can be used with most coolers as long as there's a way to ventilate them. To ventilate the evaporating gas, the cooler should either have a lid that doesn't seal completely shut or a drainage cap (usually located near the bottom of the cooler). If you need a small cooler or just want to use the dry ice for a day, choose a styrofoam cooler or urethane-insulated box. For longer dry ice use or for a larger cooler, choose a roto-moulded or plastic cooler. If you're using the urethane-insulated box, buy one that's at least 3 inches (7.6 cm) thick.

Arrange styrofoam or cardboard inside the cooler, if necessary. If you aren't using a styrofoam cooler, protect the plastic interior of your cooler from the extreme cold of the dry ice. Cut pieces of styrofoam or cardboard and lay them on the bottom of the cooler. You'll also need to place them along the sides of the cooler, if you'll have dry ice touching the inside walls.
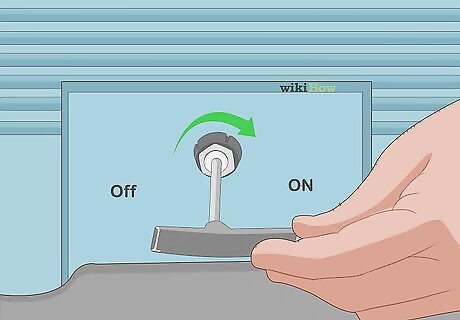
Loosen the drainage cap on the cooler. As the dry ice evaporates, gas can build up within the cooler. To prevent damage to the cooler, leave the lid slightly cracked (if you're using styrofoam or the urethane box). If you're using a plastic or roto-moulded cooler, unscrew the drainage cap a little. If the gas has no way to escape, pressure can build up within the cooler and weaken the plastic.
Buying Dry Ice
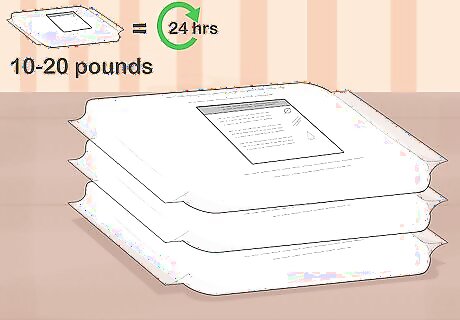
Determine how much dry ice you need. First decide how long you'll need the dry ice in the cooler. For every 24-hours you need, buy 10 to 20 pounds (4.5 to 9 kg) of dry ice. You'll also need to consider how much dry ice will fit inside your cooler along with the items you want to store. For example, a 40 to 60-quart (37 to 56-liter) cooler can usually hold 10 pounds (4.5 kg) of dry ice for 1 day.
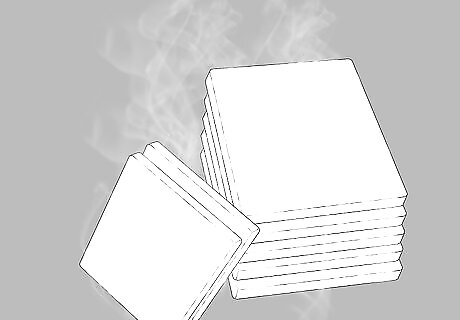
Buy blocks of dry ice. Most dry ice is available to buy in large blocks or chunks. These will last longer than small pieces or pellets of dry ice. Consider measuring your cooler before you buy the dry ice so you know how many blocks will fit inside your cooler.

Wear gloves or protect your hands when you handle the dry ice. Because dry ice reaches extremely cold temperatures, it can burn bare skin. Always wear gloves or handle the dry ice with thick towels so it doesn't come in contact with your skin. If other people will be opening the cooler to get items out (such as drinks) inform people not to touch the dry ice or lay a cardboard covering over the dry ice.
Arranging the Dry Ice in the Cooler
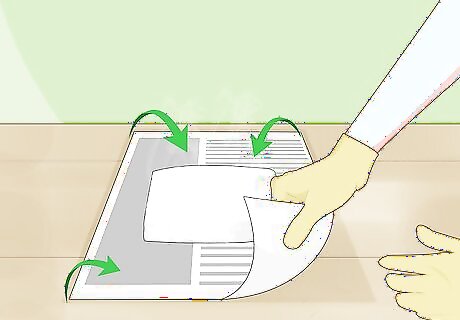
Wrap the dry ice in newspaper. To make the dry ice last longer, wrap the blocks of dry ice in newspaper. The newspaper will insulate it and slow down the evaporation time. Newspaper can also prevent you from accidentally touching the dry ice with bare hands. If you bought small chunks of ice, you may not be able to wrap them in newspaper. Instead, surround the chunks with newspaper to slow evaporation.
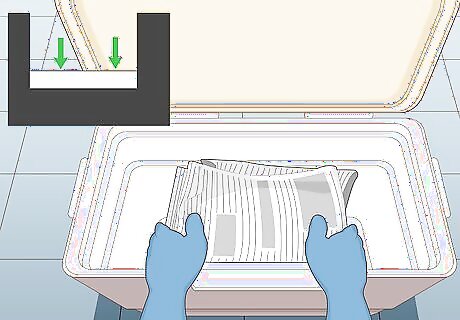
Put the dry ice in the bottom of the cooler to keep food and drinks cold. If you want to be able to access the food and drinks frequently or easily, place the wrapped dry ice on the bottom of the cooler. Then you can arrange the food or drinks on top of the ice. When you need to get the food or drinks, simply open the cooler and remove the items. If you're storing food, remember that the food or drinks will freeze if they're touching the dry ice. Place newspaper or cardboard between the dry ice and the items.
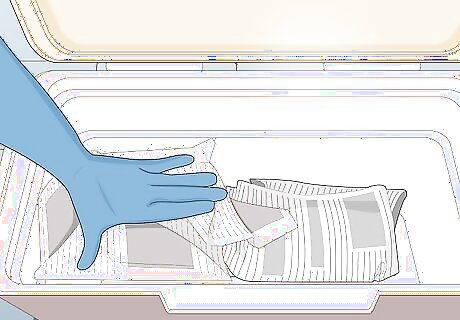
Pack the gaps with newspaper. To help the dry ice last longer, take a few sheets of newspaper and wad them into loose balls. Place the newspaper between the chunks of dry ice or wherever there are any gaps. The space between the dry ice will make it evaporate faster.
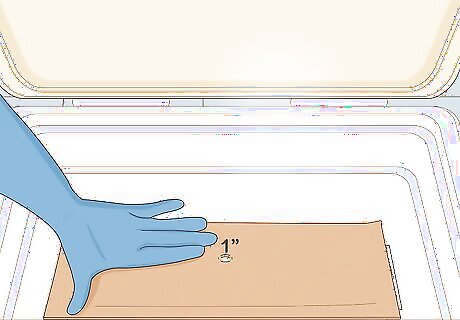
Cover the dry ice with a piece of cardboard, if desired. If you want to prevent your items from freezing or to prevent people from accidentally touching the dry ice, lay a piece of cardboard directly over the dry ice in the bottom of the freezer. Cut a hole about 1 inch (2.5 cm) wide in the cardboard so the gas has a way to escape as the dry ice evaporates. The cardboard acts as a buffer to stop people from touching the dry ice and can prevent food from freezing, so you can skip this if you're mainly using the cooler for food storage.
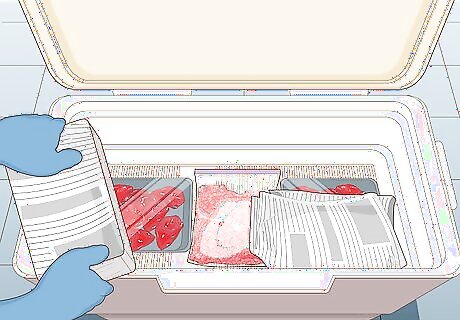
Put the dry ice on top to quickly freeze food, if you prefer. If you would rather use the cooler like a portable freezer, place the items you want to freeze in the bottom of the cooler instead of on top. For example, place meat from a hunting trip in storage bags at the bottom of the cooler. Set the dry ice directly on the food so it freezes quickly. Avoid putting the dry ice on top if you plan on getting in and out of the cooler often since it can be difficult to move the dry ice out of the way.
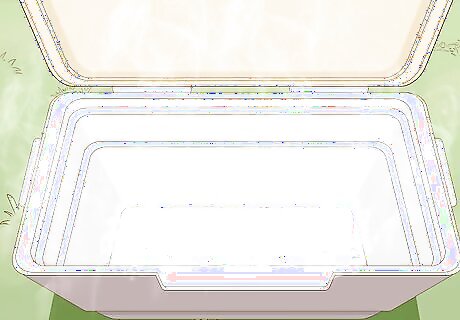
Dispose of the dry ice. Dry ice will evaporate on its own over several hours or days depending on how it's stored. If you need to dispose of dry ice that's still in your cooler, set it outside with the lid of the cooler off or open. Unwrap the dry ice if you covered it in newspaper. Leave the dry ice outside to evaporate. If you have small children or pets around, keep the kids and pets away and don't leave the dry ice unattended. Avoid leaving the dry ice in the sink to evaporate since the extremely cold temperature can damage the plumbing. If you can't leave the dry ice outside, set it on a solid surface such as a wooden cutting board and open the windows in the room. Keep the room ventilated as the dry ice evaporates.


Comments
0 comment