

Selecting the Lens Blur Filter
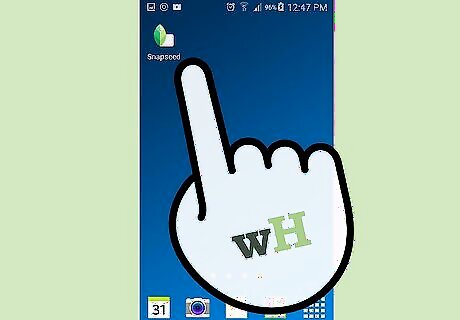
Launch Snapseed. Locate the app on your device and tap on it. The app icon has a picture of a vertical leaf on it. If you don’t have Snapseed, you can download it from the App Store or Google Play Store.

Open a photo to edit. On the welcome screen, you need to select and open a photo to be edited. Tap the “Open Photo” button on the bottom. Select your photo from your device by navigating through your albums and tapping on it. The selected photo will load on your screen.

Open the Editing menu. Tap the pencil button on the lower right corner to bring out the editing tools and filters available.
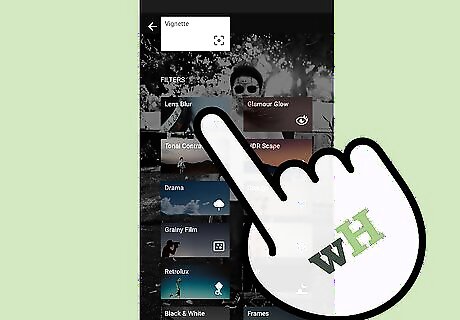
Select the Lens Blur filter. Under the Filters section, tap the Lens Blur picture or button. The Lens Blur filter tool will appear over your photo.
Using Different Blur Options

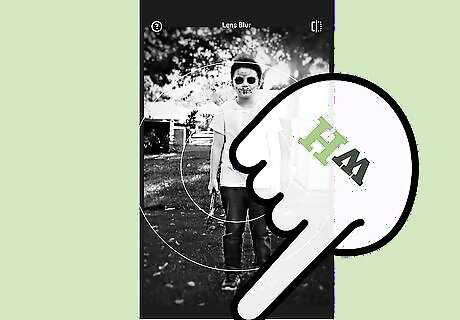
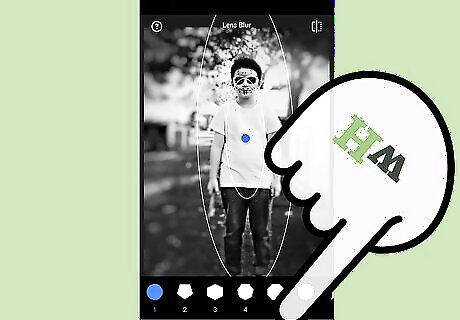
View the blur options. All the blur options that can be applied to your photo are accessed on the bottom toolbar. You can adjust shape, strength, and style.

Select blur shape. The first tool from the left is for shape. You have two choices: Elliptical and Linear. Tap the button to switch between the two shapes. The Elliptical option will give you a circular shape for your blur, while the Linear option will give you a rectangular one.
Select blur strength. The second tool is for blur strength and some related options. There are three options you can adjust under this tool. Swipe up on your screen to see the choices. Tap on the one you want to apply. “Blur Strength”—This controls the strength of the blur effect, which tells how much blur is applied to the areas out-of-focus. Swipe right or left to increase or decrease the blur effect, ranging from 0 (no blur) to 100 (complete blur). “Transition”—This controls the distance of fade between the in-focus and out-of-focus areas. Swipe right or left to increase or decrease the transition, ranging from 0 (no transition) to 100 (maximum distance). “Vignette Strength”—This controls the vignette applied. Swipe right or left to darken or lighten the edges, ranging from 0 (no vignette) to 100 (very dark edges).
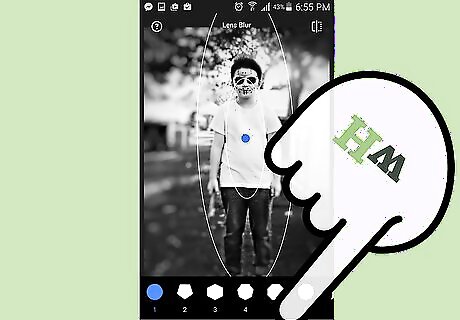
Select blur style. The third and last tool is for style. You have 11 options for the blur style or shape. There are various shapes to choose from, ranging from circle to various stars. Tap on the tool and swipe right to see all of them, and then tap the one you want to use.
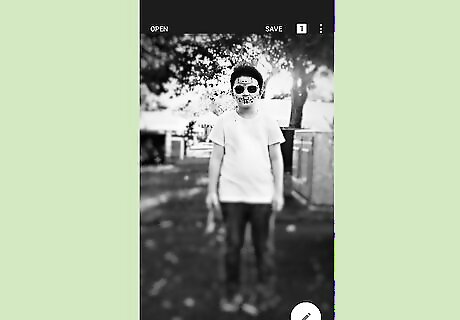
Exit the Editing screen. Once you’re done, tap the check button on the rightmost part of the bottom toolbar. You will exit the Lens Blur filter and go back to the main screen. All your changes to the photo will be applied.
Finished.


Comments
0 comment