views
Choosing a Massage Ball
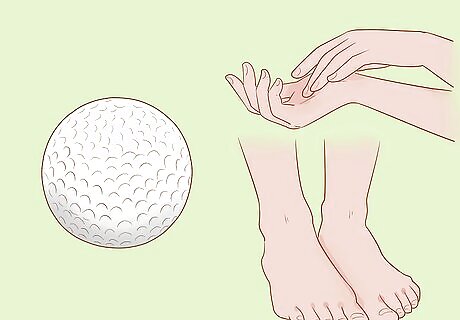
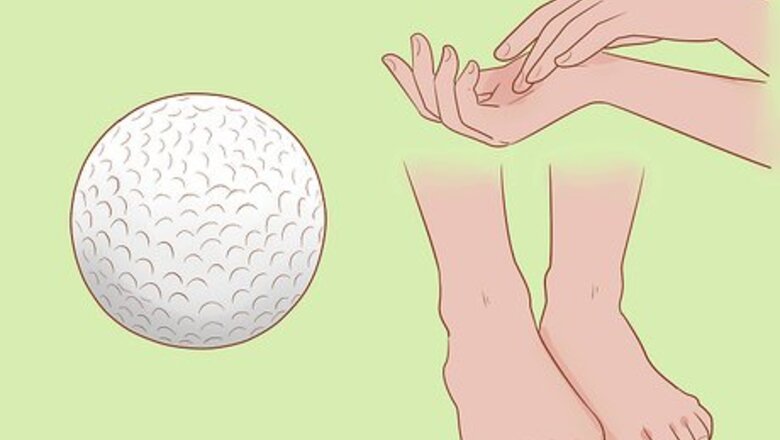
Choose a small ball, like a golf ball, for your hands and feet. If you’ll be massaging a smaller area like your hands, feet, or forearms, a smaller ball will work best. That’s because the smaller diameter will allow the ball to get down into the muscle without putting too much pressure on your bones. The diameter of a golf ball is usually about 1.68 in (4.3 cm). You could also use a squash ball, which is smaller than a golf ball, or you can purchase the smallest therapy ball available at your local sports equipment store.
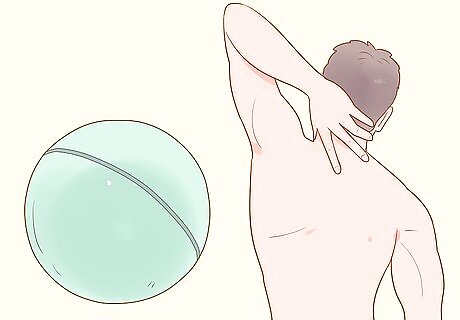
Use a medium-sized ball, like a lacrosse ball, for larger muscle groups. The diameter of a lacrosse ball is 2.5 in (6.4 cm), and a tennis ball is slightly larger, topping out at 2.7 in (6.9 cm). This size is perfect for targeting your shoulders, back, glutes, and legs. A tennis ball won’t give you as deep of a massage, since it doesn’t have the same density as a lacrosse ball. However, if it’s all you have on hand, it won’t hurt to give it a try. Most commercial massage balls are about this size as well. You can use larger balls like softballs or baseballs, for your chest and back if you like, but it’s not necessary to use a separate ball if you don’t have one.
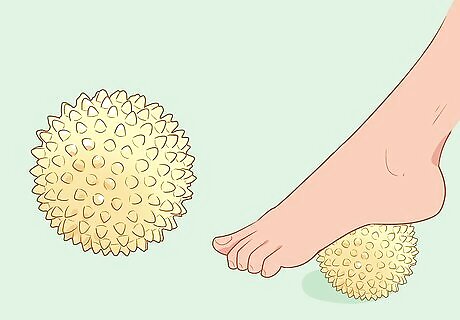
Choose a spiky ball for more pressure or a smooth ball for less. Depending on the area, you might want to purchase a spiky massage ball to get a firmer massage. For instance, spiky balls are often used for foot massages, since the thick skin on your feet makes it harder to get a deep massage. Opt for a smooth ball if you’ll be laying down on it, like for a back massage. This will make it easier for you to roll the back around to get it just where you want it. EXPERT TIP Will Fuller Will Fuller Certified Massage Therapist Will Fuller is a Certified Massage Therapist and Wellness Educator working in San Francisco, California. Will has worked with the Sports and Recreation Center at the University of California, San Francisco (UCSF), taught sports in England, Kenya, and Kuwait, and is now affiliated with the Chiro-Medical Group. He was trained in physical rehabilitation under a program founded by Dr. Meir Schneider. He has a Bachelors in Sport Science and a Post-Graduate Certificate of Education in Physical Education from Southampton University. Will Fuller Will Fuller Certified Massage Therapist Our Expert Agrees: You can use a smooth ball, like a tennis ball, to release tension with less pressure. Larger, harder balls are more likely to damage tissue instead of separating the fascia, connective tissue, in the area.
Practicing the Basics
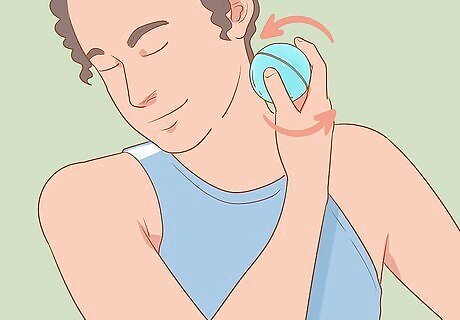
Use your hands to roll the ball over your muscles in a circular motion. If you can reach the spot that’s sore, place the ball over the area, then gently roll it back and forth with the palm of your hand. You only need to move it about 2–3 in (5.1–7.6 cm) at a time. Gently roll the ball against the back of your neck for a soothing way to relieve tension. Roll the massage ball up and down your forearms to help relieve the symptoms of carpal tunnel syndrome.
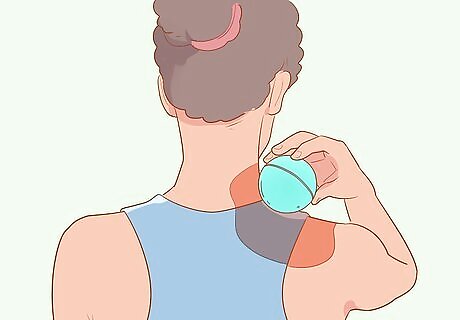
Stop when you find a sore muscle and apply gentle pressure for about 30 seconds. Press the ball gently into the muscle to work out the tension and soreness. It’s actually this pressure that will give you relief, more than the movement of the ball. The idea is to keep the ball pressing down into the muscle, but it’s okay to rock the ball back and forth a little if you need the extra pressure. A sore muscle isn't the same as sharp pain from an injury. If you encounter that, you could be pressing on a nerve, so stop what you're doing. If the pain persists for several days or prevents you from normal activity, see your doctor. EXPERT TIP Will Fuller Will Fuller Certified Massage Therapist Will Fuller is a Certified Massage Therapist and Wellness Educator working in San Francisco, California. Will has worked with the Sports and Recreation Center at the University of California, San Francisco (UCSF), taught sports in England, Kenya, and Kuwait, and is now affiliated with the Chiro-Medical Group. He was trained in physical rehabilitation under a program founded by Dr. Meir Schneider. He has a Bachelors in Sport Science and a Post-Graduate Certificate of Education in Physical Education from Southampton University. Will Fuller Will Fuller Certified Massage Therapist Hold the ball on tight spots. Hold the position for 5 to 10 deep breaths. Areas that feel uncomfortable with the pressure will start releasing tension as you breathe again.
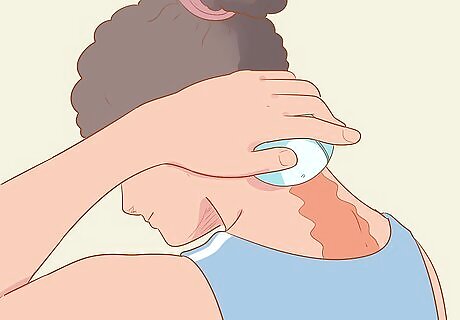
Don't press on your joints or bones. When you’re moving the ball, avoid putting too much pressure on your joints or bones. This could cause pain and bruising, or even an injury. If the ball feels uncomfortable when you're using it, you're probably pressing into a bone. Just roll it a little to the side For instance, if you’re massaging your neck, roll the ball over the muscles on either side of your neck and spine, rather than directly on top of the bones. It can be harder to feel when you're pressing on a joint, but just try to keep the ball from resting on the bend of your elbows, shoulders, wrists, or knees, in particular.
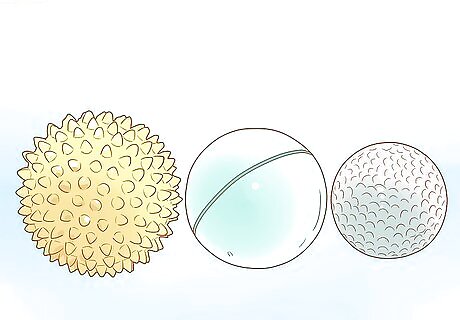
Start with a larger ball then go to a smaller one if you're using a set. If you purchased therapeutic massage balls, they may have come in a set. If you’re going to be using multiple balls, it’s best to use the larger ones first for a general massage, followed by the smaller balls to target areas that are especially sore. Try a different size ball if you're not getting the results you need.
Using a Wall for Assistance
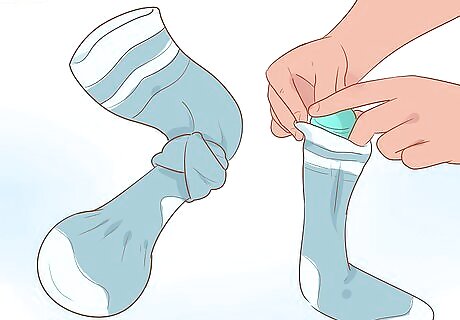
Place the ball in a clean tube sock and tie a knot in the sock. By putting the ball inside of a sock, you’ll have something to hold on to. This will give you better control over the location of the ball, especially if you're massaging your shoulders and upper back. This might stretch out the sock, so opt for one without a match if you can! The knot will hold the ball inside the sock even if you accidentally drop it.
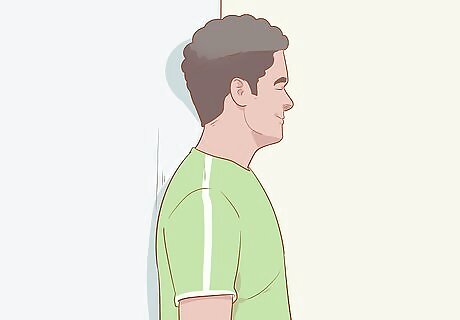
Stand with your back against the wall. Although you can use this method to massage almost any body part, it works best with the back of your body, including your neck, shoulders, back, and glutes. Whichever part you’re planning to massage, make sure you’re standing so that area is against the wall. For instance, if you’re massaging your shoulders, you might want to stand away from the wall a little and lean backward to ensure you get the most contact.
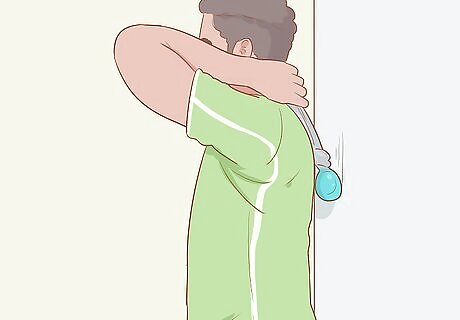
Use the sock to place the ball between the wall and your body. Hold the open end of the sock and put it behind you, dangling the ball until it touches the area you want to massage. When you get it where you want it, gently press your body against the ball to hold it in place. Don't press too hard, or it could be uncomfortable. If you’re massaging up high, pass the sock over your shoulder. If you’re massaging low, like in your glute area, you might need to fold your arm down to reach behind your back instead.
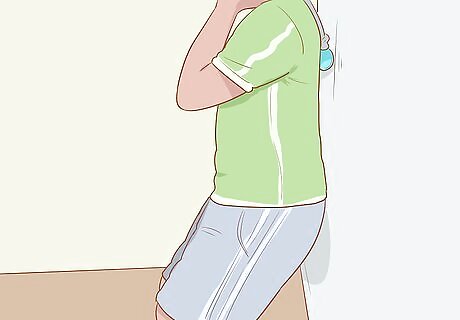
Bend your knees slightly to roll the ball 2–3 in (5.1–7.6 cm). Use subtle movements to gently roll the ball around in the area you want to massage. Maintain steady pressure against the ball, then bend and straighten your knees to target different spots. It’s better to work on one area, then switch to another. Rather than trying to massage all the way from your shoulder down to your lower back and up again, for instance, it would be better to work on your shoulders, then the middle of your back, then your lower back.
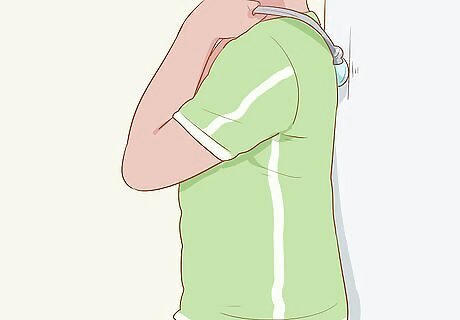
Increase the pressure slightly to work the tension out of sore muscles. When you find a sore spot or a tight muscle, stop rolling the ball and lean in slightly. The increased pressure in that deep tissue will help loosen the muscle fibers, which should result in some pain relief. About 30 seconds of pressure should be enough for most spots, but you can adjust based on how you feel.
Laying on Top of the Ball
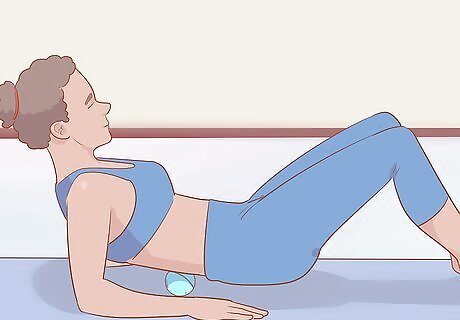
Lay down on a mat with the ball under the sides of your back. It’s a good idea to do this on an exercise mat if you have one, even if you’re using a ball with a little bit of give to it. This will reduce the impact on your joints and will make the whole massage more comfortable. Shift around to adjust the ball beneath you once you're laying down. Do not put the ball directly under your spine, and stop what you’re doing if you feel any discomfort. If you don’t have an exercise mat, perform this massage on a soft carpet or a stack of blankets instead.
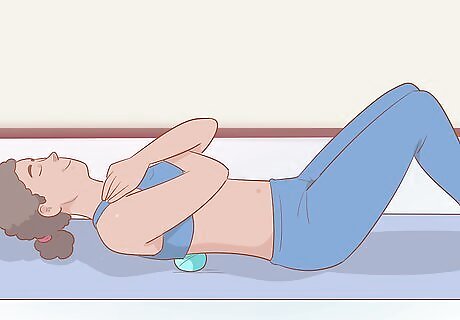
Fold your arms across your body to round your back. Once you’re laying on the ball, cross your arms in front of your body. This will round your back slightly, allowing the ball to make more contact with your body. You can just pull your forearms in over your midsection if you want, or you can hold your arms in the air above you for an added stretch. If you need to use your arms to steady yourself, that’s fine. Try to keep your elbows in close to your body to get a similar result.
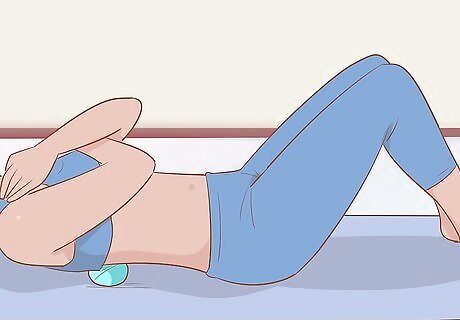
Push yourself with your feet to gently roll the ball 2–3 in (5.1–7.6 cm). Use gentle motions, since you don’t want to lose control of the ball and have it roll too far. Just use your feet to shift your weight, rolling the ball back and forth across the muscle that you want to massage. If you feel any sharp, sudden pain, remove the ball immediately. You could be pressing on a nerve, you might be aggravating an injury, or you might just be pressing on an area that’s too sore for a massage. Lift your hips if you need more pressure on a certain area.
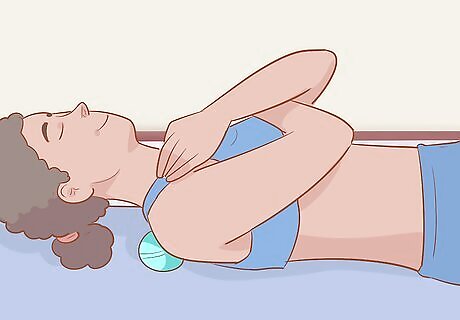
Continue repositioning the ball beneath different areas of your back. Be sure to work both sides evenly, since you’ll get the most relaxation benefit from a massage that leaves you feeling balanced. Work your shoulders, upper and lower back, on either side of your spine, and even in your glutes. Avoid rolling the ball directly beneath your shoulder blades, spine, or hip bones
Rolling the Ball under Your Feet
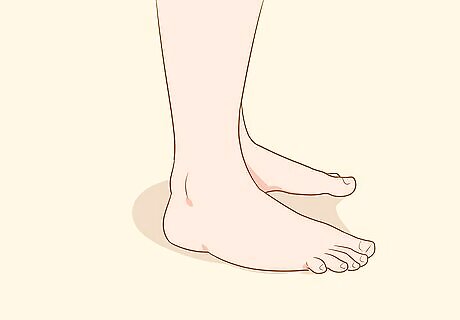
Stand on a flat surface or sit on a sturdy chair. You can massage your feet while you’re sitting or standing. However, you might have a more relaxing experience if you sit in a chair for the process. If you’re standing, try to stand near a wall or a sturdy piece of furniture you can use to steady yourself.
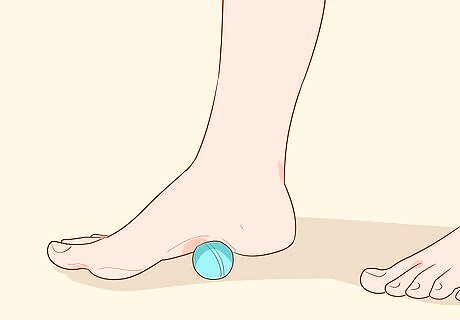
Place the massage ball on the floor under the arch of your foot. You’ll use the ball to massage your whole foot, but resting your arch on the ball allow you more control over the ball as you work your way into the massage. If you want to apply more pressure, you can shift so some of your weight is being supported by the foot resting on the ball.
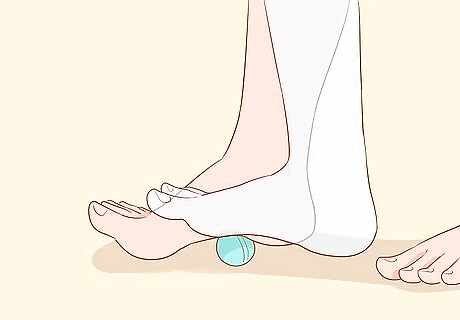
Roll the ball forward all the way to your toes, then back to your heel. While applying gentle pressure on the ball, bend your knee to roll the ball forward until you reach your toes. Without losing control of the ball, roll it backward again until it reaches your heel. Extend your toes while you’re doing this so the ball will be able to reach all of your foot muscles.
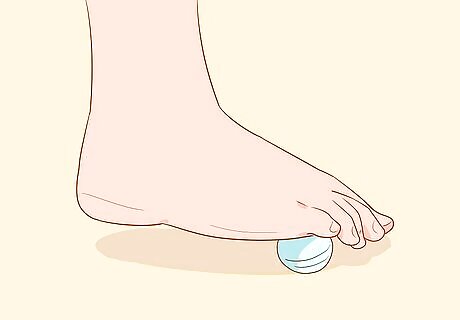
Repeat the massage on the inside and the outside of your foot. A massage is more effective if it’s balanced,but the contours of your feet make it hard to work on both sides at once. To counteract this, roll the ball against the outside of your foot, then again on on the concave portion on the inside of your foot. Continue the massage for several minutes or until you feel some pain relief.
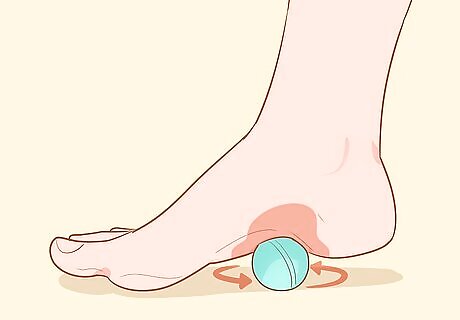
Stop and focus on any sore spots. If you find a spot that’s especially sore, gently roll the ball in a circular motion under your foot. Use your body weight to adjust the pressure on the ball so it works the tension out of the muscles without being painful. Press down for about 30 seconds if you find an area that needs extra attention.



Comments
0 comment