
Using a Reference Photo to Create a Palette
Start with finding a reference photo. You want a source photo that has a lot of similarities with your target photo. Similarities, such as age, lighting, skin, skin texture, etc. The same goes for any clothing that you may want to colorize.
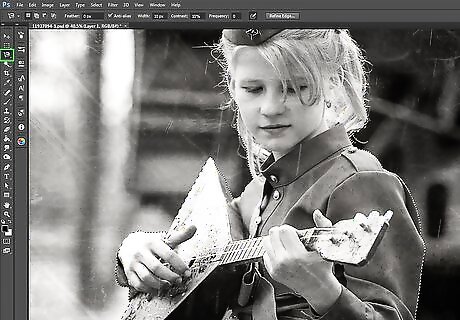
Use the 'Lasso' tool and make a selection around the part of the image that you want to use.
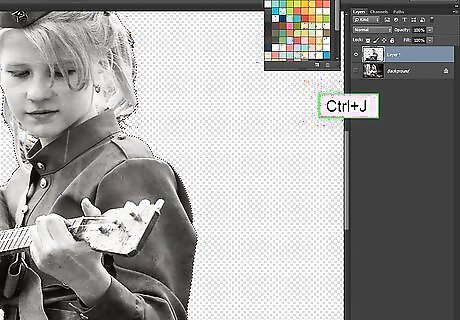
Right-click on the image and select Layer Via Cut or CtrlJ. This will bring the selection to its own layer. Delete the original photo.
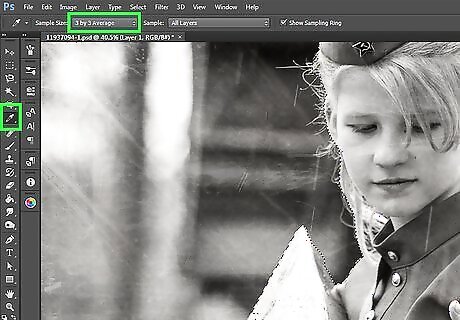
Click on the 'Eyedropper' tool. Set the Sample Size to 3 x 3 or 5 x 5.
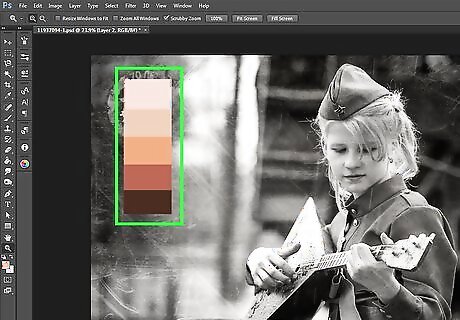
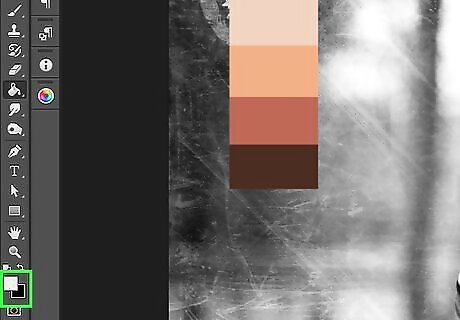
Start building a palette. This will be five skin tones that you will use. Press B for the Brush tool. Make sure the Opacity and Flow are at 100%. Hold down Alt and click on the lightest part of the face. Paint a 'swipe' or a 'stripe' of that color on the same layer. #* Hold down Alt and click on the darkest part of the face. Paint a 'swipe' or a 'stripe' of that color. Repeat the process for the midtones between the two and then repeat two more times, splitting the colors in half each time.
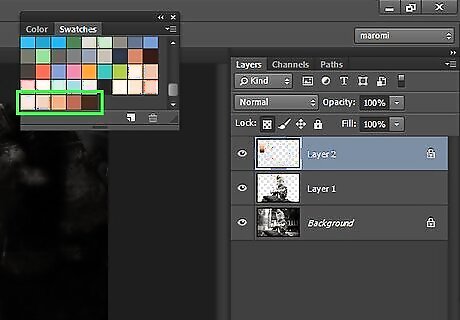
Make a color swatch from the results. Use the 'Rectangular Marquee Tool to select the colors. Press CtrlJ. Delete the baby layer. You should now have the background layer (optional), background copy, and the color swatch.
Creating a Gradient Map Adjustment Layer
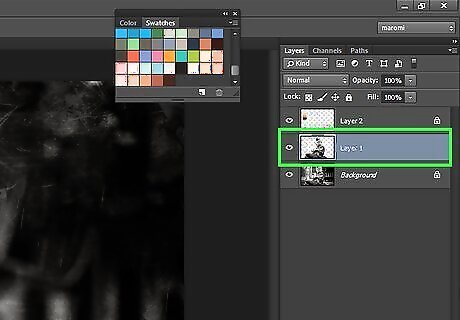
Click on the black and white image that you will be colorizing.
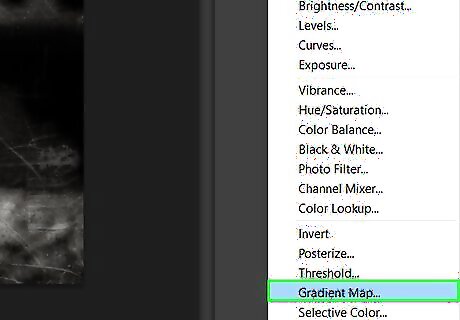
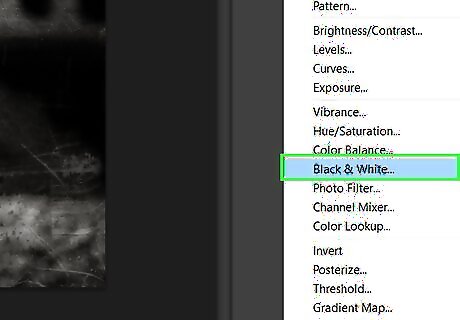
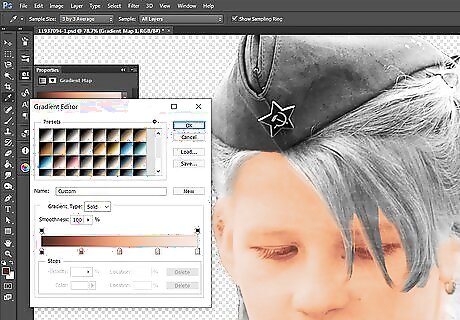
Click on the Adjustment Layer icon and select 'Gradient Map...'. In the dialog box that comes up, you will see a gradient map. Click once on it.

Set the lightest color of the gradient and its location (100%). Look at the gradient bar and find the lightest color on your swatch.

Press OK.

Set the darkest color of the gradient and its location (0%). Look at the gradient bar and find the darkest color on the swatch.
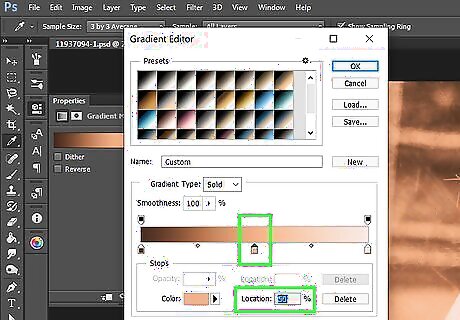
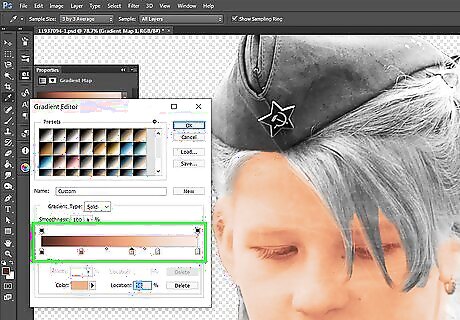
Click in the middle of these two, make sure the location is 50% and select the middle color that you have selected.
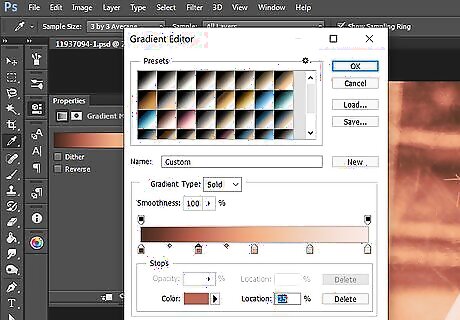
Repeat that process two more times until you have five colors in your gradient. The Locations will be 0%, 25%, 50%, 75%, and 100%. You can do this as many times as you want. Perhaps you want a darker color and a lighter one to add to the available range. Just keep splitting the values in half each time for the Location.
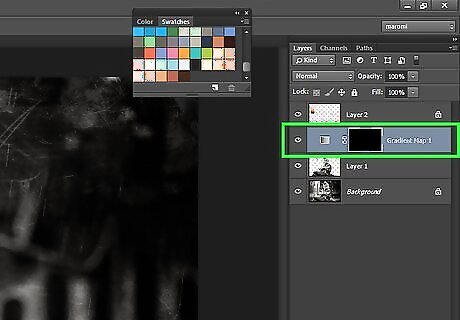
Click on the mask and press CtrlI to invert the mask. It will now hide the effect.
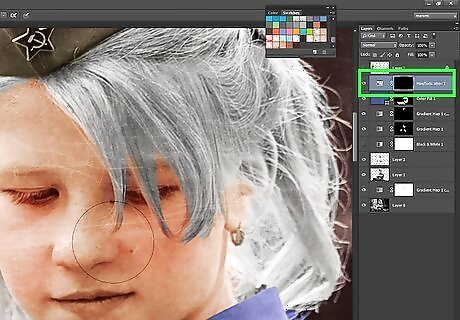
Using the Gradient Mask Adjustment Layer
Make your image true black and white by adding a Black and White adjustment layer, if desired. Older photos can carry a number of different tones from when they were first created.
Select black as the foreground color and white as the background color.

Select the area that you want to color. It's a good idea to make and save a selection for use in various layers. You can then edit each mask as needed.
Fill in the mask. In the Gradient Map layer mask, press CtrlDel to fill in the mask and only show the selection; the skin. Since older photos don't have a lot of contrast, you will probably need to fine-tune the mask. Use black on the mask to block out the lips and the eyes, as well.
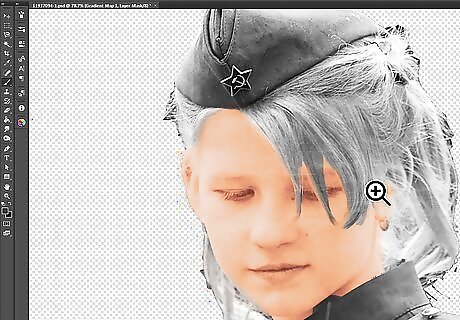
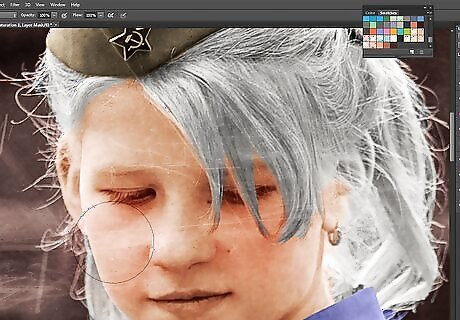
Zoom in closer to your image. You want to have a clearer idea of what colors are where.
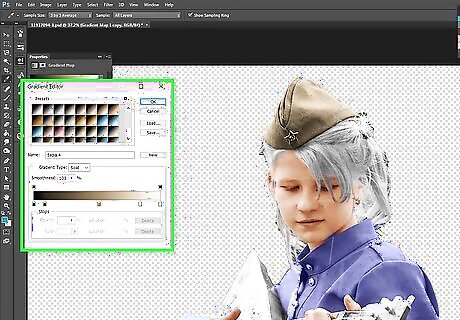
Open up the Gradient Editor for the Gradient Map that you have created.
Start moving the sliders. Use the Location sliders to adjust where the gradients stop and start. This will help your image have more lifelike colors. You can still change and add colors to the gradient. Maybe it's too orange, so you change that color so it no longer is orangey.
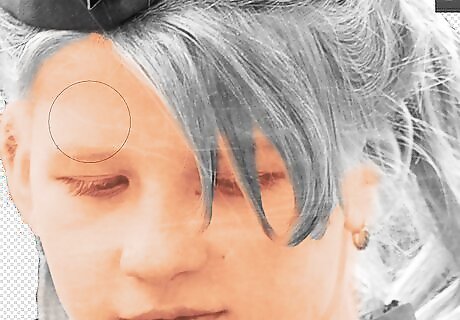
Clean up any bad areas. You may find that when you use any adjustment layers that they can bring attention to bad areas. Use the Healing Brush tools to clean it up.
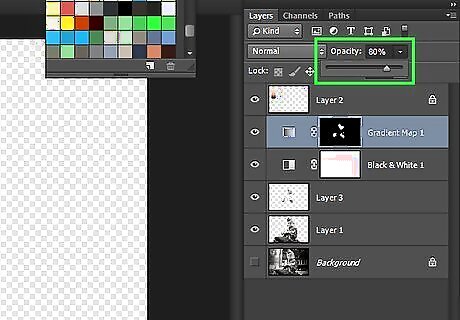
Reduce the Opacity. You will find that it is just 'too much'. Help it look more realistic by reducing the Opacity.
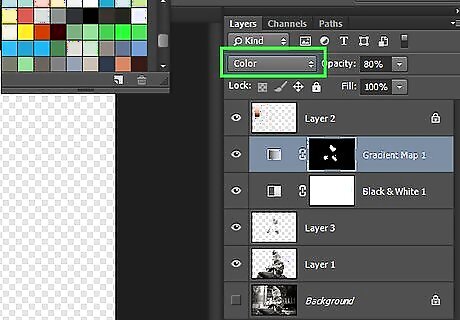
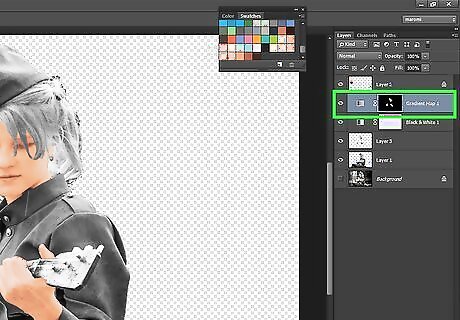
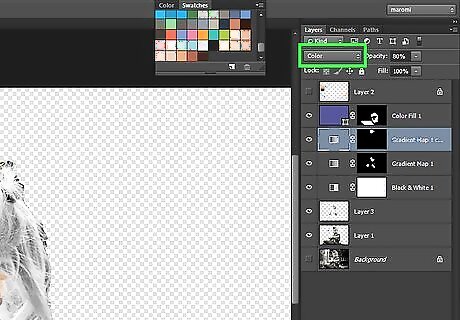
Change the Blend mode to Color. Do this with all of the adjustment layers.
Finishing Up the Photograph
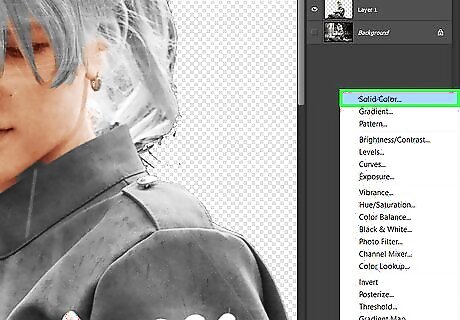
Use Solid Color adjustment layers to color smaller areas, like the whites of the eyes, the iris, the pupil, etc.
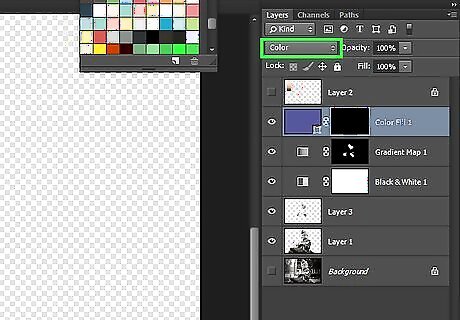
Change the Blend mode to Color.
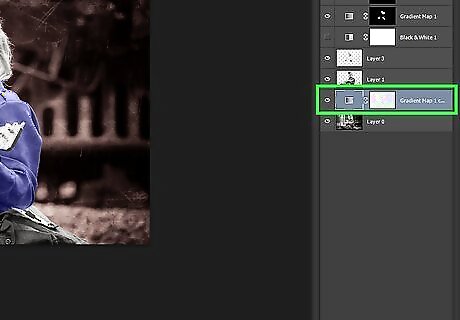
Use Gradient Map adjustment layers for other areas that are more obvious, like the blanket in this image.
Change the Blend mode to Color.
Use a gradient fill for the background. Since this is a studio shot, there is nothing particular remarkable about the background. Use a radial gradient or a gradient map to get the color just right.
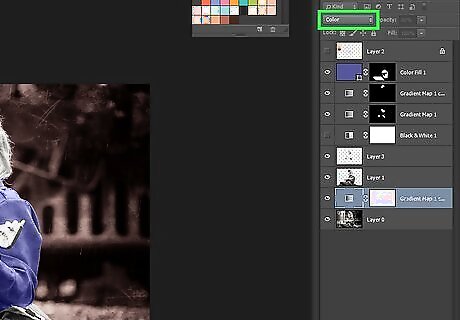
Change the Blend mode to Color.
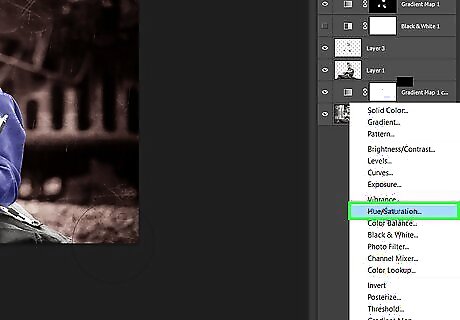
Add a Hue/Saturation Adjustment layer. Clip it to the skin layer. Adjust the sliders until it has a little more red.
Click on the mask and invert it CtrlI so that it is black and hides the effect.
Click on the Brush tool B, have the Opacity set to 100% and the Flow to about 5% and lightly brush on the mask where you want to add a little red. This will help even more with realism. If you like it but it's too much, reduce the Opacity of the layer. Paint the effect on wherever you think that it will benefit from having a little extra color.


Comments
0 comment