
views
- If you're using Windows, right-click the drive in File Explorer and click "Eject" on the Manage tab.
- On a Mac, just select the drive in Finder and click the Eject button.
- To unmount in Linux, use "sudo umount" followed by the mount point.
On Windows
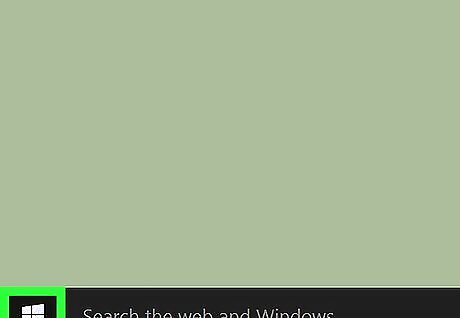
Open the Start menu. Click the Start (Windows Start or Windows 7 Start) button in the lower-left corner of your screen. Alternatively, press the ⊞ Win key.
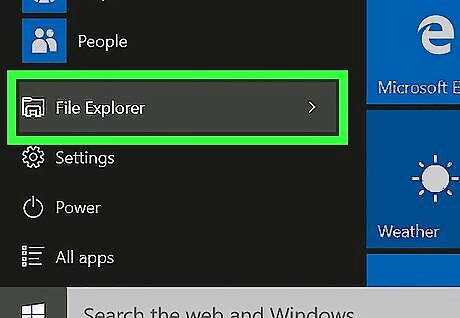
Open File Explorer. Click the File Explorer Windows Start Explorer icon. Older Windows 10 versions will have the name shown next to the icon as pictured above. Windows 7 and Vista: select Computer from the right column.
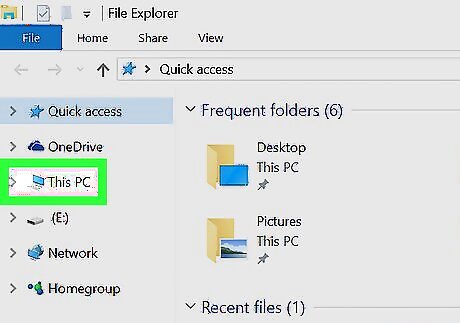
Ensure you're on This PC, Computer, or My Computer. The option will be listed in the left pane. The names differ among Windows versions.
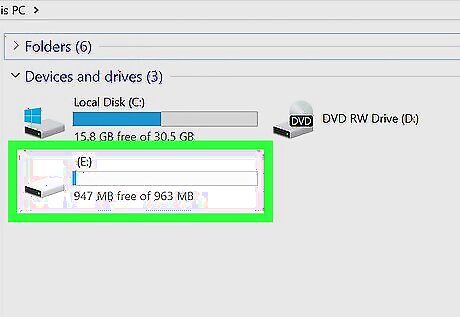
Click on the drive you wish to unmount. A list of all currently active drives will be available under the "Devices and drives" heading towards the middle of the page. This drive must be either a removable drive (e.g., a flash drive or SD card) or a secondary internal drive.
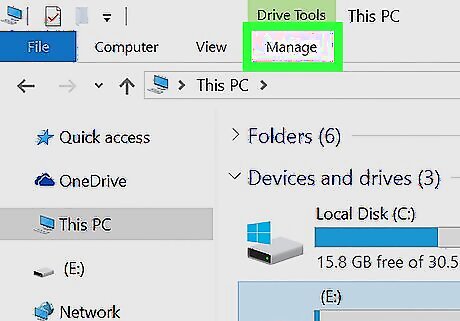
Click the Manage tab. It's in the ribbon at the top of the File Explorer window. In case your Windows version is missing the ribbon, simply right-click the drive instead.
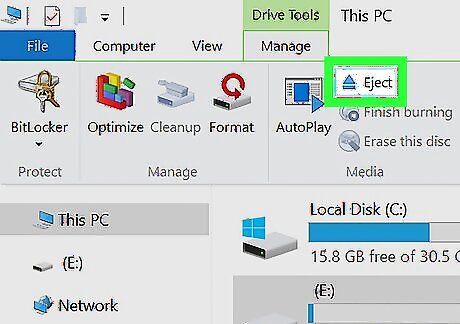
Click the ⏏ Eject button. You'll find this option in the "Media" section of the ribbon.
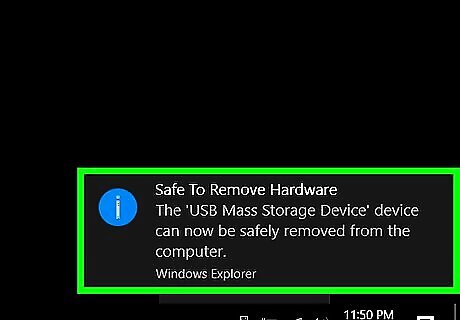
Remove the drive from your computer. After clicking this button, you'll see the drive's icon disappear from the File Explorer window, and a notification letting you know that it's safe to remove the drive will appear. Gently disconnect the drive from your computer to complete the unmounting process.
On a Mac
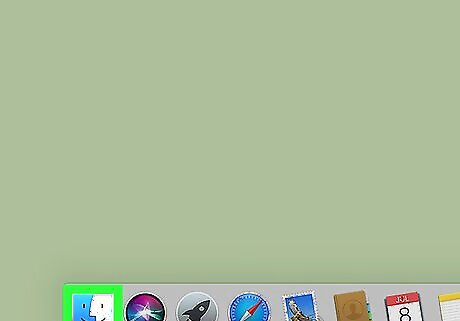
Open the Finder. This app, which resembles a blue and gray face, is usually found in the Dock at the bottom-left.
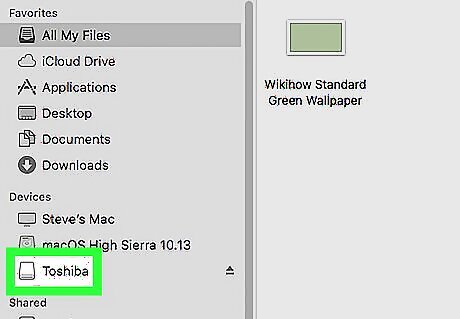
Locate your drive's name. It will be on the left-hand side of the Finder window below the "Devices" heading. This must be a removable drive (e.g., a flash drive, external hard drive, or a virtual mounted drive).
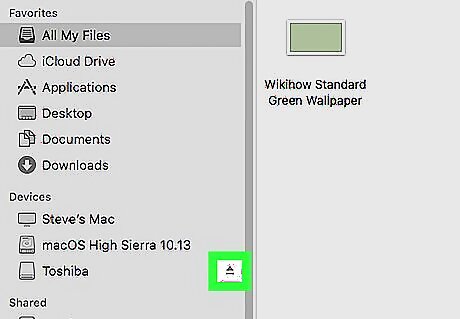
Click ⏏. It's to the right of your drive's name. Doing so will "eject" the drive, which removes it from your Mac's available drives.
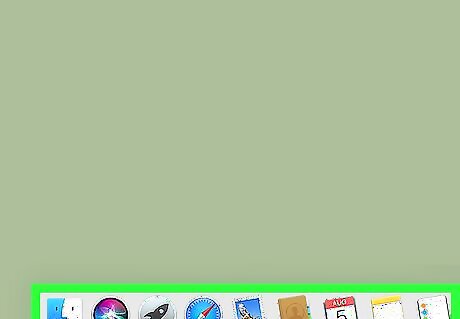
Remove the drive from your computer. Once the drive has been safely unmounted, you can remove the physical drive from your Mac computer.
On Linux

Open a terminal and type 'df -h' to list all drives. Locate your drive, remember the path that it is Mounted on.

Unmount the drive by typing the command 'sudo umount' followed directory that it is mounted on. You must have superuser privileges to do this.




Comments
0 comment