views
X
Trustworthy Source
PubMed Central
Journal archive from the U.S. National Institutes of Health
Go to source
Getting an Official Lab Test
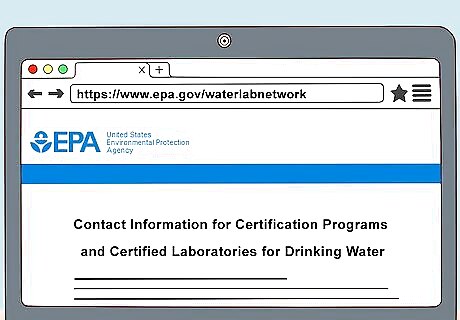
Locate a water testing lab in your area. Visiting a state-certified lab is the most accurate way to get an idea of what is in your water. Ask your local government or environmental protection agency for a list of labs in your area. These labs are open to the public, so stop in or call for more information about the testing procedure. If you're in the U.S., for example, search for certified labs on the EPA's website at https://www.epa.gov/waterlabnetwork. Home tests are able to detect fluoride but still have a difficult time measuring the fluoride level in water. Labs have better equipment, so visit one if you need a more precise readout.
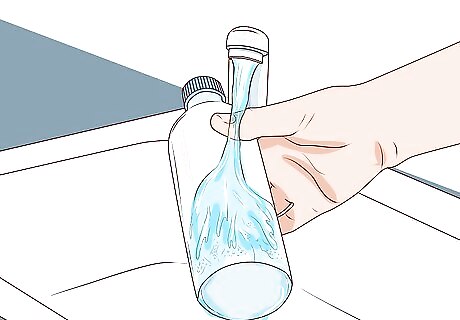
Wash out a plastic bottle to clean it. Choose a clean container you don't mind using for the test. The container needs to have a secure cap or lid to prevent the sample from spilling or getting contaminated during transport. To prepare it for use, rinse it out thoroughly with soap and water, then dry it off with a fresh, clean cloth. If you're planning on doing a full water test for bacteria and other organic things, sterilize the bottle first. Drop it into a pot of boiling water for 5 minutes before using it to collect a sample. Some labs offer free testing bottles. Ask for a sterile one if you're doing a full water test, though using a sterilized bottle isn't necessary to detect fluoride.
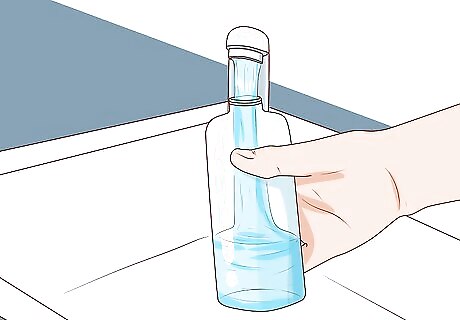
Collect 150 millilitres (5.1 fl oz) of water in the bottle. Most labs need only a small sample in order to perform the test. Collect the water straight from the source right before you plan on submitting it to the lab. Cover the sample to ensure nothing else ends up in it. Don't store it in another container first, since that could affect the test results. If you're taking a sample from your tap, let the water run for about 2 minutes at a cold or lukewarm temperature. If you can't submit the sample right away, chill it in the refrigerator to prevent any potential contamination. Consult the lab's testing procedures for specific instructions, such as what sample size you need or how to store the sample. A 150 millilitres (5.1 fl oz) sample is generally more than enough. Bring the sample in for testing as soon as possible
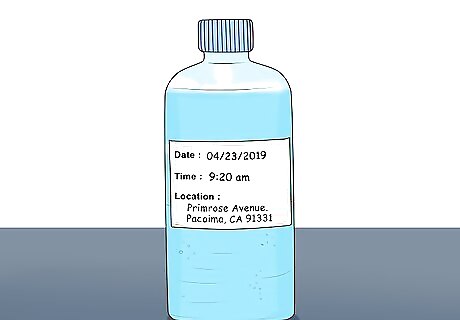
Label the sample with the date and location you took it from. Proper labeling is important for keeping track of the water sample. Use a marker to write the date, time, and location on the container. You could get a sticker label or sticky note to attach to the container as well. Labeling the container is very useful if you plan on mailing the sample or if the testing facility tracks fluoride levels in your area. Proper labeling is also very helpful if you plan on submitting multiple samples. For instance, you may wish to test ground wells and other bodies of water near your home.
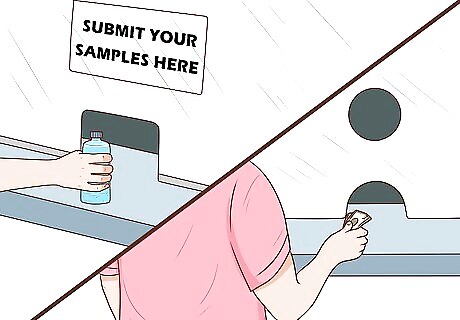
Bring the sample to the lab and pay the testing fee. Once you have your sample, all that is left is to get it to the facility. Drive to the facility to drop the sample off. Some labs also allow you to post a sample through your local mail service, so check their rules for alternative submission methods. The testing fee typically ranges from $15 to $30 USD, depending on the facility, and you can pay with cash, a check, or a credit card. Some facilities send a technician out to your house to collect a sample. This service costs about double the regular testing price, but it may be more convenient for you.
Using a Reactive Testing Kit
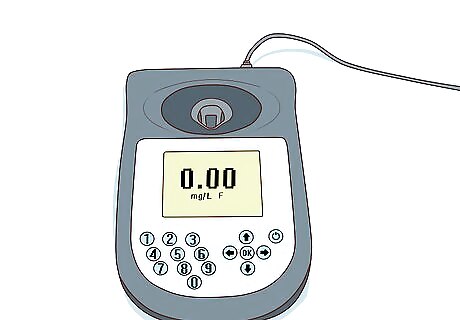
Purchase a testing kit that detects fluoride in water. There are a few different options for home fluoride testers. The most accurate type is an electronic sensor called a photometer, which displays the test results on an electronic screen. Color tests are similar, but you have to compare the water color to a chart included with your test kit. Both tests follow the same general procedure and require you to mix a colored dye into a water sample. Testing kits are available online and at some home improvement stores. Read the reviews for the tests first to determine how well they worked for other customers. Keep in mind that home tests are not as accurate as professional tests from certified laboratories. Many home tests detect fluoride but can't accurately determine how much of it is in the water.
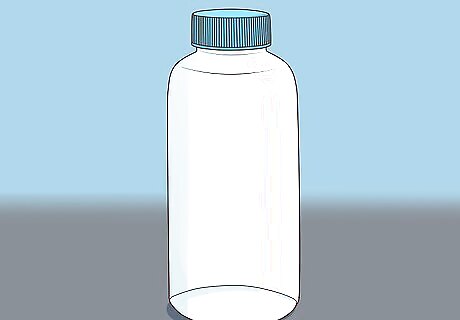
Choose a freshly-washed plastic bottle with a cap. Plastic medicine containers and disposable bottles are a few examples of containers to use for the test. Always rinse the container out a few times with soap and water to remove germs and debris that could affect the fluoride test. Finish drying out the container with a clean rag, then cap it until you're ready to use it. Many kits include small bottles to use for the test. Wash the bottle and lid even if they look clean.
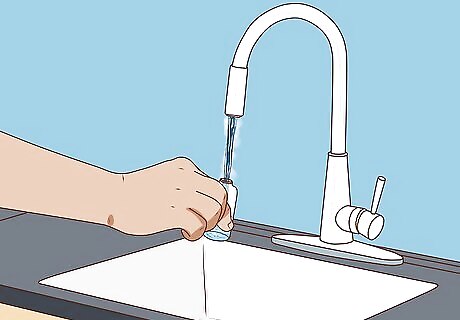
Fill the bottle with 4 millilitres (0.14 fl oz) of water. The exact amount of water you need for the sample varies from test to test, but it always is a small amount. Many testing bottles from kits have a fill line to show you how much water you need. If yours doesn't have one, fill the container up all the way with water from the source you wish to test. Collect the sample right before you plan on testing it. You don't need to wait to a specific time or take any additional steps. If you can't test it right away, seal the container and refrigerate it. If you're taking the sample from your tap, run the water for about 2 minutes. Collect the water while it's lukewarm or cold. If you're transporting water from another location, such as from a well or pool, consider getting another clean container. Use that container to bring the water inside, then transfer some of it to the testing bottle.
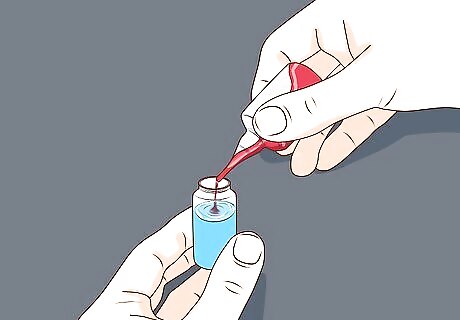
Add the reagent to the sample according to the manufacturer's instructions. Look inside your testing kit for a bottle of what looks like a red dye. This dye is the reagent that reacts with the fluoride in the water to complete the test. On average, you need about 15 drops of the reagent for the test, but this may vary a little depending on the test you have. Always check the manufacturer's recommendations to ensure the test goes smoothly. On some tests, you may need to stir a powder into the water before adding the reagent. If your test has a powder, check the manufacturer's instructions to determine how much you need. Usually, you have to add about a spoonful of it.
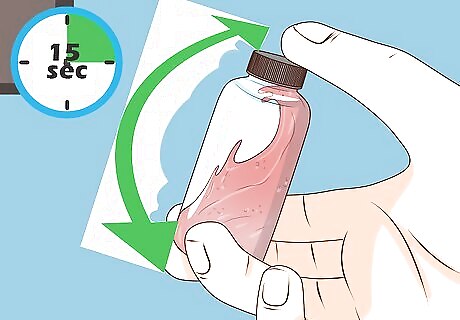
Cap the container and shake it for about 15 seconds. Tightly seal the container so nothing gets in or out. When you're ready, move the container to spread the reagent. Keep shaking it until the water has a uniform red color, indicating that the dye has been distributed evenly. Another option is to stir the water around. Make sure you use something clean, like a washed coffee stirrer, rather than your hands. If your test included a powder to add, shaking the container also distributes the powder and dissolves it.
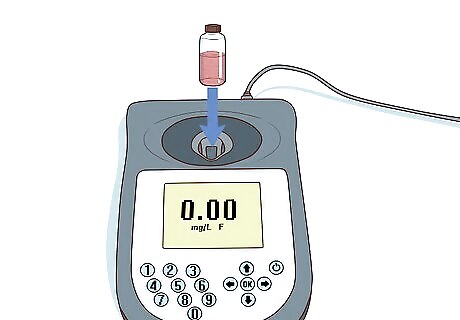
Slide the sample into the photometer if you're using one. A photometer is a small sensor that detects electromagnetic changes in water. It looks like a small scale with an electronic screen and buttons, except it also has a round opening in it. Fit the sample container into this opening, then wait for the readout to show up on the screen. If the photometer doesn't work, try calibrating it first. Slide an empty container into the slot before activating it. Make sure the readout displays a 0 before switching the empty container out for the sample.
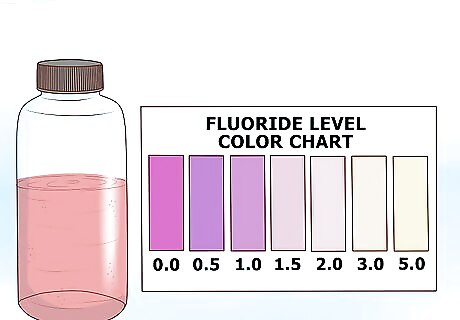
Compare the water color to a color chart if your test kit has one. The reagent turns the water a noticeable red hue if fluoride is present. Find the color chart in your testing kit and hold it side by side with the sample in a well-lit area. Match the exact shade to the chart and look for the corresponding fluoride level printed nearby. Generally, dark-colored water indicates a higher fluoride level, but this may vary from test to test.
Using Testing Strips
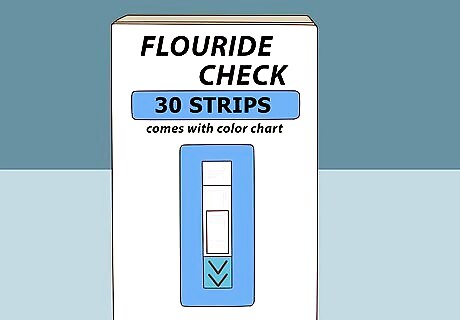
Purchase testing strips that detect fluoride. There are different test strips available to use for fluoride detection. The basic type is the same kind used on pools and other sources of water. These strips detect lead, pH levels, and other problems in addition to fluoride. Other strips detect only fluoride. Water testing strips are available online and at many hardware and pool supply stores. Test strips aren't as accurate as photometers or reagent dyes. The strips can detect fluoride and usually give you a range of how much might be in the water. They don't provide an exact estimate.
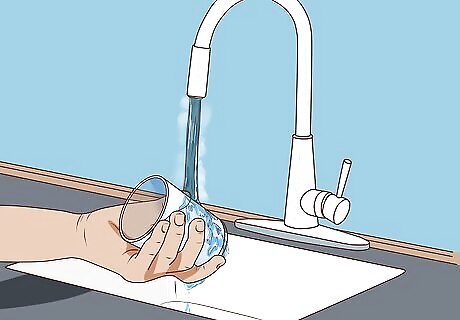
Select a freshly-cleaned glass or container for the test. Remember to rinse the container out with dish soap and hot water several times before using it for the test. Make sure you don't see dust or other debris left behind. Once you finish drying the container, cap it, if possible, to keep it clean until you're ready to begin the test. Some tests call for acid to be used. If you have strips that detect only fluoride, you may need to use acid. Choose a glass container to avoid any possibility of the acid eating through plastic.
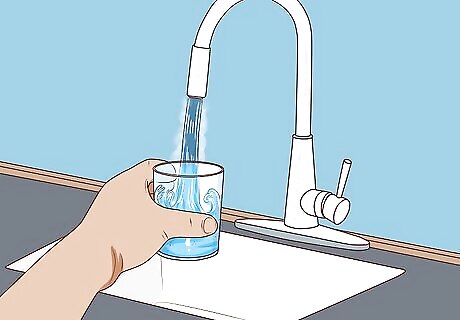
Fill the bottle with about 10 millilitres (0.34 fl oz) of water. As a rule of thumb, fill the container at least half full. With that amount, you can easily submerge the testing strip, ensuring you get the most accurate result possible. This also leaves you with plenty of space in case your test kit requires you to mix something into the water. Run the water for 2 minutes at a cold or lukewarm temperature if you're testing water from a tap. Collect the sample right before you intend on testing it, and seal the container if you can't get the test done right away. Refrigerate the sample to keep it clean until you're ready to use it.
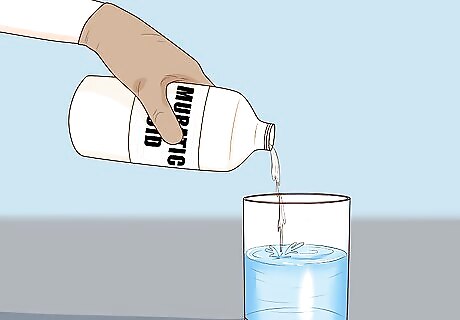
Add muriatic acid to the sample if the test requires it. If you're using fluoride-only strips, the manufacturer may instruct you to acidify the sample. To do this, add an equal amount of muriatic acid or hydrochloric acid. For example, if you have 10 millilitres (0.34 fl oz) of water, fill the other half of the container with 10 millilitres (0.34 fl oz) of the acid. Wear long-sleeved clothing, gloves, face protection, and a respirator mask when handling the caustic acid. Muriatic acid is available at most hardware stores and pool supply stores
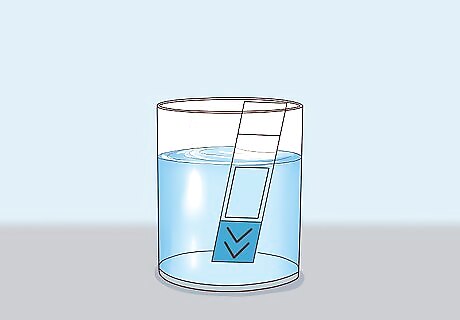
Submerge the entire strip briefly in the water before removing it. Drop the strip in the water for only about 2 seconds. Try to get the entire strip underwater, although the test often works when you simply drop the strip on top of the water. Then, remove it right away with a pair of tweezers or another tool. Shake the excess water off of the strip to prevent it from continuing to absorb moisture. If your test involves acid, make sure you're wearing acid-resistant gloves or use a spare pair of tweezers. Rinse them clean right away to prevent any possible damage.
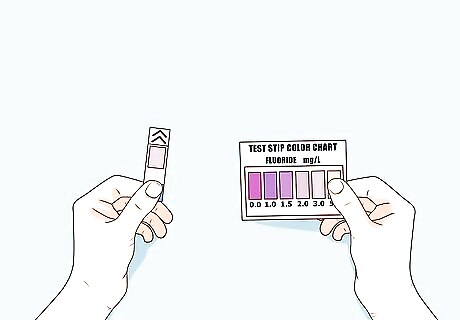
Compare the test strip to the colors on the kit chart. If your kit doesn't have a separate color printout, check for one printed on its box. The test strip changes color within 30 seconds, so move it to a spot with bright lighting to determine its color. Check the chart for a matching color indicating fluoride and how much of it is in the water. Different color shades correspond to different fluoride levels in the water, but this varies from test to test. Usually, a darker coloring indicates a higher fluoride level, but this isn't always the case. Most multipurpose strips get darker as they detect more fluoride. Fluoride-only strips often get lighter in higher levels of fluoride. Consult the color chart for the precise fluoride level indicated by the shade that turns up on the test strip.





Comments
0 comment