
views
Determining if Your Video Card is Replaceable

Know that most laptop video cards cannot be swapped out. In order to save space, many laptops come with attached graphics processing units (GPUs) that are hardwired into your processor and motherboard. That means that in order to get a new video card for you computer you'd need to get a new processor, which is expensive enough that a new laptop is often the better buy. You need a PCI or MXM slot to upgrade your video card.

Check your laptop user manual to determine if you have a slot to plug a card into. Go online and search for your user manual, then flip to the "Specifications" or "Product Description" section. Look for "Graphics," and note what options your computer supports. Old laptops may have a PCI slot, while newer ones will have a MXM slot.
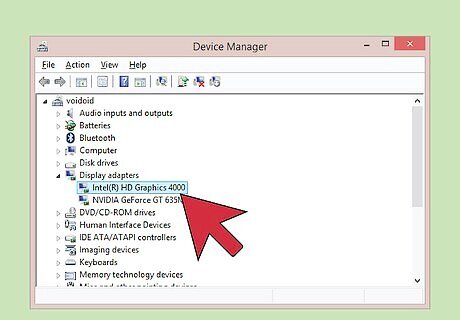
View your Device Manager to get your current video card's information. To do so, go to your Control Panel → Hardware and Sound → Device Manager, or search for it in the Windows search bar. Click "Display Adapters" and see what comes up. If you see an Intel Chip, or the words "Integrated Graphics," then you have an attached GPU and you cannot swap your video card. If there are two options, such as Intel graphics and an ATI or nVidia card, you have a discrete graphics card that may be possible to swap out. Note, however, that many laptop manufacturers solder the GPU to the motherboard, so they may not be easily replaceable. If your only option under "Display Adapters" is the same make as the chip in the "Processors" section, you have an integrated GPU that cannot be upgraded.
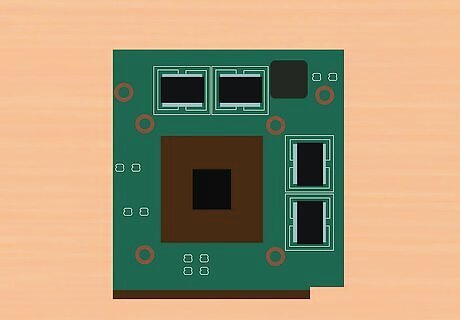
Determine your options for new cards. In most cases, you'll need to go straight to the manufacturer for an upgraded card. So HP users should check with HP, Dell with Dell, etc. Unless you have a dedicated, removable video card, you cannot just buy the newest video card online and plug it in. In your user manual there will be a list of acceptable chip upgrades, and you must choose one that works with your computer. Unfortunately, due to speed, software challenges, and even physical size, you will be very limited in the number of video cards you can purchase for your laptop, and your manufacturer will list them all.

Understand the risks of upgrading your video card by hand. This is not an easy procedure, and it requires that you take apart almost the entire laptop and put it back together flawlessly. That is, of course, if you can even upgrade it. More often than not, swapping out a video card is not the most cost-effective way to upgrade a laptop, but if you're sure that is what you want to do, there are a couple of precautions you can take: Take pictures at every stage. This will help you put everything back together. Consult all the manuals and pictures of your computer before taking it apart. Know specifically what you have to take apart and how to put it back together. Take anti-static precautions seriously. Keep a clean, open workspace to prevent losing small screws or mixing up parts.
Swapping Your Graphics Card
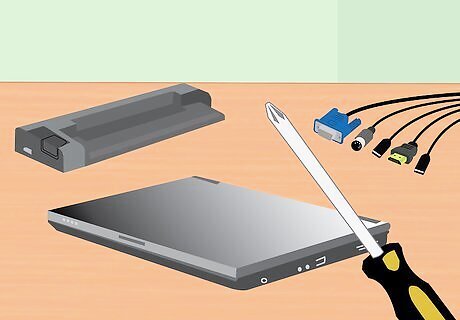
Dismantle the laptop in a clean, dust-free environment to find and replace the video card. Every laptop will have a slightly different procedure in order to find and remove the video card, but the same basic principles hold no matter who made your computer. Clean your hands and wipe down the laptop with a static-proof cloth before beginning, making sure you have a clean workspace with minimal dust. You'll need-- A set of Philip's head screwdrivers that fit the small screws on your laptop. Anti-static wristband to prevent shorting your computer. Clean cloth and compressed air for cleaning the inside of your laptop. A soft, clean towel or cloth to place parts on as you're working. Your new video card.

Thoroughly consult your laptop's user manual for dismantling instructions. Every laptop is different, but the odds are good that you need to go all the way into the guts of the computer to get your old video card out and the new one in. You want to read through every step 2-3 times before beginning to avoid surprises. HP's popular Pavilion dv series, for example, requires that you remove the battery, optical drive, WLAN, hard drive, keyboard, system board, top cover, and fan in order to adjust the processor and video card. This means you need to know your computer from top to bottom before beginning, as you'll have your work cut out for you. Check out "How to Take Apart a Laptop" for generic pictures helping you dismantle most computers. Make sure you understand how to protect against static electricity with your wristband and grounded (rubber-souled) footwear.
Turn your computer off for at least 10 minutes before beginning work. Once you're familiar with the task at hand, shut down the computer. Unplug everything and let it sit for 10 minutes to cool down, as computers can get quite hot.
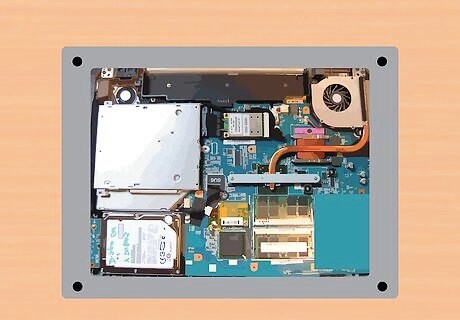
Remove the back plate and plastic hinges from the laptop. More often than not, your first step is going to be stripping away the plastic so that you can get into the guts of the computer. Again, consult your user manual if you have difficulty. More often than not you simply need a small screwdriver, such as those found in eyeglass repair kits at most pharmacies, to remove the plastic coverings. Never force or pry out pieces. They plastic parts break easily and should not be difficult to remove with the right technique.
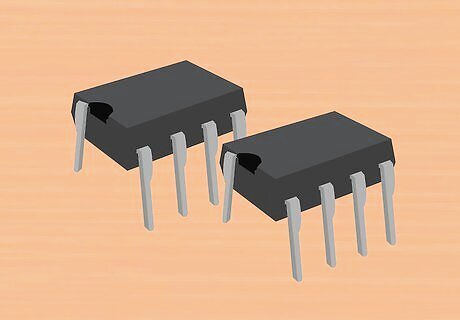
Remove the necessary parts, keeping them organized with the screws and attachments needed to reassemble the computer. This is where every computer is different -- as some computers require massive dismantling and others offer easy access to your switchable video card. Pay close attention to your work, your product manual, and your parts. Write down the order you took parts out if there is any confusion. This will help you work backward when you need to put the computer back together. Use cups or bowls to organize screws, keeping a cup of the appropriate connections next to the corresponding part to avoid losing anything.
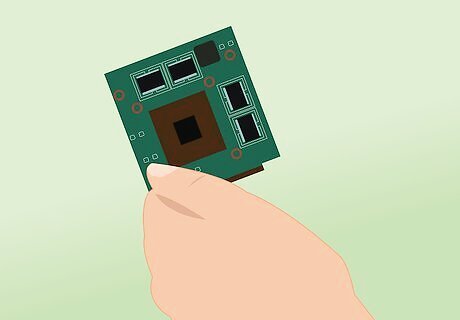
Remove and replace the graphics card once exposed. Once you get to the card, simply slide it out of the PCI x16 port (labeled on the switchable motherboard) and slide the new one in. Don't bend, jiggle, or yank on either card -- they should slide in and out relatively easily once you undo the safety latches on the sides. If it does not, check for any forgotten screws or safety latches, use some compressed air to clean out the port, and try again.
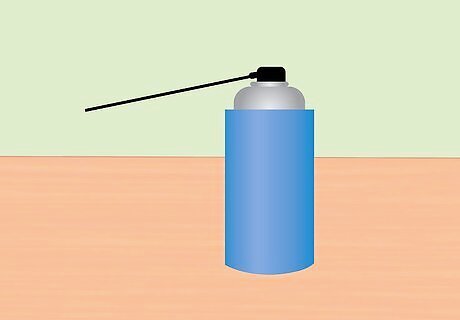
Use compressed air to clean any dust or debris from your computer and parts. Compressed air is the easiest, gentlest way to clean out your computer, and the perfect time is when it is dismantled and easily accessed. Clean off all the parts, especially the fan, while they are out. Then gently blast some air inside the computer to give it a good cleaning.
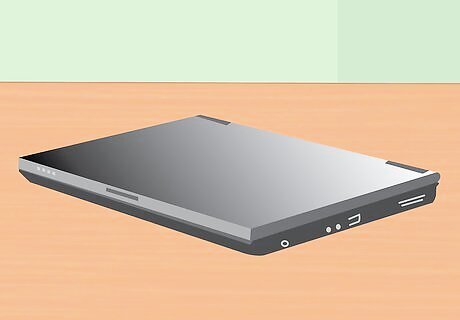
Replace the parts in the order you took them out. The installation, in all cases, is the same procedure used to remove the parts in reverse. If you've paid attention and kept yourself organized, you should be able to easily retrace your steps and put the computer back exactly how you found it. This is why taking pictures as you work is a good idea, allowing you to see exactly how the computer is supposed to look when you're finished.


Comments
0 comment