
Installing New Screws

Use longer screws if the old ones pull out from the holes. Shorter screws can’t dig into material very well since they don’t have a lot of threadings. Take out your current screws and measure them so you can find out their length. When you buy new screws, try to get some replacements that have the same thickness but are about ⁄2–1 inch (1.3–2.5 cm) longer. Then just install your new screws until they’re flush with the surface. Longer screws work for any material, but are especially effective for screws holding up heavier objects, such as doors or shelves. Avoid using longer screws if you’re working with a thin material since the other end of the screw could poke through the other side. Your screws should go at least halfway through the thickness of the material. For example, if you’re screwing into a 2 in (5.1 cm) stud, then you should use a screw that’s at least 1 inch (2.5 cm) long.

Try screws with a thicker diameter when the holes are too wide. The screw hole might widen if you put weight on the screw, which could cause it to loosen up. Check the original packaging or measure the diameter of the screw’s shaft. Buy the next thickest size from your local hardware store and insert it into the hole. Your new screw will press tighter against the sides of the hole and keep it from wobbling. Thicker screws will stay tight in both wood and metal. Screws will list the diameter in standard measurements and specific gauge sizes. For example, if you have an 8-gauge screw, then try using a 9- or 10-gauge.
Slide a flat washer and spring washer on the screw to absorb vibrations. Washers are metal disks that are used as spacers and to keep screws tight. First, slide a flat washer onto the screw’s shaft and press it against the bottom of the screw head. Then, take a spring washer that has a raised edge on one side and put it behind the flat washer. Position the screw in the hole and tighten it until the washers are pressed flat against the surface. You can use washers on wood or metal.

Place serrated screws in the hole to prevent them from vibrating out. Serrated screws are a little more heavy-duty, but they have raised edges underneath the head to grip into the surface better due to the extra friction. Install and tighten the screw as you normally would so the bottom of the head presses against the surface. Turn the serrated screw clockwise so the head digs into the material and doesn’t come loose. You can use serrated screws on any type of material. Serrated screws aren’t as effective if you try reusing them.
Install a threaded insert if the screw keeps spinning when you tighten it. A threaded insert is a small metal coil you put in the bottom of a screw hole to help it tighten properly. Hold the screw upside-down and screw the top of the threaded insert onto the end. Flip the screw over and set the bottom of the threaded insert inside of the hole. Turn the screw clockwise to tighten it and drive the insert deeper into the hole. Once you have the screw tightened completely, the insert will stay in the hole even if you take out the screw. Threaded inserts work no matter what material you’re screwing into. Read the instructions that come with your threaded insert since they’re all a little different.
Put wedge lock washers on the screw to give your screw a better grip. Wedge lock washers are a pair of circular disks with interlocking that prevent the screw from coming undone. Set the washers on top of each other so the large wedges interlock in the center. Slide the washers onto the screw’s shaft so it’s pressed against the head. Tighten the screw until the washer’s small serrated edge digs into the surface to keep it secure. These work best with critical metal joints that go through vibrations, such as on vehicles or framing.
Filling Loose Screw Holes in Wood
Remove the screw if it sags on the wall. When you hang something on a screw, such as a shelf or door, the weight can make the holes wider and screws sag. Use a screwdriver to turn the screw counterclockwise until you remove it completely. Most commonly, you’ll use this fix on door hinges, but you can use this in any type of wood repair.
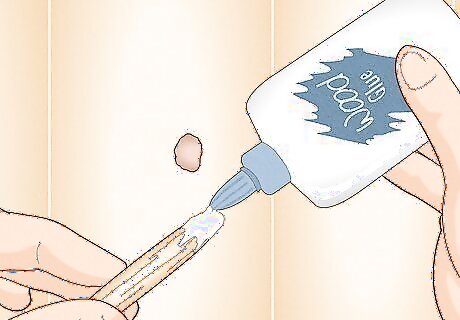
Coat the end of a ⁄8 in (9.5 mm) dowel with wood glue. The dowel only needs to be about 1 in (2.5 cm) longer than the screw. Spread a large drop of wood glue around the dowel until you’ve completely coated it. If a dowel is too thick to fit into the screw hole, you can try other thinner pieces of wood, such as toothpicks, matchsticks, or chopsticks. Just use as much as you need to fill the space.
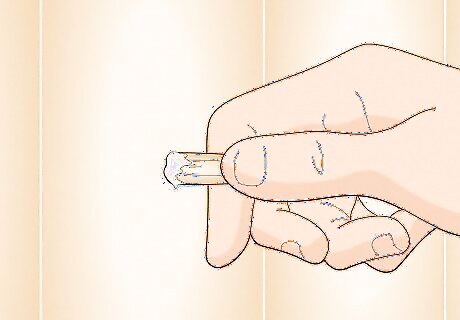
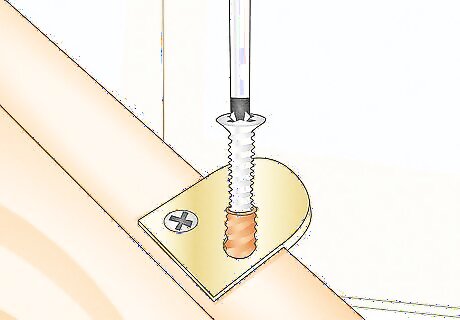
Push the dowel into the screw hole. Slide your dowel in and push it as far back as you can to completely fill the hole. It’s okay if some of the wood glue comes out when you put the dowel in. Just wipe up the excess with some paper towel so it doesn’t get too messy.
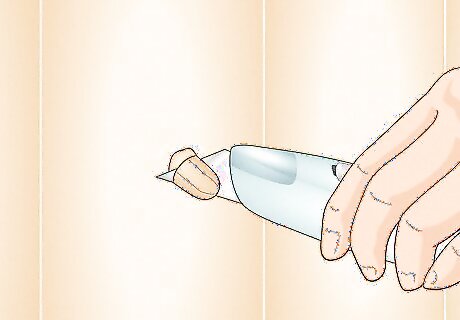
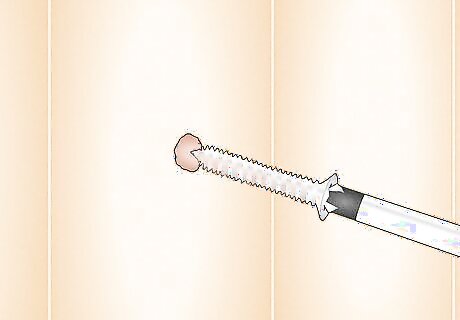
Trim the dowel flush to the wood with a utility knife. Place the blade of a utility knife so it’s flat against the wood you’re screwing into. Carefully cut any portion of the dowel that extends past the wood so it’s clean and flat. If you have trouble using a utility knife, you can also trim the dowel with a flush-cut saw.
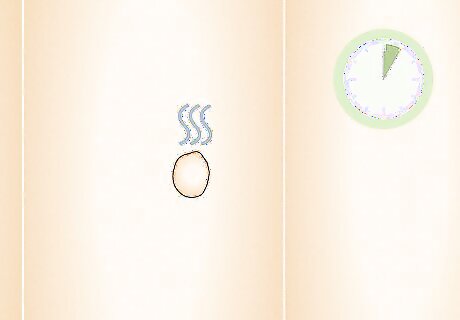
Wait 1 hour for the wood glue to dry. Wood glue forms a really tight and secure bond, but it does take a little bit of time to set. Leave the dowel to dry in the hole for at least an hour so it doesn’t come out when you try to screw into it.
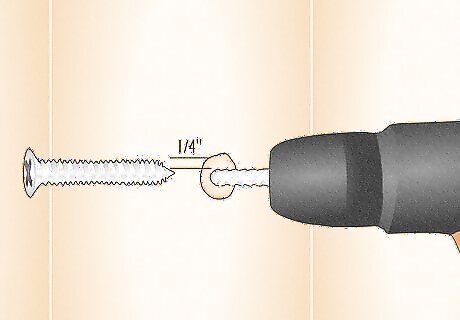
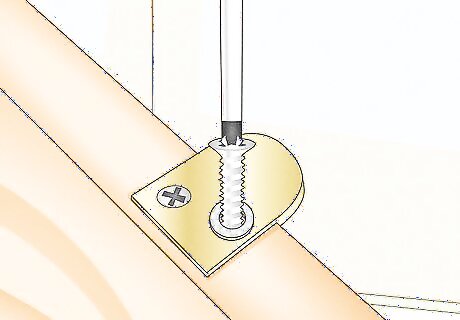
Drill a hole into the dowel that’s ⁄4 in (6.4 mm) narrower than the screw. You can reuse the old screw or buy a new one, but be sure to measure its diameter. Install a drill bit that’s ⁄4 in (6.4 mm) smaller than the screw and make your pilot hole in the end of the dowel. Keep your drill straight while you’re making the hole so it’s easier to screw into. If you don’t make pilot holes, you could damage the wood. Avoid making pilot holes the same diameter as your screw, or else they’ll still feel loose.

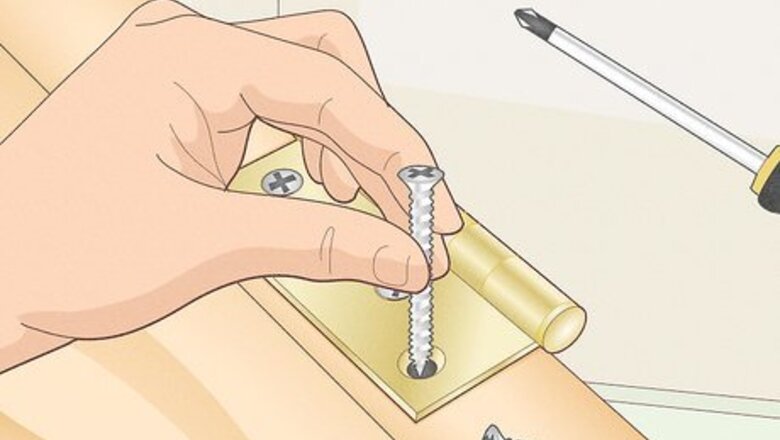
Reinstall the screw until it’s tight. Place the end of your screw in the hole and start turning it clockwise with your screwdriver. Since you filled the original hole, the screw’s threading will grip onto it more securely so it’s less likely to come undone. Keep turning the screw until the head is flush with the surface. If your screw still feels loose, try using one that’s longer or thicker.
Applying Threadlocker for Metal
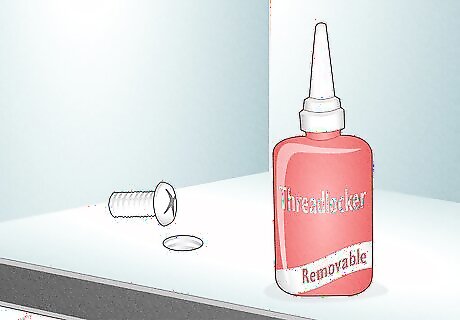
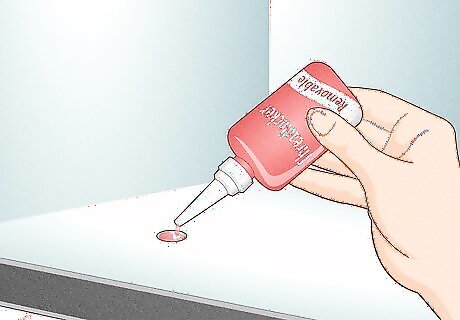
Choose a removable threadlocker if you want to replace the screw later on. Removable threadlocker works best when you don’t want your screws to vibrate out but still want the ability to unscrew them. Since you can still tighten and loosen the screws with hand tools, this works well on things like mounting, adjustment, or calibration screws. There are various strengths to choose from depending on the size of the screw. For example, you may use a low-strength threadlocker for ⁄4 in (0.64 cm) screws but you’ll need medium-strength for something up to ⁄4 in (1.9 cm).

Pick a permanent threadlocker when you need a lasting connection. You only need to use high-strength threadlockers for heavy equipment, suspension bolts, and motor mounts. Since permanent varieties make a tighter bond, they’re extremely difficult to remove on your own, so they usually won’t come loose from regular wear and tear. You might be able to remove screws with permanent threadlocker if you heat them with a blowtorch or heat gun.
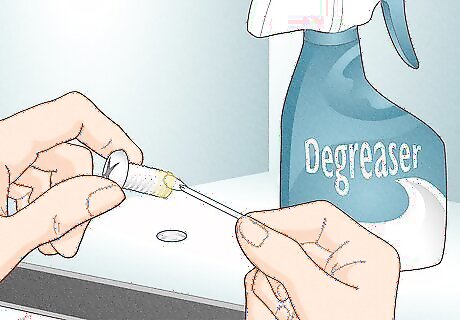
Clean the screw’s threading with a degreaser. Oil and dust build-up on the screw and can ruin how well the threadlocker bonds with the metal. Wet a cotton swab with a commercial degreaser, or use something like denatured alcohol or acetone. Swab the threadings on the screw until you don’t lift off any more residue. You can also clean the threadings on the object you’re screwing into if they look dirty.
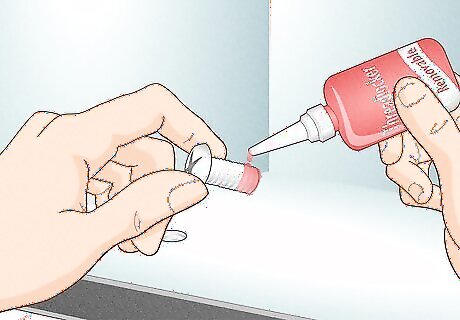
Apply several drops of threadlocker on the screw’s threading. Hold your screw horizontally so you can easily add the threadlocker. Locking in the threads helps to add friction. Open the bottle and squirt the bottom 3–4 threadings on the screw. Let the threadlocker soak into the threadings so it coats them evenly. You don’t have to rub the threadlocker into the threading since it will spread out once you screw it in.
Squirt a few more drops into the screw hole. To ensure you have a secure connection, hold the threadlocker’s nozzle at the edge of the hole so it’s against the inside threading. Add another 2–3 drops of the threadlocker to help the screw bond even tighter.
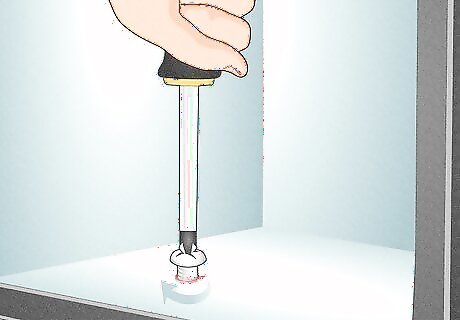
Tighten the screw in the hole. Place the screw in the hole and turn it clockwise with a screwdriver. As you screw it in, the threadlocker will coat the threading on the screw and surface to form a tight bond. Once you install the screw, the threadlocker will start working right away so it won’t come loose. If any excess threadlocker squeezes out, wipe it up with a paper towel.


Comments
0 comment