
Preparing to Shuck Oysters
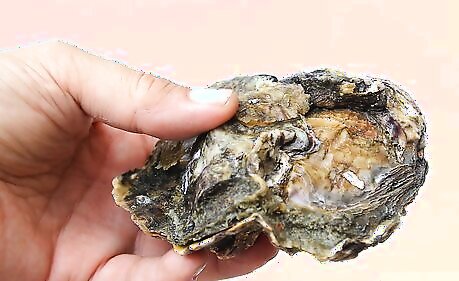
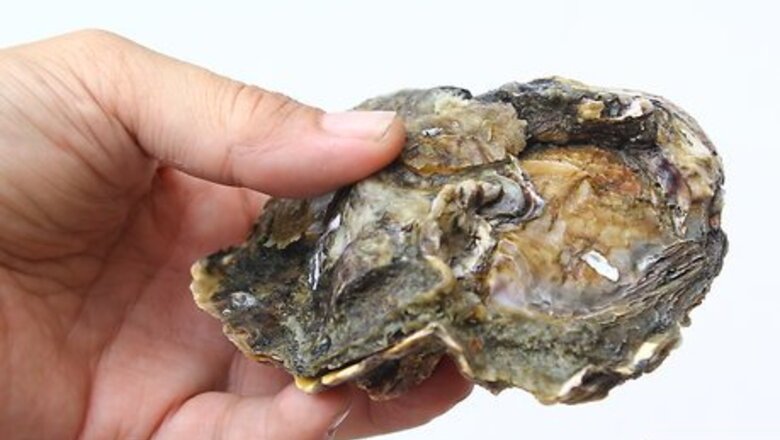
Choose fresh oysters. Oysters should still be alive when you shuck them; if they've already expired, they aren't safe to eat. Pick oysters with the following properties: Closed shells. If an oyster's shell is open, it's likely that it's already dead and should be discarded. Lightly tap the shell, just in case; if it immediately shuts, the oyster is still alive and fine to eat. A fresh sea smell. Fresh oysters smell both sweet and salty, like the air next to the sea. If an oyster smells fishy or "off," it's probably not fresh. A heavy feel. Place the oyster in your palm. If has a nice heavy weight, that means it's still full of seawater and was probably harvested quite recently. If it's unexpectedly light, the seawater has dried up, and it's no longer fresh.
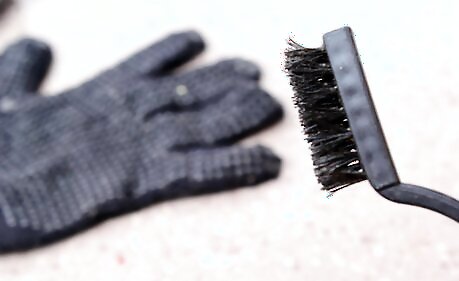
Have the right supplies on hand. Besides a nice sack of fresh oysters, you'll need the following supplies: A stiff-bristed brush Heavy gloves An oyster knife, or another knife with a heavy blade that won't snap A bed of ice for keeping the oysters fresh until serving
Understand oyster anatomy. Before you start shucking, take a close look at an oyster so that you know the right way to handle it while shucking. The hinge is the muscle that connects the top and bottom shells at the pointy end of the oyster. Opposite from the hinge is the rounded front of the oyster. The top of the oyster is the flatter shell. The bottom shell is cup-shaped.
Shucking Oysters
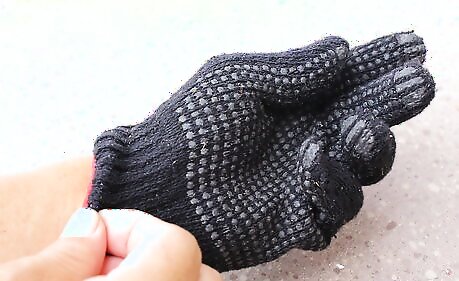
Put on the gloves. Oyster shells are sharp, and you'll definitely cut yourself if you aren't wearing a pair of tough rubber or canvas gloves when you're shucking them. Don't forego this simple safety measure.
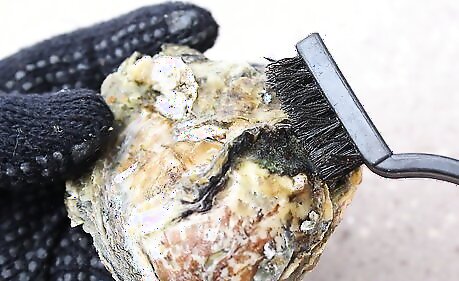
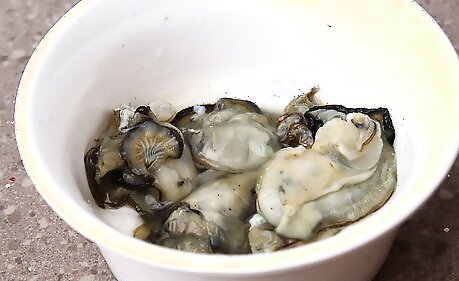
Scrub the oysters clean. Use the stiff-bristled brush to scrub the ocean grit from the oysters. Rinse the scrubbed oysters in cool running water. As you handle each one, make doubly sure the oysters are alive and fresh.
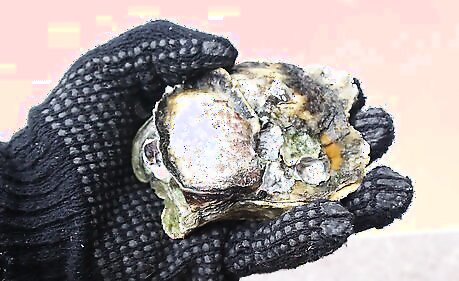
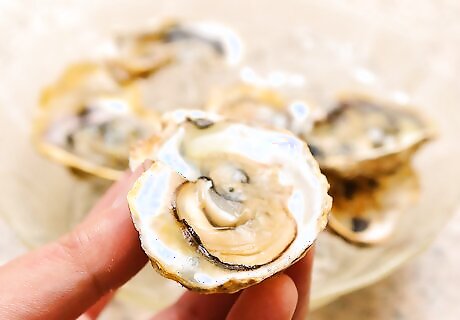
Grasp an oyster in one hand, cup-side down. The curved side of the oyster should be against the palm of your hand. The point, or hinge, should be facing toward you.
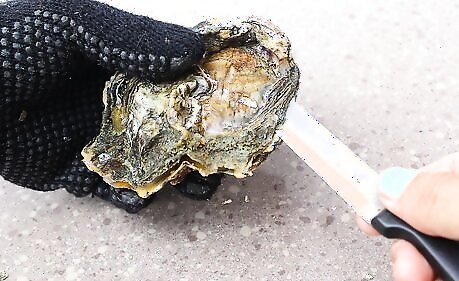
Insert the oyster knife into the hinge. Point it down into the cup of the oyster. Use a twisting motion to separate the top and bottom shells. You should feel the hinge pop when you twist the knife.
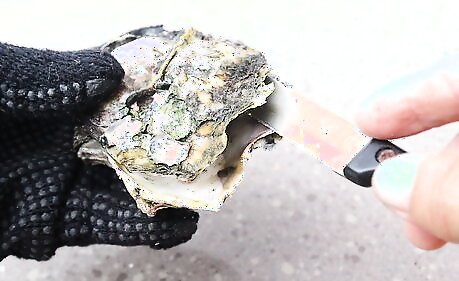
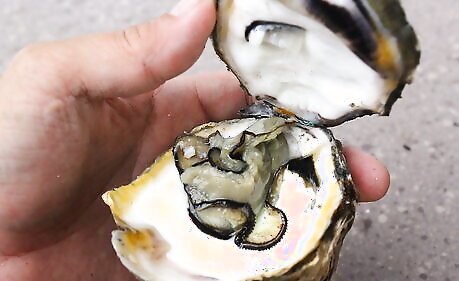
Run the blade along the top of the shell. Work the blade as close to the top of the shell as possible, and run it from the hinge around to the other side of the oyster. Continue using a twisting motion to separate the top and bottom shells. The shell will be very tightly closed, so be careful not to let the knife slip as you do this. Do your best not to break the shell into pieces. A few stray bits may get inside, but the shell should stay mostly intact. Don't tip the shell from side to side or turn it over, or the delicious juices inside will pour out.
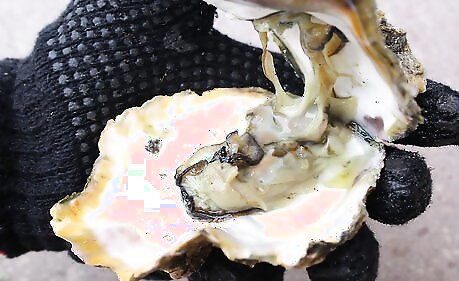
Open the oyster. When the top and bottom shells are separated, open the oyster, taking care to hold it level. Run the knife along the top shell to separate any remaining meat. Check the oyster for shells or grit. If you wish, carefully separate the oyster meat from the bottom shell, so you or your guest won't have to do so before eating the oyster. Place it back in the bottom shell before serving.
Serve the oysters. Place shucked oysters on a bed of ice, still swimming in their juices.
Slurping Oysters
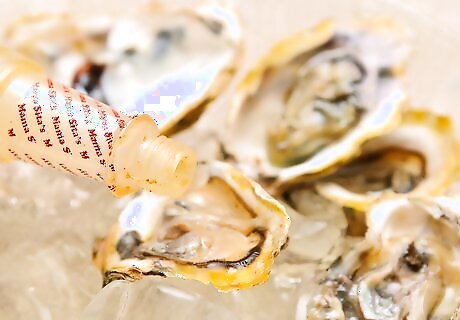
Squirt some sauce onto the fresh oyster. Use hot sauce, vinegar sauce, or lemon juice.
Hold the oyster to your lips and slurp. Suck in the entire piece of oyster meat in one gulp.

Drink the oyster's juice. The fresh salty water makes the perfect chaser.


Comments
0 comment