
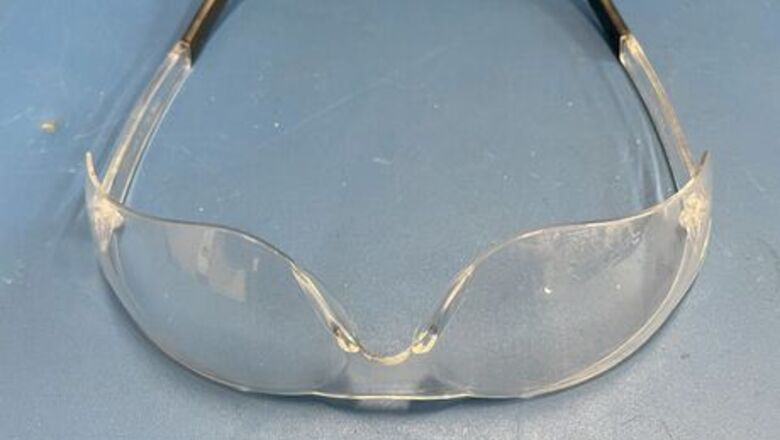
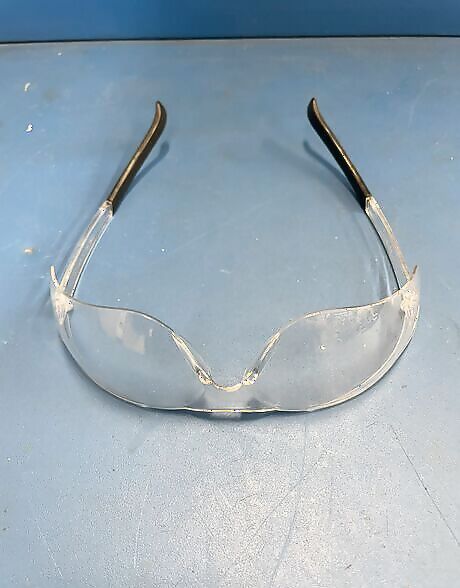
Secure proper safety glasses. They should be marked with “Z87” somewhere, usually on the frame. This means that the glasses have been tested in "regular impact" scenarios and held to strict safety scenarios, ensuring your eyes are shielded while working.
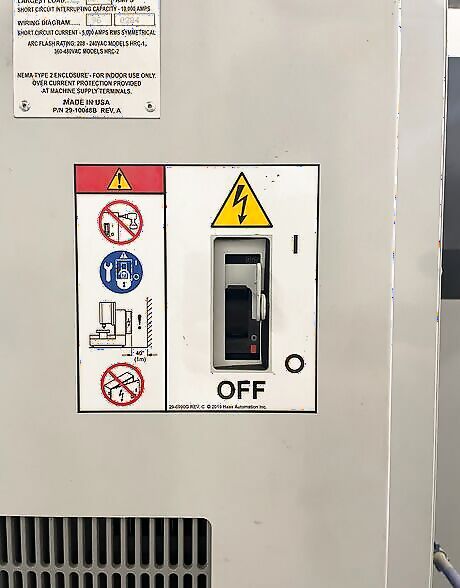
Locate the breaker on the back of the machine and turn it on. Next, push the “Power On” button on the control panel.
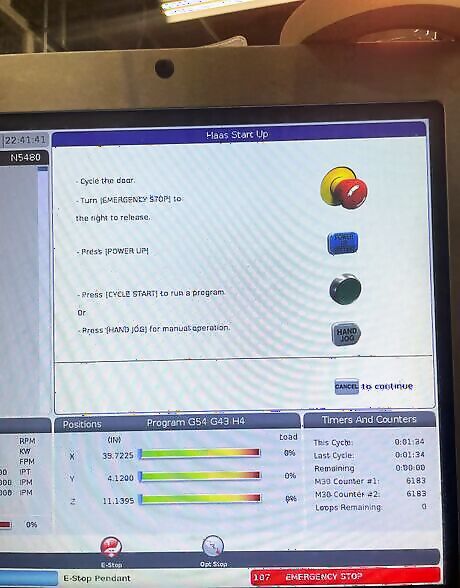
Follow the on-screen prompts. These include cycling the door, releasing the emergency stop, and press Power Up. At this point, the machine will begin to move automatically through a boot- up sequence.
Gather appropriate cutting tools and holders. Ensure the tools are seated correctly and tightened to the tool holder’s specified torque.
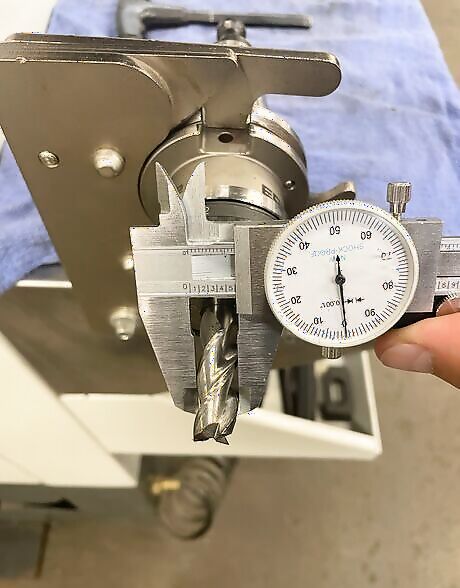
Measure the diameter of all the cutting tools with a 6-inch dial caliper. Also measure the length of the tool to ensure the tools are not of a size that will interfere with the mill's operation. Note down these measurements, as you will need to input them later.

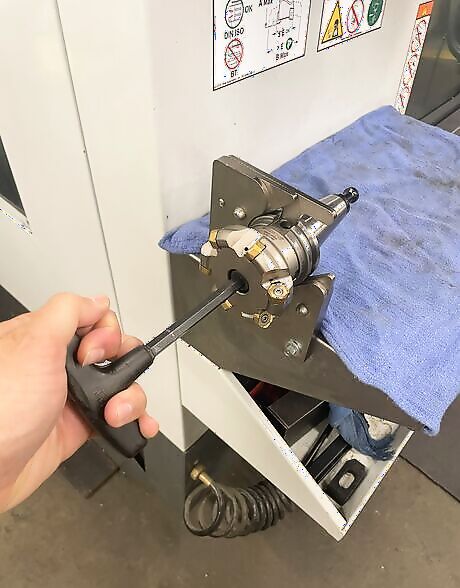
Load the tools in their correct positions. Press and hold tool release until the tool is properly seated in the spindle, then release the button. This will draw it up, ensuring the tool is then properly loaded.
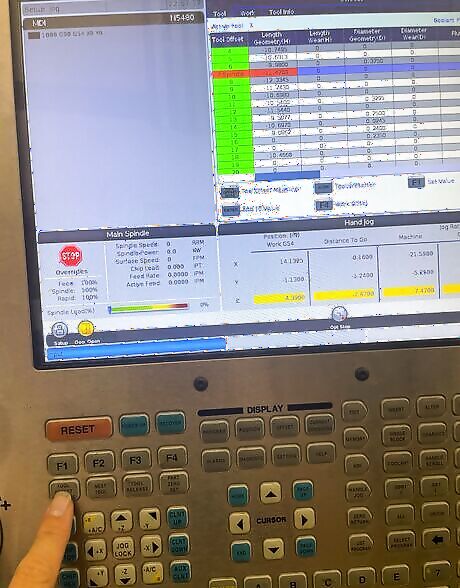
Calibrate your tools to ensure precise milling operations. Place a tool offsetter on top of your part to be milled. For each tool, slowly bring it down until the gauge reads zero. Push Offset” and then Tool Length Measure button. Input its height and diameter in the relevant fields.
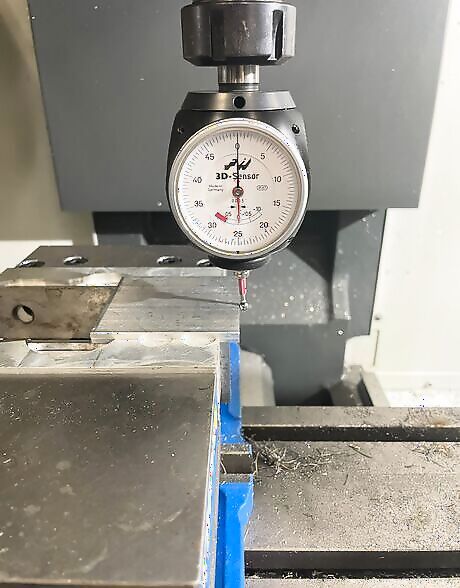
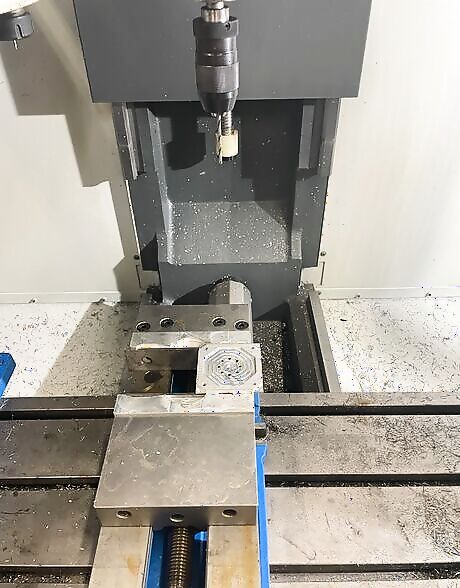
Install a 3D gage into an empty tool pocket and call it up to the spindle.
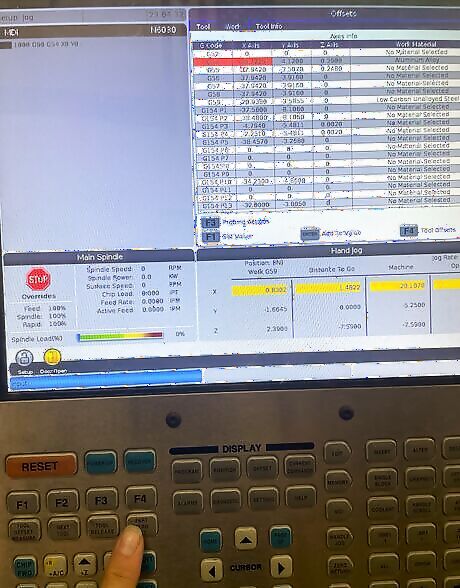
Bring the spindle down and locate the zero point where the X and Y axis meet. Push the offset button and then Part Zero Set to set up the X and Y zero points for the G54 coordinate system. G54 is one of the standard coordinate systems used in CNC programming. The "zero point" defined in terms of the machine's coordinate system and tells the CNC machine where the workpiece is located.
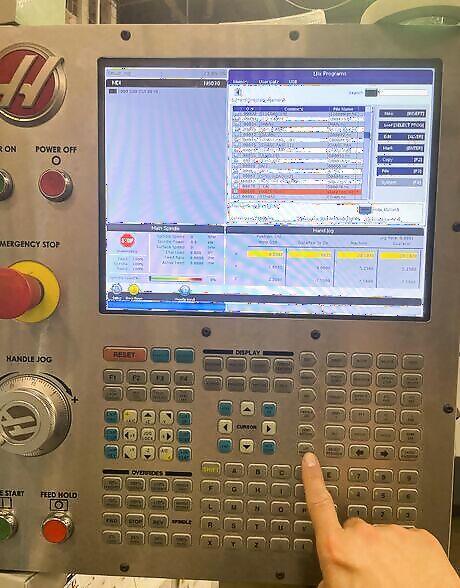
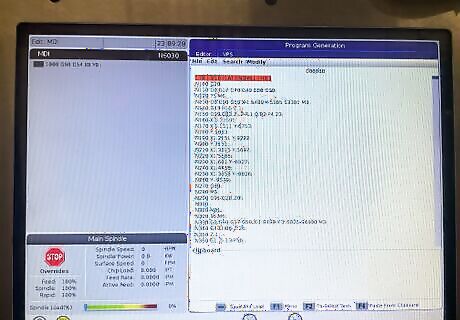
Save the CNC program on a USB drive. Insert the USB in the side of the controller and push List Program. Push Up then over to USB. Scroll down and highlight the program you would like to run. Press Select Program and it should be your active program.
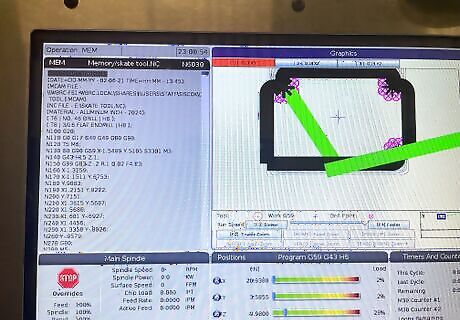
Verify smooth operation of the program and set up. You can double-check for any errors by pushing the "Graphics" key and pressing the green Cycle Start. If the red light comes on, there is a problem. Otherwise, the program will run its course without error.
Activate some key safety features to ensure you can run the program safely and effectively. Press the "Position", "Rapid 25%", "Optional Stop", and "Single Block" keys. These modes will make it safer to run the first part.
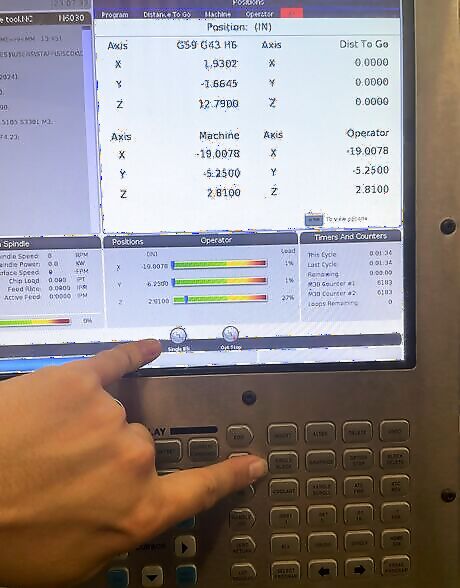
Press Cycle Start to begin the automated cutting process and watch the "Distance to Go" on the screen as you advance throughout the program. The machine will be following the alphanumeric CNC G code as if reading through a set of instructions. When the program is finished, the machine should stop and the green light should go out, signaling that it is no longer running.
Open the doors and blow the coolant and chips off the freshly machined part. Make sure to measure the part before removing it, so it can be re-machined if necessary.


Comments
0 comment