
Shaping the Clay
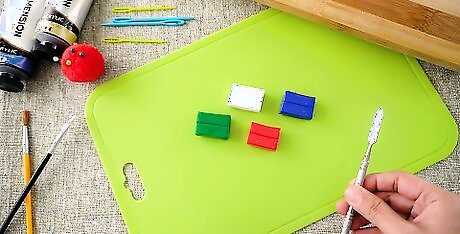
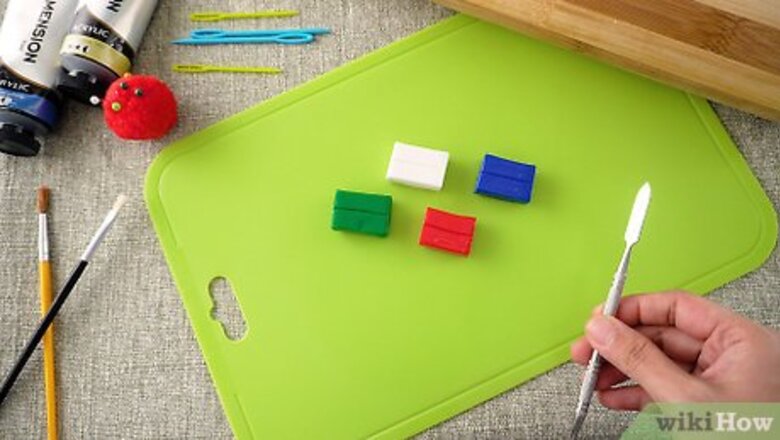
Get out some polymer clay and a few basic tools. One of the best things about polymer clay is that it doesn’t require expensive equipment to get started. Head to a department or craft store and pick out some polymer clay and a few sculpting tools. Alternatively, choose a beginner sculpting set for a convenient way to get everything you need. To start, make sure you have a roller, clay blade, and a few sculpting tools, like those with balls or rubber tips at the end to create various shapes. You can also use items that you find around your home as sculpting tools. Look for anything that can be used to make interesting details on the clay. Popular choices include sewing needles, knitting needles, craft knives, dental tools, pens, pencils, and toothpicks. Polymer clay comes in a variety of colors and consistencies. Choose firm polymer clay if you want to work with clay that holds its shape better. Alternatively, pick soft polymer clay if you are after a type that is easier to shape and stretch. Cover your work surface with a non-porous material like a plastic placemat to keep the oil in the clay from leaching into your table or desk.
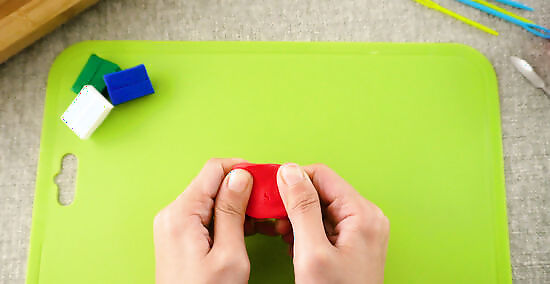
Take the clay out of the packaging and warm it up with your hands. Depending on how much clay you want to use, either cut off a small section to work with or use the whole block. Press the clay in your fingers and massage it in your palms to begin warming it up. Roll the clay into a ball and don’t be afraid to break it into smaller pieces that are easier to work with. Continue bending and rolling the clay until it feels soft enough to mold. Aim for the clay to reach a stretchy, malleable consistency.Tip: If the clay is too firm and won’t soften in your hands, simply place it into a resealable plastic bag and keep the bag in your pocket for approximately 30 minutes. Alternatively, run the plastic bag full of clay under hot water for 2-3 minutes or until it feels soft.

Make each individual feature of your model separately then join them together. Use your fingers to break off smaller sections of clay and to shape them. Complete each feature individually and then rest it on a flat surface while you work on the next. Then, join the pieces together to make your model. For example, if you want to make a model of a head, shape the face, eyes, eyebrows, ears, nose, and mouth separately first. Then, put them all together by gently pressing the pieces of clay into each other. Remember that if you make a mistake, you can simply remold the clay.
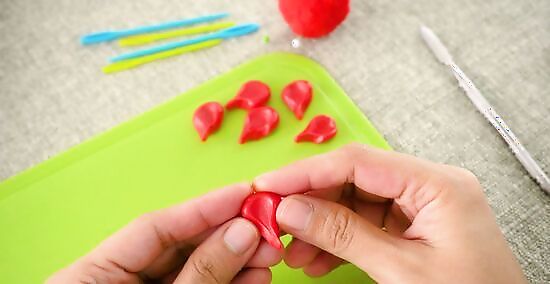
Use your hands to mold the clay. Start sculpting the clay into whatever design you have in mind. Pull the clay to stretch it out and pinch it into shape with your fingers. You can even make basic clay sculptures, such as a "pinch pot," or small bowl, using only your hands. Roll the clay to create spherical shapes like balls and beads. Put more pressure on 1 side of the ball while rolling the clay in your hands to turn it into a cone shape.
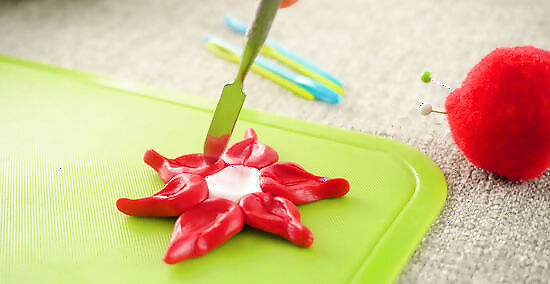
Add small details to your model with tools. Tools are great for creating small, intricate details that are too difficult to make with your fingers. Try out a variety of different tools to see the shapes that each tool can make. Get creative and use the tools by pressing, dragging, or rolling them into the clay. If you don’t like the effect, simply smooth the area out with your fingers and try a different way or tool. Flatten the clay with a rolling pin or ruler. You can create flat, thin pieces or shapes with flat sides like squares or rectangles. Sewing needles are great for making small indents, while knitting needles are ideal for larger impressions. Wire loop-shaped tools are great for creating circular patterns and craft knives are perfect for making intricate markings and lines. If a tool sticks or doesn't glide easily, dip it into water first and then try using it again.
Curing and Decorating the Clay

Smooth the surface of your model with mineral spirits. It’s easy for your model to get covered in fingerprints as you sculpt it. Pour mineral spirits into a bowl or a glass and get out a small, clean paintbrush. Dip the paintbrush into the bowl and then apply a thin coating of mineral spirits over any fingerprints you can see on the polymer clay. Let the clay dry completely before baking it. Only apply very small amounts of mineral spirits at a time. The mineral spirits will make the clay soft enough so that you can use the paintbrush to further sculpt your model. Always use mineral spirits to smooth and sculpt the clay last, as it will be more difficult to work with afterward.
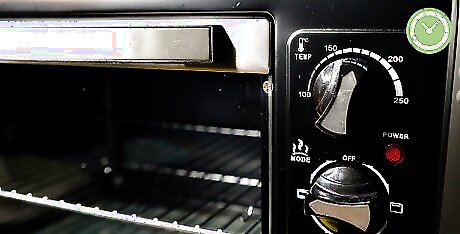
Preheat the oven to the required temperature before you bake the clay. Read the label on the packaging for the polymer clay carefully to find the recommended temperature and oven setting for curing the clay. Always follow the recommended temperature setting for your particular polymer clay, as it can differ between types and brands. Don’t use a temperature that’s lower or higher than the recommended, as the clay won’t cure properly. While most polymer clay needs to be baked in the oven to cure, you can get specific types that are labeled as “air-dry” that don’t need heat to cure.
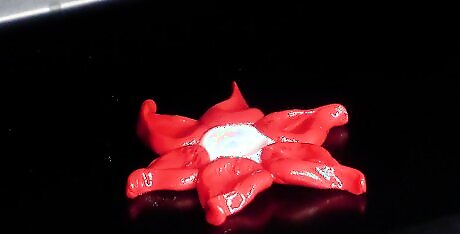
Place your model into a covered, oven-safe dish. Get either a ceramic, glass, or metal dish and place your model in the center. Then place the lid on the dish and make sure that it’s fitted properly to protect your model from color changes and browning due to the heat. Never bake polymer clay uncovered. If your oven-safe dish doesn’t have a covering, simply cover it using aluminum foil.Tip: Put parchment paper in the bottom of the dish before setting your clay on top to prevent it from sticking or transferring color to the dish.
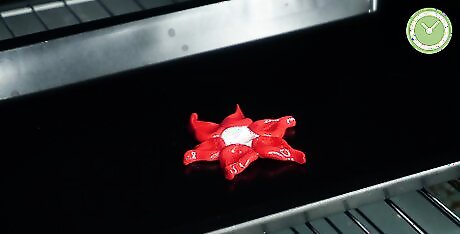
Bake your polymer clay model for the recommended amount of time. Check the instructions on the clay packaging carefully to determine how long your model needs to be baked. Generally, the thicker your polymer clay model is, the longer it will take to cure. You may need to measure your polymer clay to determine how long to leave it in the oven for. For example, some types of polymer clay specify that your model requires 10 minutes of baking time for every ⁄4 in (0.64 cm) of thickness. When the time is up, carefully remove the dish from the oven using pot holders and allow the clay to cool.

Paint your cured model with acrylic paint once it’s cool. Use a paintbrush to apply a base coat of the most dominant color that you will be using. Let the base coat dry and then use a smaller paintbrush to add details to your model with other colors. It’s always recommended to paint polymer clay after it has cured rather than before. If you make a mistake with the acrylic paint, simply wait for it to dry and then paint over it.


Comments
0 comment