
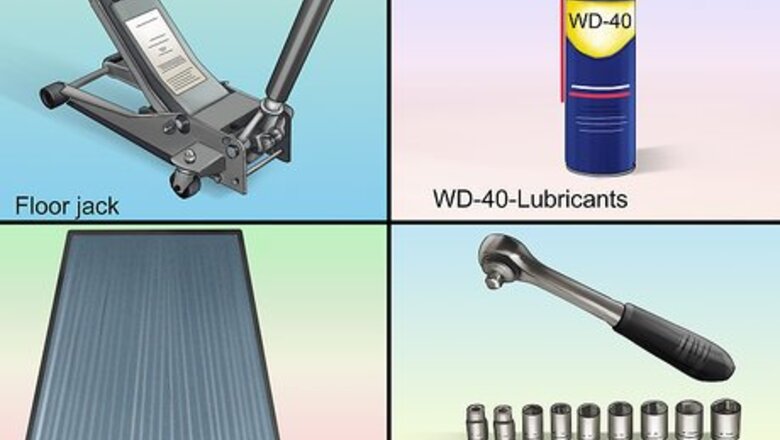
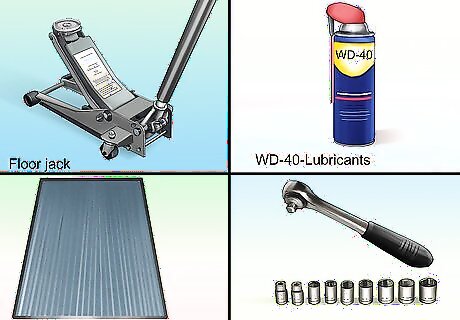
Tools and Materials You'll Need Socket and Ratchet Wrench 8mm, 13mm, 15mm Wrench w/ 10 inch extension Cardboard Box or Carpet Mat. Fast Orange Soap Flashlight Floor Jack. Jack Stands. Towel. WD-40 Lubricant Wood Blocks. Work Gloves and Goggles.
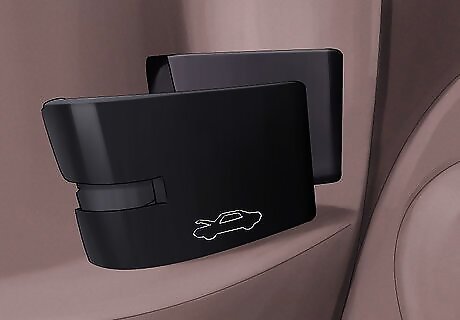
Open the hood. Vehicles around this model year usually have a hood release lever under the steering column to initiate this step. Once done, lift the hood and insert the stick to hold the hood in place for operation.
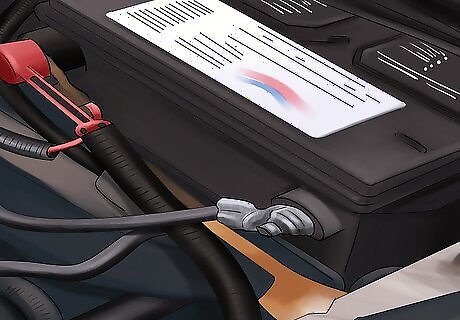
Disconnect the negative (black) cable from its battery post. Using an 8mm socket wrench or 8mm wrench remove the terminal nut from the negative cable and gently place it somewhere safe. Doing so will reduce the chances of sparking the battery and damaging any other electrical part in the vehicle.
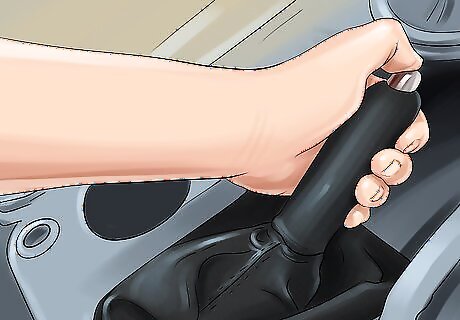
Apply the emergency parking brake in the vehicle. Simply press down on the brake as you press and the hold the button on the parking brake to pull up the lever until it locks the mechanism.
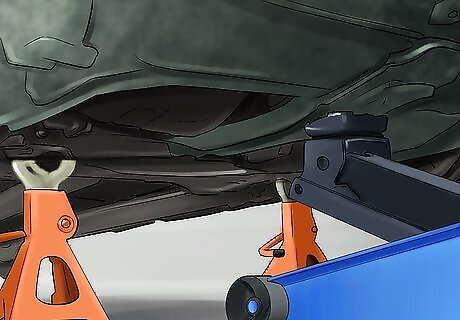
Raise the vehicle. You will need to lift the front of the vehicle using a floor jack. Find a secure spot strong enough under the vehicle and jack the car until you’re able to station the jack stand under the designated position. Remember to block the rear wheels.
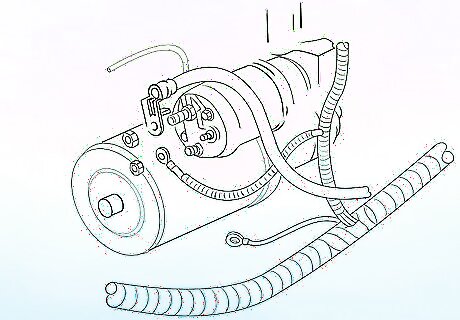
Remove the terminal nuts and wires. Once the vehicle is properly raised, it's time to go under the vehicle. Place a carpet, mat, or cardboard box on the ground to lye on and remove the two terminal nuts with a 13mm wrench from around the electrical wires. Also, you can do this without going under the vehicle. Depending on your preference.
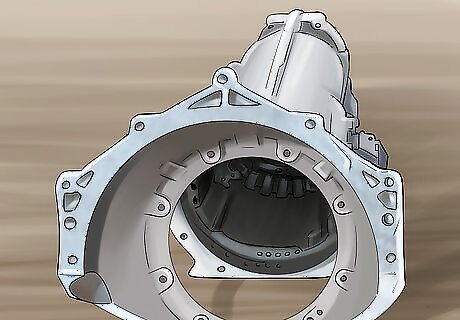
Remove the bell-housing shield. This mechanical part is only on some OHV 2.2L Engine models. If yours has it, there are 3 bolts that need to be removed from this plate. The first located face first by the starter and the second is below the starter. The other bolt is located on the other end of the plate between the oil and transaxle pan.
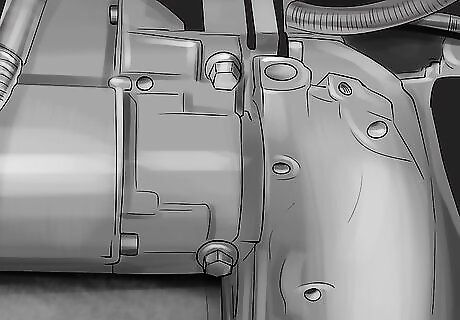
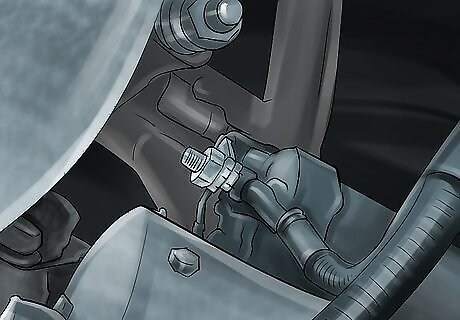
Remove mounting bolts. Now that the plate is removed there are two 15mm bolts that are connected to the starter mount. Disconnect them with the socket and ratchet, and the starter will be removed.
Reinstall. Once the old starter is removed the process to insert the new one is done in reverse sequential order.


Comments
0 comment