views
- Clean the area with a household cleaner and let it air dry for at least 1 hour. Use 400- or 600-grit sandpaper to sand any sharp edges of the chip or crack.
- Buy an epoxy repair kit in your sink’s color and follow the manufacturer’s instructions to mix the 2 parts. Let it sit for the recommended time to set.
- Apply a thin coat of epoxy to the chip or crack, let it dry for 45 minutes, then apply another coat. Let the epoxy dry, then sand the area until it’s flush with the sink.
Sanding and Cleaning the Sink
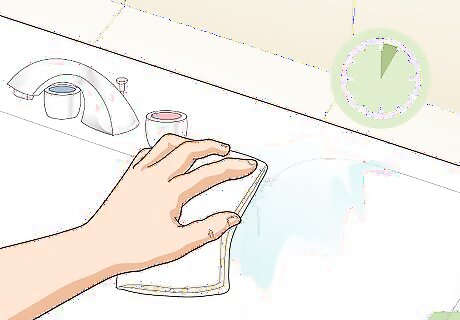
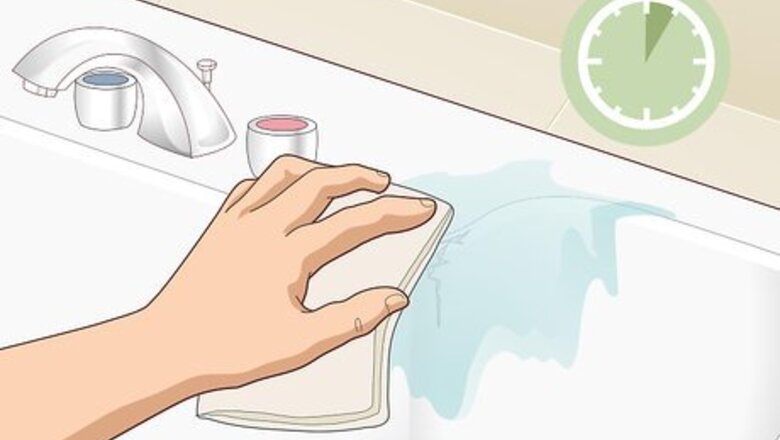
Clean the area and let it dry for at least 1 hour. Scrub the damaged area with a household cleaner and a scrubbing pad or the scrubbing side of a sponge. Rinse the sink and use a paper towel or clean cloth to dry. Leave the sink to air dry completely for at least 1 hour before you sand or apply the epoxy. Make sure the area is completely dry before applying epoxy. If you apply chip repair epoxy to a wet surface, it may not cure correctly.Tip: You can use the sharp tip of a pin or needle to scrape out hairline cracks or brush very small chips out with an old stiff-bristled toothbrush to remove any pieces of ceramic or dirt that are stuck in them.
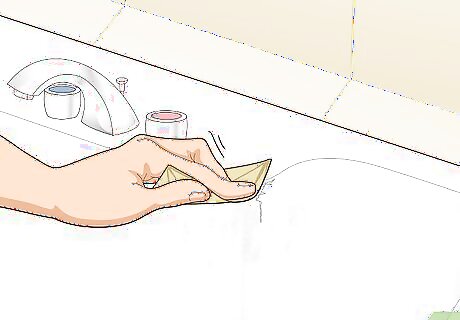
Sand the edges of the chip or crack with fine-grit sandpaper. Lightly rub a piece of 400-grit or 600-grit sandpaper back and forth over the damaged area until you don’t feel any sharp edges. The roughed-up area helps the epoxy patching kit bond to the sink. Try not to sand the undamaged areas of the sink’s surface with the sandpaper. You can use masking or painter’s tape to section off the chip or crack while you sand and apply the epoxy. If you have a hairline crack that doesn’t have sharp edges, skip this step.
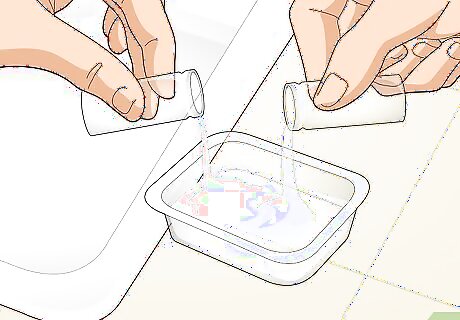
Purchase an epoxy repair kit, mix the 2 parts, and let it set. Buy a generic white repair kit if your ceramic sink is a standard white color. If your sink is an off-white color, get a kit that allows you to mix pigments to create a custom color. Follow the manufacturer’s instructions to mix the repair compound. Many porcelain and ceramic repair kits come with 2 vials that you mix together to create the epoxy, as well as a brush you can use to mix and apply the product. Open up the repair kit and use the plastic part of the packaging as a mixing tray. Use the provided brush or a toothpick to empty the contents of both vials into the tray. Use the brush to mix the liquids thoroughly in the tray for at least 1 minute. Refer to the manufacturer’s instructions for the specific repair product you purchased for directions about exactly how long to wait before applying the epoxy. Most say to wait at least 30 minutes.Tip: If you purchased a kit that has pigments you can use to alter the color of the epoxy, mix in the appropriate color of pigment 1 drop at a time until you get a match. For example, if your sink is light green, mix in a drop of green pigment until the epoxy looks like the right color.
Filling in Chips and Cracks

Apply a thin coat of epoxy with a brush and let it set for 45 minutes. Carefully brush the epoxy into the crack or chip, being careful not to get it onto the surrounding surface of the sink. Wait 45 minutes for the first coat of epoxy to set. If you apply too much epoxy and get it on the area around the crack, wipe away the excess with a damp paper towel. Use the tip of the repair kit’s brush or a toothpick to push the epoxy deep into the chip or crack. Make sure nobody uses the sink while the epoxy cures. Try not to worry about making the chip level with the sink with the first layer of epoxy. You can keep applying layers until you get it just right.

Apply new layers of epoxy, waiting 45 minutes between coats. Gently brush another layer of epoxy onto the crack or chip and wait 45 minutes before applying another coat. Repeat until the filled chip or crack raises slightly above the sink’s surface.Tip: You can use the edge of an old credit card to smooth out the epoxy and cover the edges of the crack or chip to blend it in with the surrounding surface. Most minor cracks and chips only need 2 layers of epoxy to fill them in. However, if you are repairing a deeper gouge, apply more coats as necessary. Use a clean cloth to brush away shavings from the sanding process as needed.

Let the epoxy dry for 24 hours, then sand down the repaired area. Drying times vary by product, but most recommend not to use the sink for 12 to 24 hours after you apply the last coat of epoxy. Lightly sand the area with 400- to 600-grit sandpaper so the filled-in area is completely smooth and level with the rest of the sink’s surface. After the epoxy completely cures, moisten your sandpaper or get the area wet before you finish sanding it to make it look shiny and blend it in with the rest of the surface. Try not to clean the sink for at least 5 days after you’ve finished repairing the sink. If your sink is made of porcelain, apply porcelain touch-up paint over the filled-in chip, scratch, or crack according to the manufacturer’s instructions. These paints are waterproof, form a tight seal over the filler, and come in a variety of colors to match your sink’s finish.
When to Replace Your Ceramic or Porcelain Sink
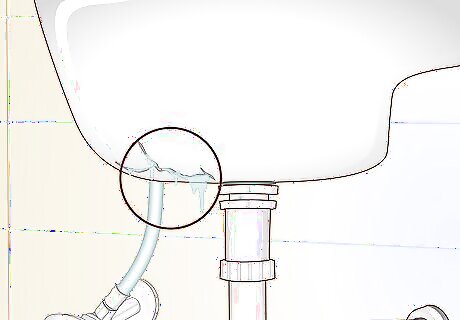
Replace your sink if water is leaking from the cracks or holes. If your sink has tiny leaks, draining problems, or holes, water may damage the wooden cabinet (if you have one) or cause mold or mildew. You can replace your ceramic sink yourself or hire a professional to do the job for you. Installing a new sink is a DIY job many people are comfortable doing, but if you have to rerun pipes or you encounter issues, you can always call a plumber to do it instead. The average cost to replace a sink yourself can be between $50 to $550 for a bathroom or $150 to $750 for a kitchen. If you decide to hire a professional, it might cost between $380 to $1,400 to replace your sink.
How to Replace a Porcelain or Ceramic Sink
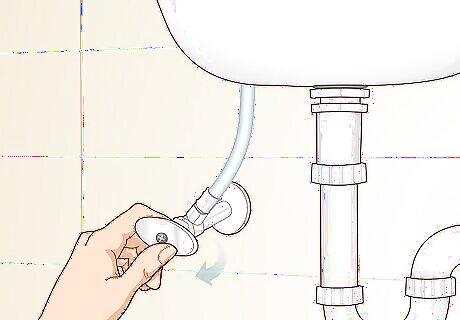
Shut off the water to the sink and disconnect the water supply lines. Shut off the water to the sink by turning the supply valves clockwise. Use a wrench to loosen and remove the supply hoses from the supply valves, then use a basin wrench to remove them from the faucet on the underside of the sink. If your water supply lines won’t shut off the water, you can also turn off the main water line to your house. Use a towel, bowl, or bucket to catch any water left in the supply hoses.
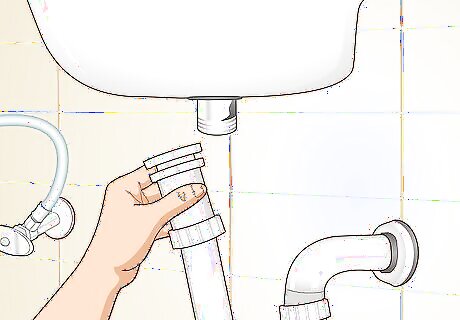
Disconnect the P-trap from the drain of your sink. Place a bucket underneath the sink drain and unscrew the plastic joints connecting the P-trap to the sink drain and the pipe attached to the wall. Wiggle the P-trap off the drain pipe into a bucket. The P-trap is the sideways “P” or U-shaped pipe that connects up to the drain in your sink. Make sure to remove any clips underneath that hold the edge of the sink to the countertop.
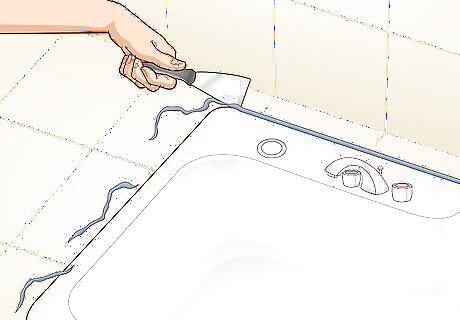
Run a putty knife around the edge of the sink and pry it out. Put a putty knife between the sink and the counter and use a hammer to gently tap the end of the handle all around the edge of the sink. Gently pry out the sink by lifting the faucet. Optionally, run the utility knife into the crack between the top of the sink and the countertop to break the caulk seal. If you have a laminate countertop, make sure to fully separate the sink from the counter before lifting it out to avoid damage.
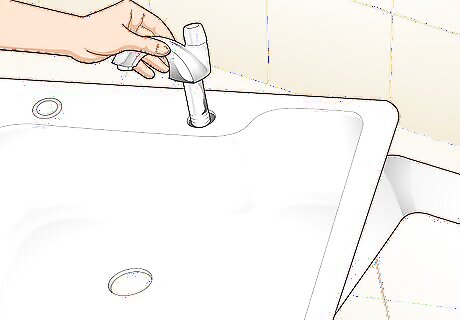
Reinstall the faucet and supply lines in the new sink. Use a wrench to disconnect the old faucet from the old sink. Run the old faucet through the holes in the new sink and reinstall the faucet in the reverse order. Use a wrench to attach the supply hoses back to the faucet. If you’re installing a new faucet, follow the instructions provided to attach it to your new sink. Most faucets will be held in place by some kind of nut or a set of screws. If your sink uses screws, screw in each one most of the way before tightening them down completely. It can be easier to install the faucet on your sink while it’s separate from the counter since you have more room to work.
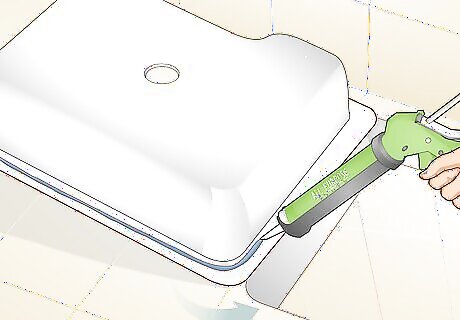
Apply silicone caulk around the sink and drop it in the sink hole. Flip the sink over so that the underside is facing up. Apply a .25 inches (0.64 cm) thick bead of silicone caulk all around the bottom edge of the sink. Flip the sink back over, line the drain pipe up with the pipe below, and place the sink into the hole. After you set it down, lightly press it down to squeeze out the excess silicone and seal the edges to the countertop. If the silicone didn’t squeeze out to the rim, apply a small bead of caulk inside the edge to fill in that gap. Spray soapy water onto the sink and use your fingertip to pick up any excess caulk. Use a dry paper towel to clean the caulk up around the edge of the sink. For a drop-in sink on a laminate countertop, you may have to use a screwdriver to install sink clips to hold the sink in place.
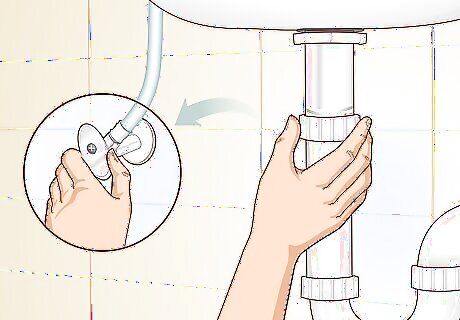
Connect the drainpipe and supply lines, then turn on the water. Connect the hot water hose to the hot water line and the cold water hose to the cold water line by screwing the nuts on with a wrench. Screw the plastic joint on the P-trap to connect it to the drain pipe and the pipe connected to your home. Turn on the water to your sink and you’re done! Turn the water on at the faucet and let it run for 1 minute, checking for leaks. If you see a leak, tighten the connection and test again.


Comments
0 comment