views
Replacing the Top and Bottom Rails
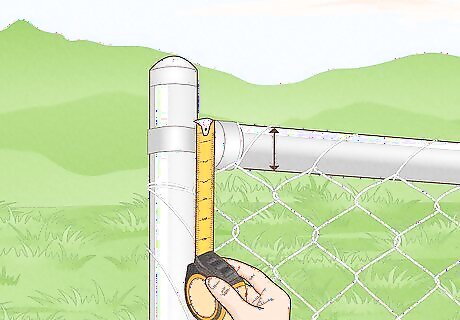
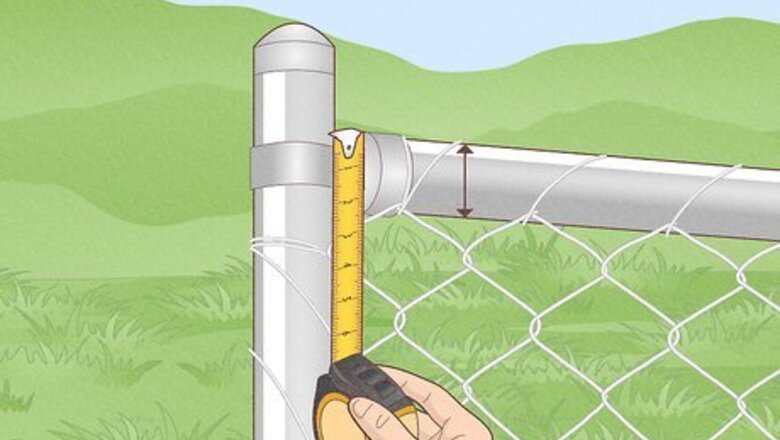
Measure the diameter of the old rails. Hold a tape measurement against the ends of the rails you wish to replace. Note the pipe’s diameter so you can order properly-sized replacements.
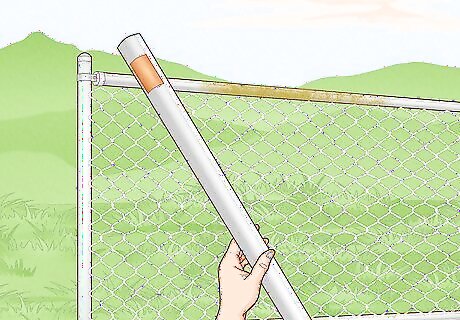
Purchase new rails from a home improvement store. Get rails the same size as your old ones. If part of your rail is loose or broken, you can bring it to the store so the employees can help you find a matching rail. The rail should have one tapered end and one wider end.
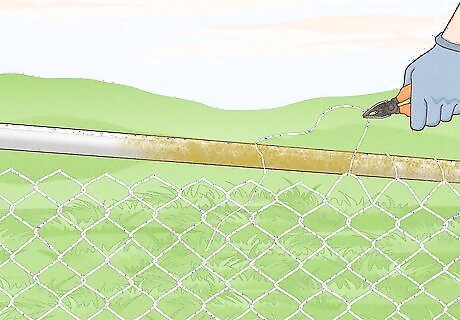
Remove the wire ties on the fence’s top rail. The ties connect the top of the chain mesh to the rail. Put on a pair of gloves and use pliers to bend the ends of the ties. Pull the ties through the chain links to free the rail. Remove all the ties on the part of the rail you need to replace.
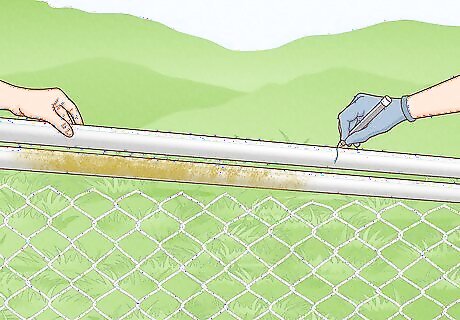
Measure and mark the new rail for cutting. Get someone else to help you hold the old rail up to the new one. Slide the smaller, tapered end over the old rail, making sure the back end of the tapered section lines up with the damaged part you want to cut. Use a pencil to mark this on the old rail, then mark the rail’s other end.
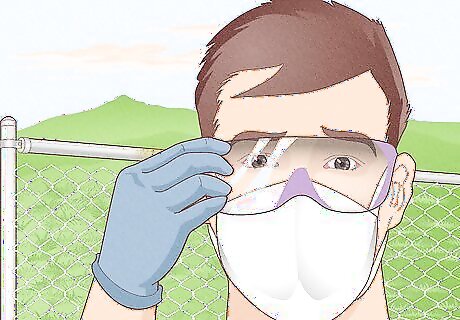
Put on safety gear before cutting the rail. Get some protective polycarbonate eyeglasses to protect you from metal fragments when cutting the rail. Also put on a respirator mask to avoid breathing in metal dust. If you’re going to use a reciprocal saw, it’s recommended that you also wear hearing protection.
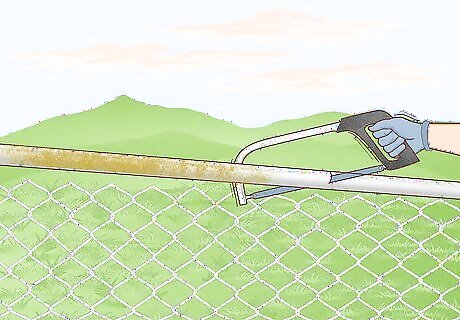
Cut the damaged rail with a hacksaw. Find the line you marked earlier on the old rail. Saw into it to sever the rail at 1 end. Cut the rail off at the other end to free it. Slide the old rail off and set it aside. You may use a reciprocal saw, but have a friend hold the rail in place as you cut it.
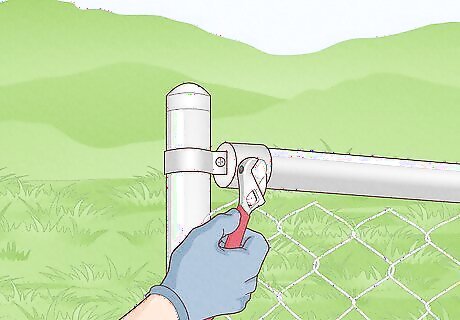
Unbolt the top rail from the corner post to give yourself more room. Go to the corner post on the side where you’ll install the tapered end of the new rail. Use an adjustable wrench or ratchet wrench to remove the carriage bolts on the tension bands. Slide the rail towards the post to move it.
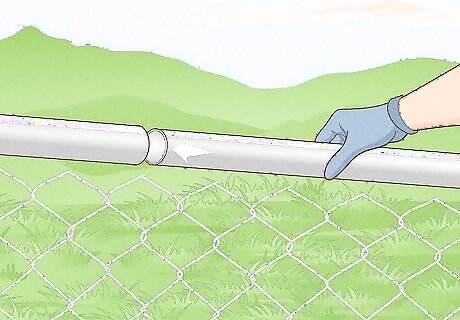
Lay the new rail in place. First, slide the larger end of the rail onto the smaller end of the old rail. Then slide the tapered end of the new rail into the rail you unbolted. You may need to saw the new rail a little bit to get it to fit perfectly.
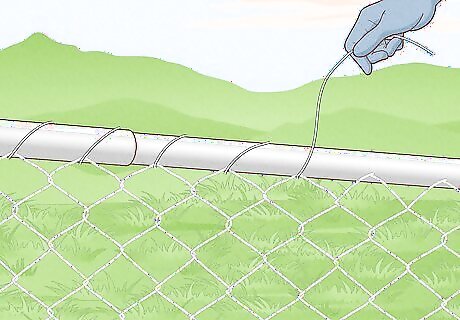
Reconnect the rails and wire ties. Slide the rails back into place, then replace the carriage bolts to secure the corner bolt in place. Using pliers, loop the old wire ties around the rail and through the chain links to secure the mesh to the rail. The wire ties should be placed every 24 in (61 cm) along the top rail. If you need to replace the wire ties, purchase metal wire ties or nylon cable ties at a home improvement store.
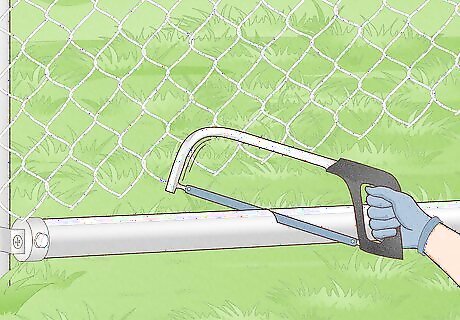
Repeat the process to replace the bottom rail. If your fence has a bottom rail, it is repaired the same way as the top rail. This time, loosen the corner post’s lower tension band, then remove the wire ties from the bottom of the fence. Measure, cut, and install the new rail like you did before.
Repairing the Chain Mesh
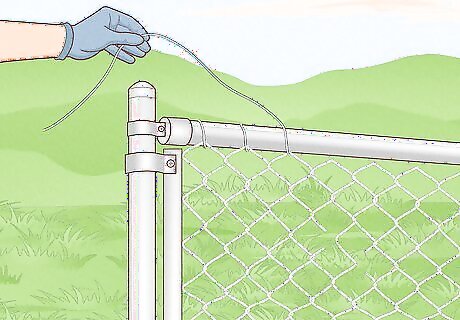
Use pliers to detach the top rail’s wire ties. Locate the wire ties connecting the mesh to the top rail. Wearing gloves to protect your hands, use your pliers to pull the ties through the chain links. This detaches the mesh from the rails. Pull the mesh back from the rail, but don’t remove it. If the wire ties aren’t rusted or broken, set them aside and reuse them later.
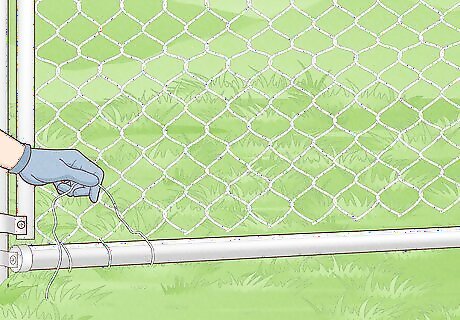
Remove the lower wire ties to free the damaged wires. First, find the top ends of the damaged wires. They’ll be wrapped around the undamaged wires, so pull them apart with the pliers. Follow the strands all the way down to the ground and use the pliers to also remove the lower wire ties.
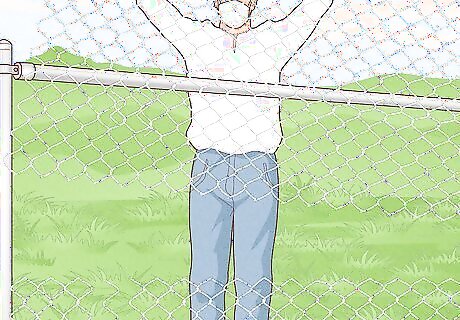
Pull the wires up from the fence to remove them. Grab the top ends of the damaged wires. You should be able to remove them by pulling them up off the fence. If they’re still stuck, continue unraveling the chain links by twisting the damaged wires around the undamaged ones.
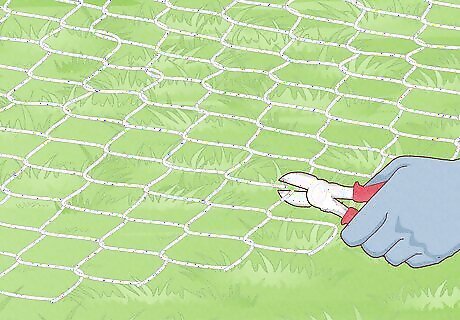
Cut the chain link fabric to size. If you’re trying to fix a large area in the fence’s meshing, purchase a roll of chain link fabric from a home improvement store. Measure out enough of the material to cover the gap. Untwist the wires at the end of the mesh section to remove it from the roll. If you’re fixing a small area, you can use wires from an old fence
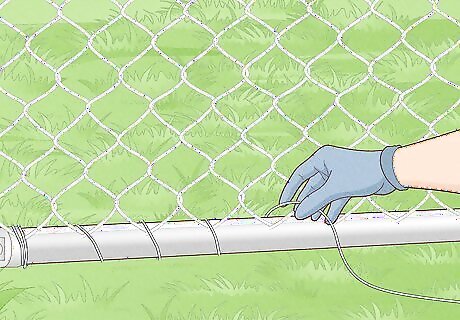
Weave the new wires into the fence. Hold the new mesh in place by tying it to the bottom bar with wire ties. To connect it to existing mesh, get a wire from the old fence or mesh roll. At the bottom rail, wrap the loose strand around the old mesh. Run the wire diagonally upwards to wrap it around the new mesh. Continue doing this until reaching the top rail. The chain links should form a diamond pattern when you’re finished. If you’re not trying to patch up old meshing, you don’t need to do this.
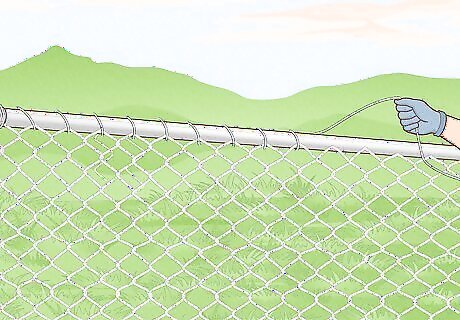
Tie the wire to the top rail. At the rail, loop the ends of the wires over each other. Pull the ends down towards the rail. Finish by applying wire or cable ties every 24 in (61 cm) along the rail to bind the wires to it. If your fence has a bottom rail, also secure the bottom ends of the wires to it.
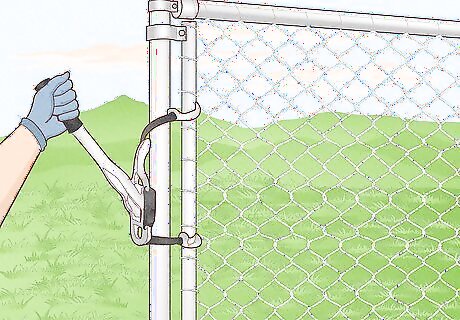
Tighten the chain link mesh. To set the mesh in place, makes sure the mesh is unbolted from the tension bands on the posts. Attach a come-along tool to the 2 nearest posts. Crank the come-along tool until the chain links move no less than ⁄4 in (0.64 cm) when you push them together with your fingers. You can get a come-along tool at a hardware store.


Comments
0 comment