views
Print Thumbnails in Mac OS

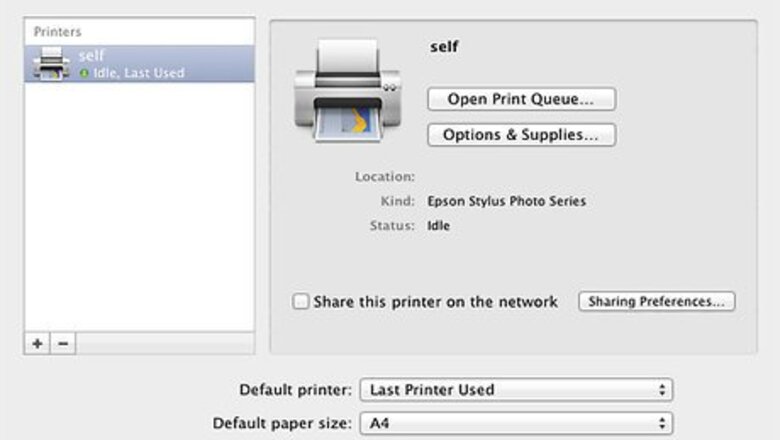
Hook up your printer to your computer if you have not already done so.

Open your iPhoto application to access your photos. You may need to import them if you want to work with them at all before printing.

Create an album, if you are selecting pictures from many different events. You need to be able to select all the photos at once in order to make a complete contact sheet.

Select photos by dragging a box around the photos or by pressing the "Command" key and clicking on each photo.

Go to "File" and then "Print." When the print dialogue box appears, change the format on the left hand side from "Standard" to "Contact Sheet."

Press "Print" and your iPhoto contact sheet will start printing.
Print Thumbnails in Windows OS

Click the "Start" button in the lower left hand corner of your desktop. Click "Pictures" on the menu that opens. This will take you to your native Windows picture gallery.

Select the pictures that you want to have as thumbnails. Either draw a box around the photos by clicking once and dragging a selection box around them with your mouse, or press "Control" and click each photo separately.

Click "Print" on the top toolbar.

Select the options for your print job. Click on the "Paper Size" menu and select "Contact Sheet" as the paper size. You can also select the printer you want to print from and how many copies you want.

Select "Print" and your computer will start printing thumbnails.
Print Thumbnails on the Internet

Open a Google Picasa account if you do not already have one. Picasa is Google's free picture application that works with their "cloud computing" system, meaning that you can store all your photos on the Internet and access them when you need them.

Upload your pictures into an album. Then either choose to print that album, or create a folder with chosen pictures. Go to either the "Folder" or "Album" menu on the horizontal toolbar.

Select "Print Contact Sheet" on the drop down menu. Either the Folder or Album menus have this option. Your images should be sent straight to the printer, printing 7 columns across and 6 rows down. You can also print a contact sheet using the Collage feature in Picasa. Click on the "Collage" tab next to the "Library" tab. Select "Contact Sheet" from the list of settings. If you choose this option, the thumbnail size is based on the number of pictures you choose to include in the collage contact sheet. The more pictures you have, the smaller the thumbnail size will be.Print Thumbnails Step 14Bullet1.jpg


Comments
0 comment