
Clearing out the Room
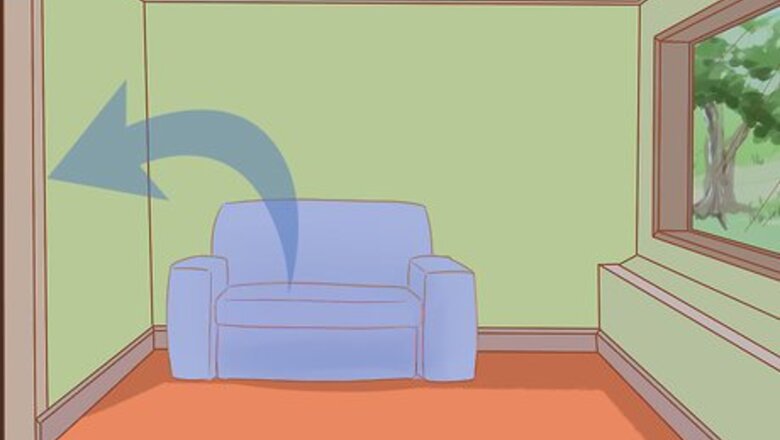
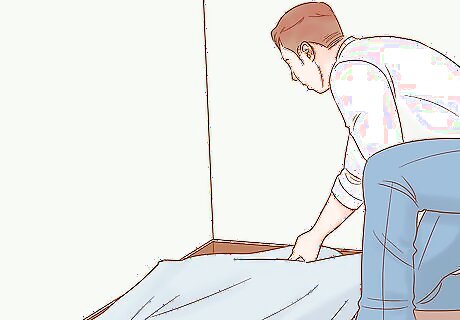
Take out any furniture that’s easy to move. Have a partner help you carry any furniture out of the room you want to paint. If there’s nobody that can help you, slide the bottom of a hand truck under the piece of furniture and tilt the truck back to lift it. If you’re painting your bedroom, move your mattress and dresser into a spare room or in a living space so you have a place to sleep. Don’t try to move furniture by yourself if it feels too heavy. Either leave it in the room or have a friend come to help you before you start painting.Tip: If you don't have the space to move furniture into a different room, make a stack in the center of the room you're painting and cover it with plastic.

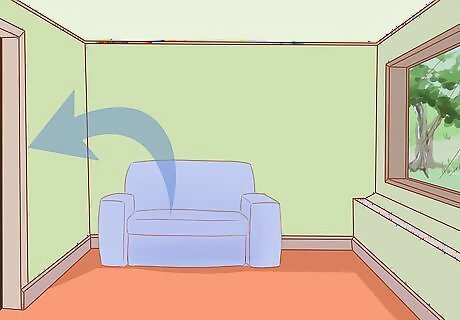
Remove anything hanging from the walls. Take down any artwork or pictures you have on your wall and store them in a clean space. Use the back of a claw hammer to remove any nails that stick out from your wall. If you have lighting on the wall or ceiling, you can either remove the fixture or cover it with plastic and tape to protect it while you paint.
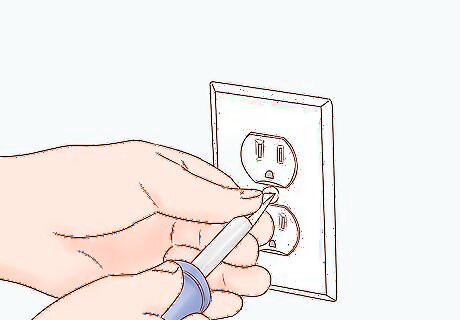
Unscrew all of your switch plates and outlet covers and cover the outlets. Use a flathead or Phillips screwdriver to take off the covers around your outlets and switches. Store the plates and screws in small plastic bags so you don’t misplace them. Cover the exposed outlets with pieces of painter’s tape to protect them. Leave your switches uncovered until you start painting so you can easily turn your lights on and off.
Repairing and Cleaning Your Walls

Fill in any holes with spackle and let it dry for 1 day. For small nail or tack holes, place a dab of drywall spackle on your finger and rub it into the hole to fill it. For more noticeable holes, dip the end of a putty knife into the spackle and spread it thinly across the wall surface. Allow the spackle to dry for 1 day. If you patch any hole that’s larger than a dime, prime your walls before you start so the patch isn’t noticeable through the paint. Don’t fill in any holes that you plan on using again when you’re done painting, such as ones used for fixtures or curtain rod holders.Tip: If you're filling in a hole in wood trim, press multiple dabs of spackle into the hole to fill it completely. When it dries, you'll have a raised edge that's much easier to sand.
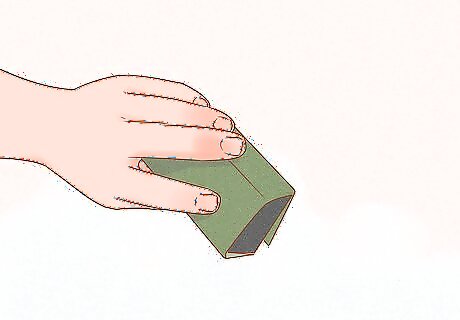
Sand the walls with 220-grit sandpaper or sanding block. Wear a face mask so you don’t breathe in any paint dust. Rub the entire surface to smooth out any areas you spackled and to add tooth to the wall. This way, your walls will hold primer and paint better. If you plan on painting baseboards, trim, or doors, make sure to sand them as well. Use a long-handled extension pole or a step ladder to sand hard to reach places at the top of your wall or on the ceiling. If you have a home built or painted before 1978, use a lead paint test kit before you begin sanding. If the kit comes back positive, consult a painting professional before sanding your wall.
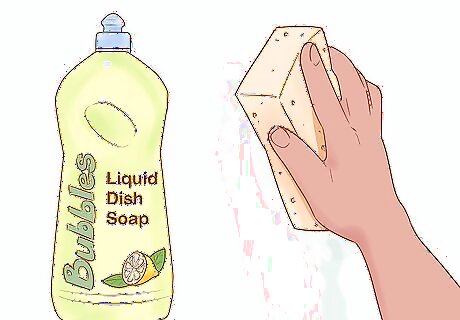
Wipe your walls with soapy water to remove any dirt and stains. Lather a mild dish soap in a bucket of warm water. Dip a sponge in the cleaning solution, and wring it out so it isn’t dripping wet. Clean your walls in small circular motions, rinsing off your sponge occasionally so you don’t accidentally reapply the dirt and dust. Make sure your walls are completely dry before you start painting.
Protecting Your Floors and Fixtures

Put plastic covers over furniture you couldn’t move. Place the plastic cover over your furniture to keep it clean. Tape the plastic to the bottom of the furniture to secure it and so paint doesn’t splash underneath it. Plastic covers can be purchased at your local hardware or furniture store. Don’t use fabric cloths since paint can easily seep through it.

Tape around windows and baseboards. Use blue painter’s tape to cover up any trim you don’t want to paint. Press the edge of the tape where it meets the wall with your finger or a putty knife so paint doesn’t leak underneath it. You can apply the tape in a single long strip from the roll or in multiple short strips.
Lay dropcloths on your floor. Set the drop cloth along the edge of your wall so paint doesn’t drip or spill onto your flooring. For an added layer of protection, fold your dropcloths in half before placing them. Cover the entire perimeter of your room with dropcloths and tape them to the floor. Dropcloths can be purchased at painting supply or hardware stores. If you plan on painting the ceiling, line your entire floor with dropcloths in case your ceiling drips.
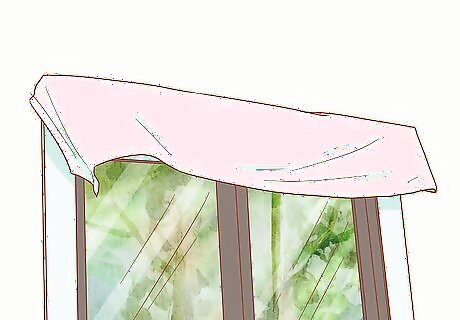
Make awnings out of builder’s paper if you’re painting your ceiling. Press the edge of an adhesive builder’s paper along the tops of your windows. Leave about 3–4 inches (7.6–10.2 cm) of builder’s paper on each side of the window. Fold the builder’s paper on either side of the window at a 90-degree so the top of the awning stays sturdy. Attach the folded edges to the trim around the sides of the window. This way, paint won’t drip onto your windows while you’re working. Builder’s paper can be purchased in rolls at your local hardware store.Tip: Press a piece of builder's paper over the doorknob leading out of your room so paint and primer don't drip on it.
Priming Your Walls
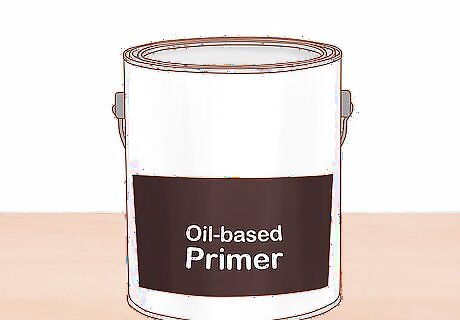
Use oil-based primer for oil-based paint and latex-based primer for all other paint. Primer will help your new color go on evenly and stand out more once it's dry. If you’re using an oil paint, use an oil-based primer. For any other types of paint, opt for a latex primer. If you’re painting a dark color on top of an existing dark color, you don’t need to use primer. However, if you’re painting a light color on top of a dark color, use a layer of primer first so the dark color doesn’t show through the paint.Tip: Most primer is light-colored, but you can mix 1–2 tablespoons (15–30 ml) of your base coat paint into the primer to tint it and get better coverage. Stir the paint and primer with a stir stick until it's mixed thoroughly.

Paint around trim and baseboards with a paintbrush. Use a 1–2 in (2.5–5.1 cm) square or angled paintbrush with nylon bristles. Use the edge of your brush to create a smooth line of primer on your walls around the trim and baseboards in your room. Extend the primer 2–3 inches (5.1–7.6 cm) out from your trim. EXPERT TIP Norman Raverty Norman Raverty Professional Handyman Norman Raverty is the owner of San Mateo Handyman, a handyman service in the San Francisco Bay Area. With over 27 years of experience, Norman has expertise in all five of the general building trades (carpentry, ceramic tile, drywall, electrical, plumbing). Norman Raverty Norman Raverty Professional Handyman Cover your mouth or nose if the smell is strong. Norman Raverty, handyman, tells us: "When using oil-based paints be prepared for strong odors. When cleaning oil-based spills or drips use mineral spirits — also harmful if swallowed."
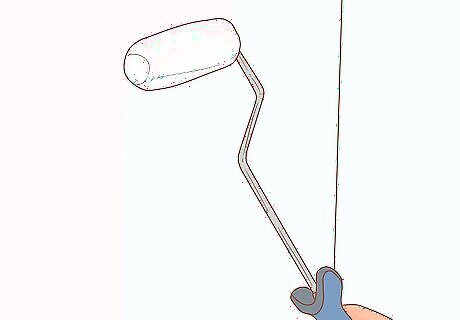
Use a foam roller to cover large areas with paint. Work a 9 in (23 cm) roller in W-shaped patterns across your wall for the best coverage. Always keep your roller over one-quarter of the area that you already painted so you don’t leave any gaps in your primer. Spread the primer in a thin layer so it doesn’t form any drips. Continue rolling the primer until the entire room is covered. Allow the primer to dry completely over 1 day. For hard to reach places, stand on a step ladder or use a long-handled roller. If your primer isn’t evenly coated, apply another layer before using your paint.


Comments
0 comment