views
Assembling Your Oboe
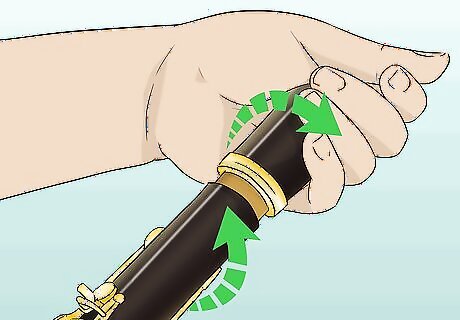
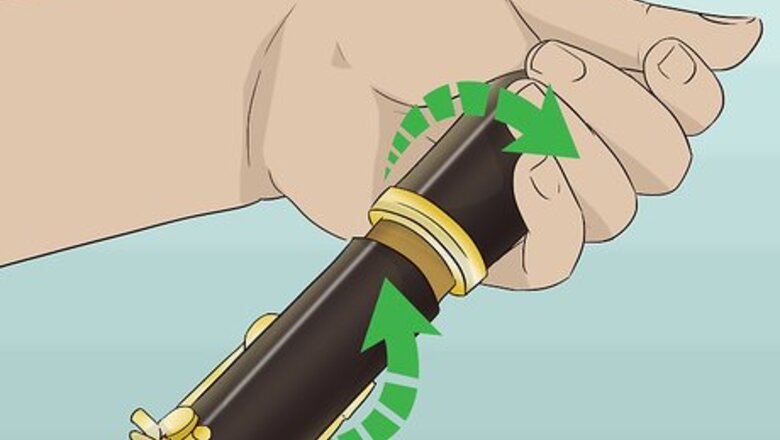
Attach the bell to the bottom joint, holding down the Bb key if there's one. The bell of your oboe has a hole that is the exact same size as the bottom joint cork, with a bridge that connects them. Place the bottom joint inside the bell, slowly twisting and pushing until they are properly attached. If there’s a Bb key on your bell, hold it down while you twist so that the bridge can properly line up. The Bb key is a large circular key and will be the only key on the bell if you have one. Holding down the Bb key lowers the bridge on the bell so it can slide into the bridge on the bottom joint without scraping it. Do not squeeze either part of the instrument too tightly when attaching them, as this may bend the keys.
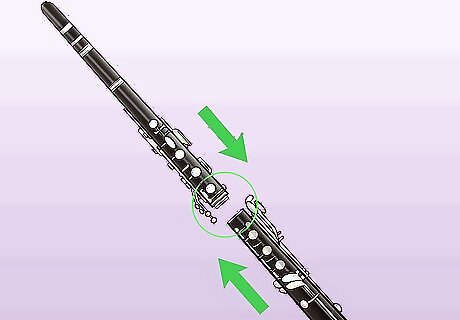
Line up the upper joint and bottom joint so that the bridges are aligned. There are two bridges that connect these joints, and both of them must be aligned for the instrument to be played properly. Arrange the 2 joints so that the bridges form a continuous, straight line down the body of the instrument. If you can’t get both bridges perfectly lined up, focus on lining up the bridge with the upper keys attached to it. This is the most important one as it has the most keys.
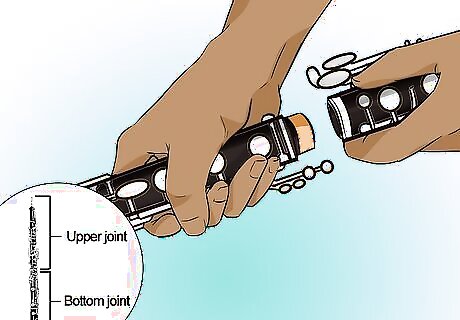
Press the upper joint and bottom joint together carefully. Use gentle but firm pressure to push the pieces into each other. Twist the pieces back and forth slowly to help position them correctly but never twist them a full 360 degrees. This can damage the instrument. For tight joints, rub cork grease on the joint corks. Use a piece of plastic wrap to apply the grease so you don’t get your fingers oily. Newer instruments tend to need more cork grease. If cork grease doesn’t help, take your oboe to a repairer or music shop and ask them to shave off some of the excess cork.

Soak your reed in warm water for 3 to 4 minutes. This prepares the reed for playing. Place the cane side of the reed in a small cup of water to ensure that the inside is getting moist as well. You don't need to place the cork or the thread in the water. New reeds may require more soaking time, as they will take longer to open up and become moist. You can buy a special soaking cup for your reed. Film containers or small glasses also work well. Some musicians use saliva to soak their reed by placing it in their mouth. However, this can cause the reed to wear out faster.
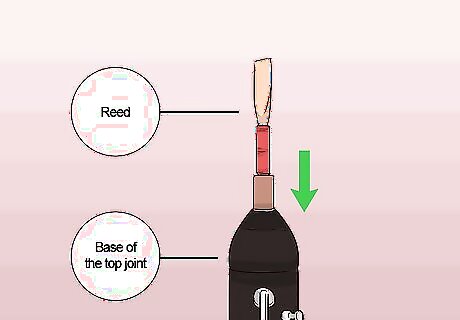
Place your reed into the top of the oboe, holding the base of the top joint. The reed goes into what’s called the bore, which is a very small hole at the tip of the oboe. Push the reed all the way into the oboe, until the reed will not go any farther. Hold the top joint securely while you insert the reed, being careful not to grip the keys. Your reed must be pushed all the way into the bore or the oboe will not be able to produce any sound. The flat sides of the reed should be positioned to lay between your lips when holding the oboe properly. If the reed cannot be pushed in, use cork grease or sandpaper to smoothen the surface of the reed.
Getting into Position
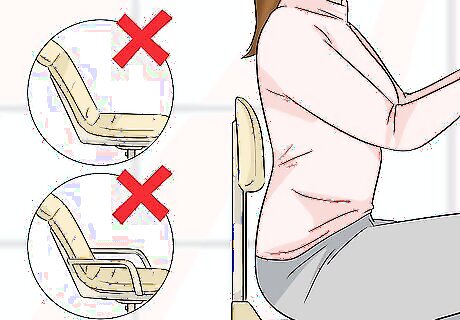
Sit up tall in a straight-backed chair. Keep your spine straight and your shoulders relaxed while playing. Avoid sitting on a couch or office chair, as these will not facilitate good posture while playing. Sit at the front of your chair and check your posture in a mirror during practice. A chair that allows you to place your feet solidly on the ground will prevent slouching. Avoid chairs with arm rests that might get in your way while playing. Sitting straight helps with air flow through your body, too, so you can play better and longer.
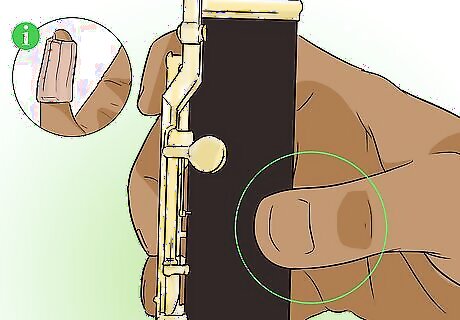
Place your right thumb under the thumb rest on the back of the oboe. The thumb rest will help you comfortably hold the oboe without having to squeeze it with your fingers. Use the thumb rest to loosely balance your oboe and allow for flexibility in your fingers while playing. If your thumb starts hurting or if you get blisters, purchase cushioned thumb rest covers online or at any local music store to make it more comfortable.
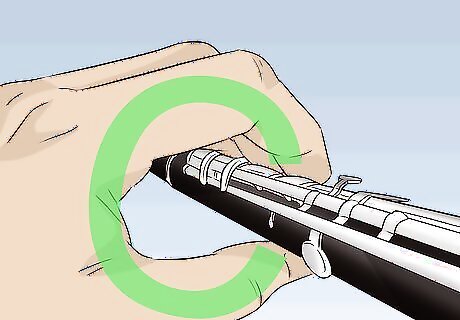
Curve your hands into C-shapes around the body of the oboe. When your right and left hands are placed properly on the oboe, they should make a slightly rounded shape, similar to the shape they make when you rest your hands on your knees. Don’t grip too tight. Keep your hands loose so they can move around. If you have larger hands, you’ll have to curve your fingers a little more to rest on the keys.
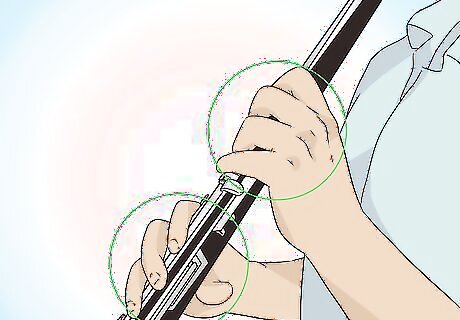
Set your left hand on the upper keys and your right hand below it. Place your left index, middle, and ring fingers on the 3 keys of the upper joint that have holes in them. Then rest your right index, middle, and ring fingers on the large keys on the bottom joint. Keep your fingers on the large keys. These are the ones you’ll use most often when playing, especially as a beginner. If your fingers are not in a straight line down the front of the oboe, reposition the upper and lower joints to create a perfect alignment. Wiggle your small fingers to check that they’re loose and have a full range of motion.
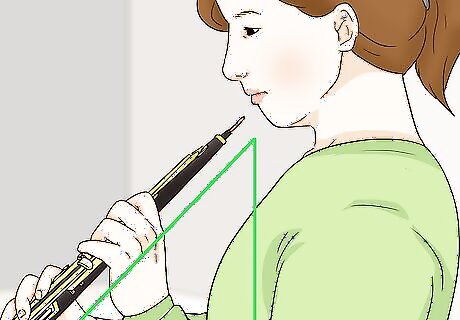
Hold the oboe at a 45 degree angle away from your body. With the keys of the instrument facing away from you, tilt the oboe out slightly. The oboe shouldn’t be pointed straight down or straight out. Check your positioning in a mirror and practice bringing the instrument to this position until it feels natural. Play around with what feels comfortable. Depending on your facial features and size, you may need to adjust the angle up or down. This 45 degree angle will help with your embouchure, which is the position of your lips, teeth, and tongue when playing an oboe.
Playing a Note
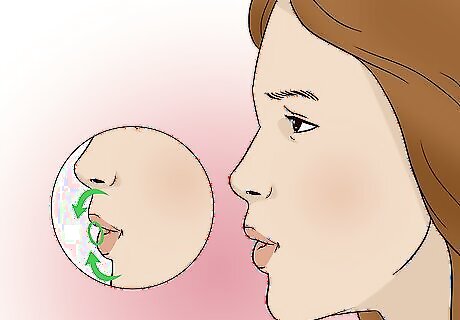
Bring your lips together as if you’re whistling. This will begin to form your embouchure. Your lips should be in front of your teeth, slightly pursed, and your chin is flat. If you can’t whistle, make an owl sound. The shape your mouth makes when you say “hoot” is the correct shape.
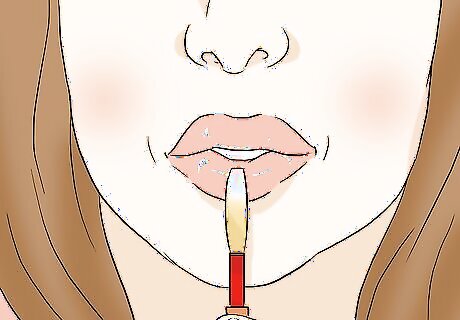
Place the reed on your lower lip while keeping your mouth round. The reed should rest gently between your lips and be just far enough in your mouth to vibrate when you blow out air. Keep the tip of the reed just past the fleshy part of your bottom lip. Make sure your bottom lip is covering your teeth. Never bite on the reed. Your lips are the only part of your body that should touch the reed.
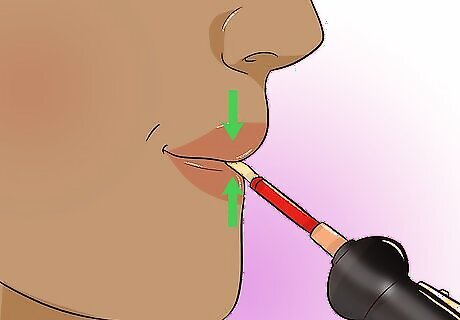
Surround the reed with your lips and blow out to create a sound. Make sure your lips are completely sealed around the reed so the air is going into the oboe. Exhale to produce a noise. Inhale through your nose, then repeat. You do not need to be pressing any keys to make a sound. Common Reasons You Can't Make a Sound Your lips are too loose. Instead of funneling the air into the oboe, the air is coming out the sides of your mouth. Seal up the spaces. Your lips are too tight. If your lips are suctioned to the reed, there's little or no air actually going into the oboe. Loosen up! You're biting down. Known as the "crocodile bite," biting on the reed usually happens when your mouth gets tired. Take a break, then come back. You're pushing your lower lip onto the reed. The reed should rest lightly on your lip so it can vibrate. Too much pressure keeps the reed from vibrating or creating noise.

Learn to breathe deeply from your diaphragm. The proper breath support is key in playing multiple notes or songs. Breathing from your diaphragm is similar to the sensation you get when you yawn. Focus on deep breaths, feeling your belly expand and then your chest. You'll know your breath is deep enough if you can play for 30 seconds before inhaling again. Practice breathing from your diaphragm without your oboe first. Once it feels natural, use that technique while you play.
Practice playing beginner notes like C, B, A, and G with a fingering chart. Create basic notes by pressing down different keys while blowing into your oboe. Look at a fingering chart online or find one in a music book to learn which keys to press for which notes. Practice these notes until you can create a consistent tune and pitch. C, B, A, and G are notes that you'll use in most songs so they're a good place to start. If your notes sound shaky, work on your embouchure and breathing.
Improving Your Skills
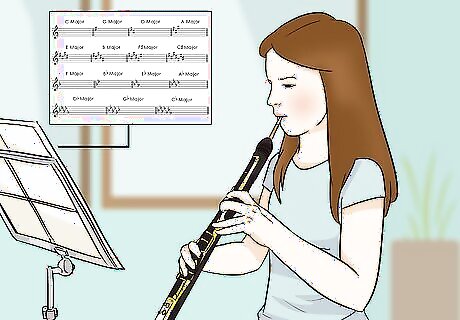
Learn major scales to become familiar with different notes. Scales are combinations of different notes in a specific order, and are a great warm-up for your practice session. Major scales are the easiest of the scale progressions and will introduce you to all of the basic oboe notes. Start with B flat major and F major scales until you feel comfortable enough to move on. Go slow and work on perfecting your pitch. If something sounds off, correct your positioning or your embouchure.
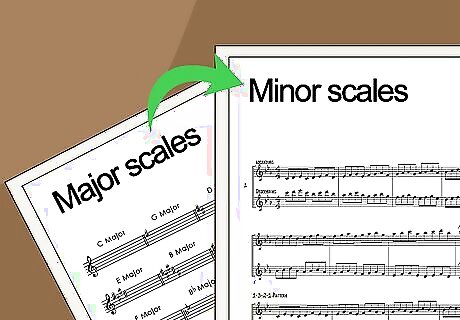
Move on to minor scales once you’ve mastered major scales. Minor scales are more advanced because they include higher notes, which take more air and consistent breathing. Only begin learning these once you’re completely comfortable with the basic major scales. Begin with D minor and G minor scales. The different tones in minor scales will introduce you to pitches that are used in more difficult songs later on.
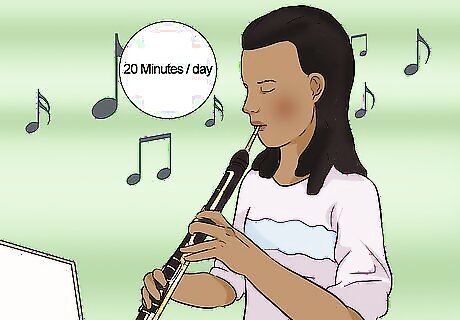
Practice simple songs for 20 minutes a day to work on your tone. Now that you're confident in your scales, try playing basic songs that string notes together and help you improve your skills. This is a great way to get better at breathing properly, too. Practicing for brief periods each day will prevent you from muscle stiffness and fatigue. Find free sheet music online, watch a video tutorial, or purchase a book of music from a music store or online retailer. Easy Songs for Beginners Hot Cross Buns Mary Had a Little Lamb Twinkle Twinkle Little Star Old McDonald Had a Farm Jingle Bells Auld Lang Syne Happy Birthday

Consider taking private lessons if you want more help. A professional oboist or music teacher can help you perfect your technique and get you to where you want to be in terms of your playing. Ask your music teacher at school if they offer private lessons or check at your local music store. You'll likely have 1 to 2 lessons per week, although it's up to you and your teacher. A friend or sibling who plays the oboe might be willing to teach you. Remember that becoming better at oboe requires plenty of practice on your own outside of lessons, too.


Comments
0 comment