
Digging the Hole
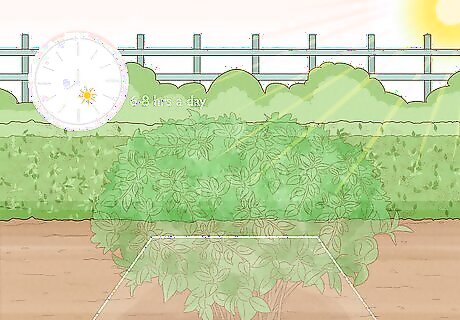
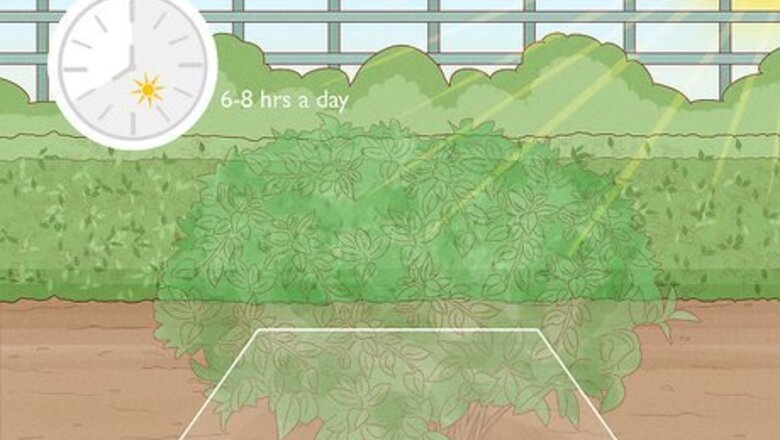
Choose a location based on the shrub’s sunlight needs. Read the care instructions that came with the shrub—they should tell you if it needs full sun, shade, or part-sun/shade. Use this information to determine where you'll put the bush. For instance, if you've got a shade-loving shrub, put it on the side of your home that is blocked by a fence. Here's the breakdown of sunlight requirements: Full sun shrubs like spireas, oakleaf hydrangeas, or yuccas need at least 6 to 8 hours of direct sunlight a day. Part sun/shade shrubs like azaleas, rhododendrons, and camellias need 4 to 6 hours of direct sunlight or shaded light for at least half of the day. Full shade shrubs like hostas and ferns need less than 4 hours of direct sunlight—this could also mean dappled sunlight throughout the day.
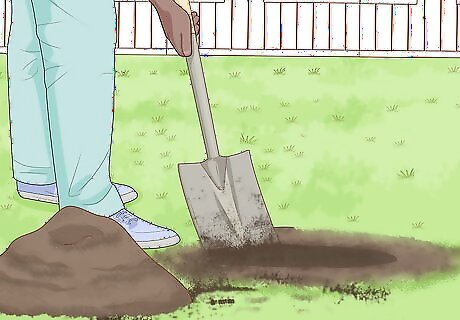
Use a shovel to dig a hole that’s twice as wide as the shrub's root ball. You can eyeball this or measure the width of the shrub's root system. Dig the hole so it's at least 2 times as wide as the roots—this gives the roots plenty of space to branch out and grow. Make the hole no deeper than the shrub's root system. As you dig, put the soil you remove to the side of the hole. Keep in mind that shrubs need well-draining soil, so choose a spot in your yard that doesn't collect puddles after heavy rain.
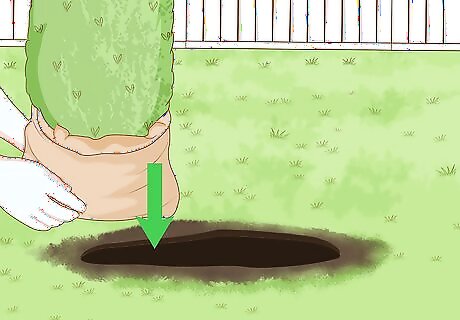
Set the shrub in the hole to check that it’s not too deep. Here's an easy way to tell if your hole is the right size: set the bush in the hole and lay a stick or shovel handle next to the bush, so it lies flat across the hole. The top of the bush's root ball should be at or slightly above the stick's level. If you dig the hole too deep, the shrub will sink down even more once the soil settles and you water it. This can cause water to pool around the roots, which could cause root rot. If you find that it is too deep, just scoop some of the soil you removed back into the ground and press down to compact it. Keep doing this until the hole's the right size for your shrub.
Planting the Bush
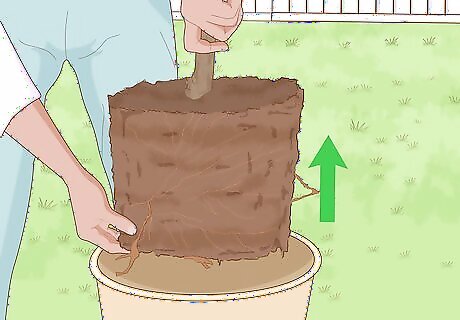
Pull the shrub out of its container. Grip the base of the shrub near the top of the root ball and hold the container with your other hand. Pull the shrub out of the container—you may have to wiggle it back and forth if the shrub's roots are packed near the bottom. If you're struggling to remove the bush, gently roll the container back and forth while you press down on the sides of the container. This should loosen the plant enough to remove it. Some shrubs are sold with their roots wrapped in burlap. If this is the case, carefully cut away the burlap with a utility knife.
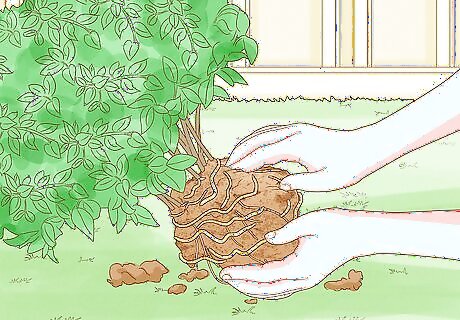
Tease apart the root ball with your fingers. If the roots stay close or spiral around the root ball, the shrub will struggle to put out growth. Hold the root ball in the palm of your hand and use the fingers of your other hand to tease the roots, so the soil falls away and the roots spread apart. Use a massaging action and don't be afraid to be firm—you won't damage the plant. If the roots are tightly compacted, take a disinfected gardening knife and cut the sides of the root ball.
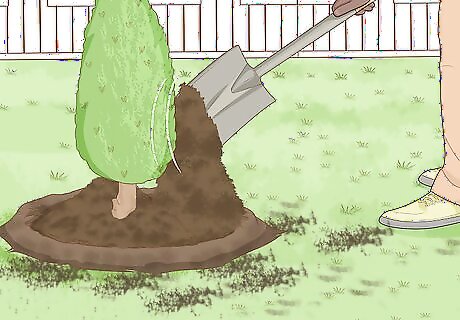
Position the shrub in the hole and fill it in with soil. Set the shrub down so it's turned the way you want it. Then, scoop the soil that you removed earlier back into the hole. Check that the bush stays vertical as you do this. Press down occasionally to get rid of air pockets in the soil. Remove any rocks or debris from the soil as you refill. It's important to remove the air pockets in the soil since roots can't grow through them.
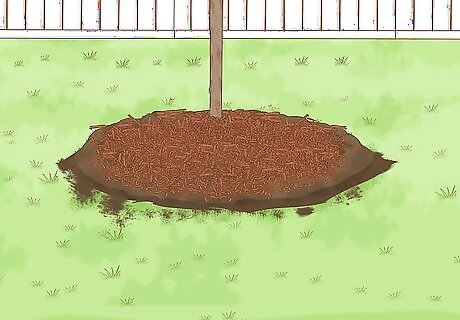
Spread 2 to 3 inches (5.1 to 7.6 cm) of mulch around the shrub. Leave a few inches of space between the shrub's stem and the mulch. The mulch prevents moisture loss and it protects the roots from changes in temperature. As the mulch breaks down, it adds nutrients to the soil around the shrub. If you're concerned about weeds in the area, spread a layer of landscape fabric on the soil around the shrub before you spread the mulch over it.
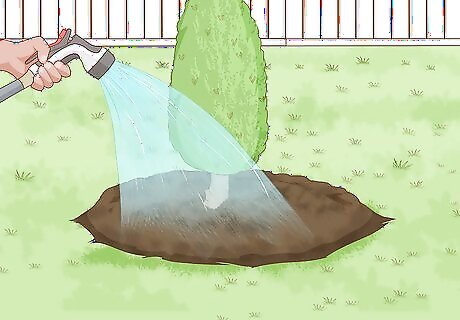
Water the newly-planted shrub every day for the first few weeks. If your shrub came in a 1 US gal (3.8 L) container, give it 1 US quart (0.95 L) of water every day. After a few weeks, you can cut back on the watering to every other day or two. If your shrub came in a 3 US gal (11 L) container, give it 2 US quarts (1.9 L) of water every day during the first few weeks. If your shrub came in a 7 US gal (26 L) container, give it 1 gallon (3.8 L) of water every day during the first few weeks.


Comments
0 comment