
Choosing the Right Spot
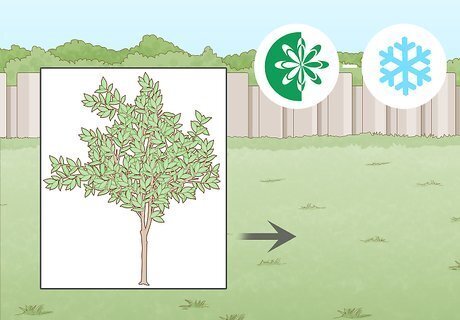
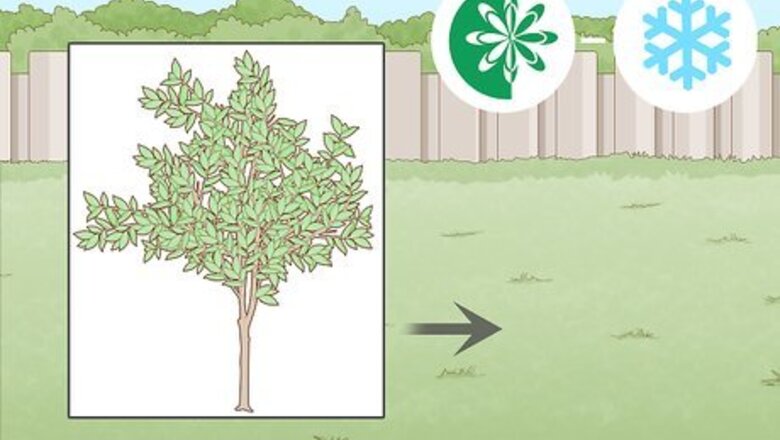
Plant your pear tree in late winter or early spring for ideal conditions. While you can plant a pear tree any time of the year, it’s more likely to thrive if you plant it between the late winter or early spring. This allows your tree to take root at the beginning of the growing season. Bare-root stock trees are dormant, so you can hold them in your home as long as you need. Additionally, they can be planted from late-autumn to early spring.
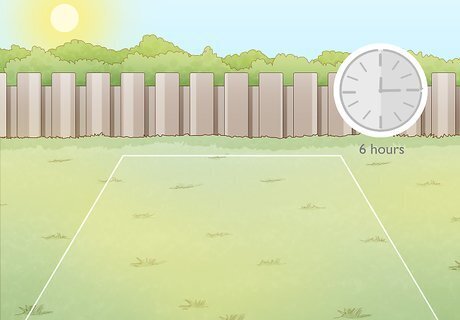
Pick a spot that gets 6 hours of sun each day. Pear trees need full sun, which means about 6 hours of sunlight. Check your yard or garden every hour over the course of a sunny day to see which areas are getting sun. Choose an area that gets at least 6 hours of sunlight. If you’re planting 2 trees, look for at least 2 good spots that are at least 20 ft (6.1 m) away from each other.
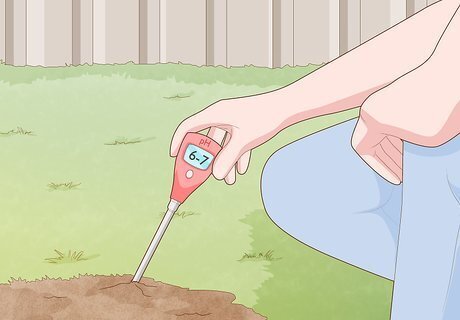
Test the soil pH to make sure it’s between 6-7. Pear trees grow best in slightly acidic soil, so it's important to keep the pH below 7. Get a commercial pH testing kit from a local home improvement store. Then, follow the directions to test your soil pH. If it’s not between 6-7, make soil amendments to get the proper pH. If your soil is above a 7, add organic matter like peat moss, decomposed leaves, or pine needles to lower the pH. If your soil is below 6, add about a cup (220 g) of dolomite or quick lime to raise the pH.
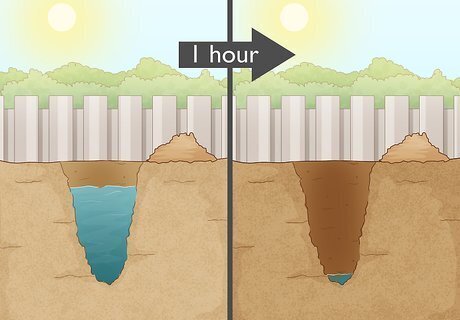
Check that your soil drains well so your tree doesn’t get water logged. To see if the soil drains well, go outside after a storm to look for puddles. If the soil drains well, you won’t see much puddling. If you do see puddles, your soil isn’t draining. To fix it, mix mulch into the soil to improve drainage or install a drain pipe to move water away from your tree. If you don’t want to wait for a storm, use a water hose to spray your yard with water to see if it drains.
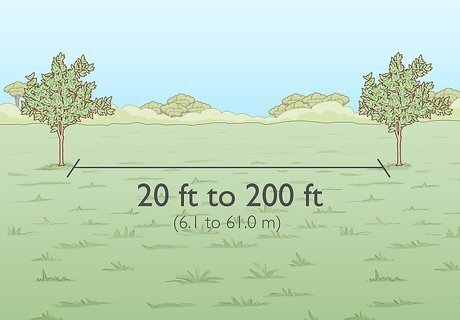
Put 2 pear trees about 20 to 200 ft (6.1 to 61.0 m) apart if you want fruit. Pear trees don't self-pollinate well, so your tree cannot produce fruit if you only plant 1. For pollination, plant 2 or more different types of pear trees within 200 ft (61 m) of each other. Make sure that the trees are at least 20 ft (6.1 m) apart so they don’t compete for resources. For instance, a Bartlett pear tree will work well with a Bosc, Anjou, or Kieffer pear tree because they blossom at the same time. All of these varieties can be mixed or paired with another tree that’s the same type. A Bradford pear tree will pollinate other pear trees but won’t produce edible fruit.
Transplanting a Young Tree
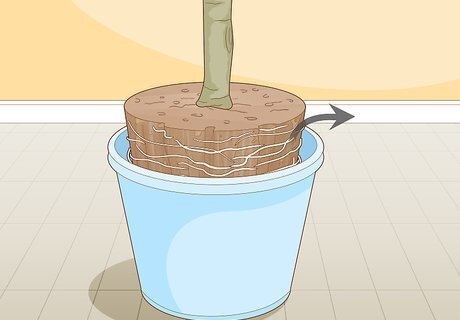
Remove the tree from its pot. Tap on the sides to loosen the roots. Then, lift the tree from the container and set it on the ground. Recycle or discard the container. Be careful as you handle the tree. Keep in mind that pear trees typically have a graft just above their rootball, which can be vulnerable to cracking.
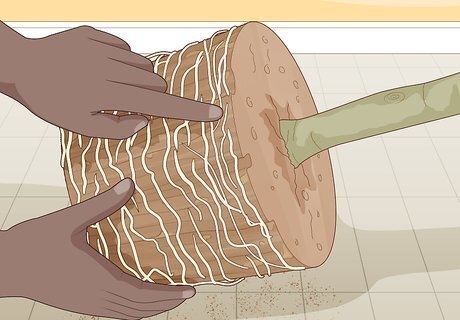
Turn the tree on its side so you can examine the root ball. Tilt the tree to the side to expose the roots. Check to make sure the roots look healthy and are spreading outward. If you notice any mushy or smelly roots, cut them away with your pruning shears. It’s okay to gently remove the soil that’s surrounding the roots if necessary.
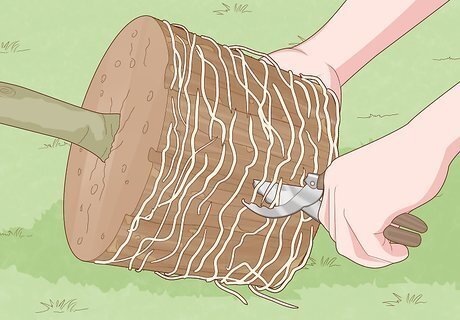
Use pruning shears to cut through any circling roots. Sometimes the roots twist around each other when a plant grows in a container. These roots will choke each other off, harming your plant. To ensure your tree's roots properly spread out, cut any roots that are circling around another root. The cut roots should grow back in time. Once they’re in soil, these roots will be able to spread out.Variation: Put a bare-root stock tree directly into the ground. They’re dormant and ready to be planted, so you don’t need to mess with the roots. Unwrap the root ball before you plant the tree. Then, place the tree’s root ball into the ground.
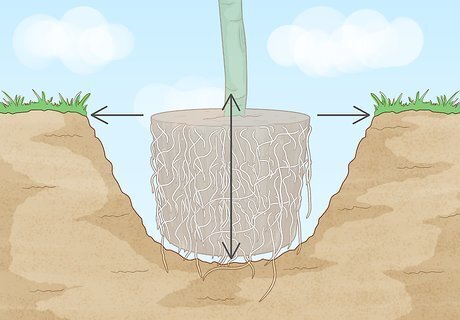
Dig a hole that’s twice as wide and as deep as the root ball. Use a shovel to remove the soil from the spot where you want to plant your tree. Create a hole that’s just deep enough to accommodate the root ball. Then, expand the hole until it’s about twice as wide as the root ball. The roots need to spread out once they’re in the hole, so they need extra space around them where the soil is loose.
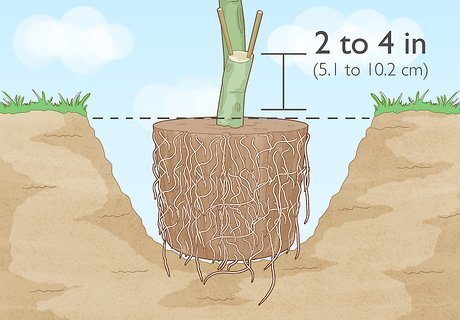
Put the tree in the hole with the graft 2 to 4 in (5.1 to 10.2 cm) above the soil. Place the tree directly in the center of the hole you’ve dug. Check that the graft union is above the soil line so the tree will grow correctly. If the graft is below the soil line, the trunk can grow new roots that will compete with the roots grafted onto the trunk. In some cases, this can prevent your tree from making edible fruit or may cause it to grow to a bigger size.
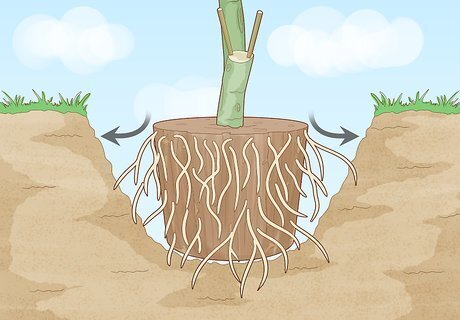
Spread out the roots without bending or twisting them. Gently pull the root ball apart. Separate the roots and spread them out along the bottom of the hole. This will help your tree take root and grow. Don’t pull hard on the roots or try to force them apart. While it’s good to spread them out, you don’t want to accidentally cause damage.
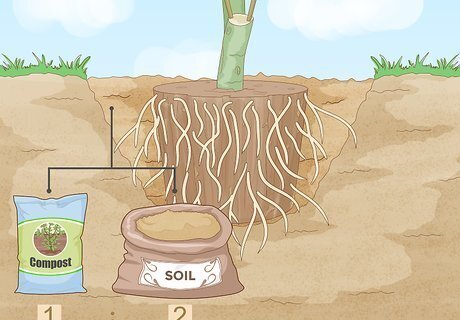
Fill the hole with 1/3 compost and 2/3 soil. Compost adds nutrients to the soil and helps with draining. Mix the soil and compost together inside the hole. Add about 2 to 4 in (5.1 to 10.2 cm) of compost and soil at a time. Pat them down to remove air bubbles, then add more soil and compost until the hole is full. You can buy pre-mixed soil that already includes composted material if you prefer.

Water the tree to help the roots settle. After you’ve planted your tree, use a gardening hose or watering can to saturate the soil around the tree. This helps the tree settle into the hole and take root. If the soil level drops after the watering, add more soil and compost to raise it back up. Then, water the top of the soil again. Repeat this until the ground is level around your tree.
Growing a Pear Tree in a Container
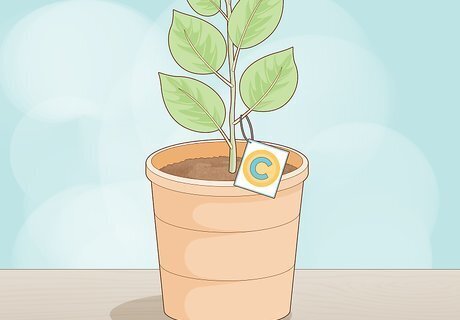
Choose a tree that’s labeled for a container. Container pear trees cannot grow to full-size, so it’s important that you get a tree that’s grafted onto roots for a smaller tree. Often, these trees are labeled with a “C” for container. Make sure the tree you pick says it can be grown in a container. If you buy a regular-sized tree, it won’t survive in a container.
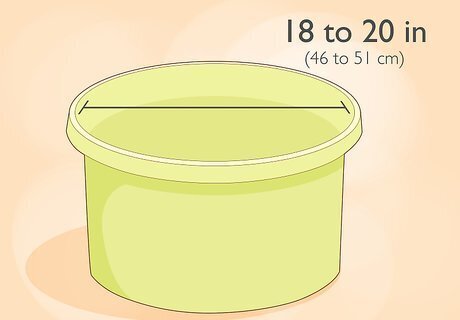
Pick a container that’s 18 to 20 in (46 to 51 cm) in diameter. You want a container that’s just big enough to support a small pear tree. This way the root system won’t grow too large, which can affect the overall look of your ornamental pear tree. Use any container material that you prefer. For instance, you might use a plastic or ceramic container for your pear tree.
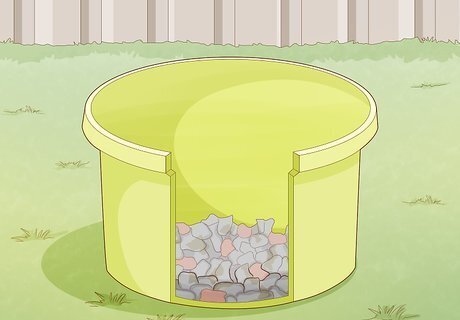
Fill the bottom of the pot with broken concrete or clay for moisture. Pear trees need moisture but also thrive with good drainage. Placing pieces of concrete or clay at the bottom of your pot will help protect the tree’s roots from excess water while also promoting moisture. You can purchase concrete or clay from a home improvement store. Alternatively, break up an old clay pot and use the pieces.
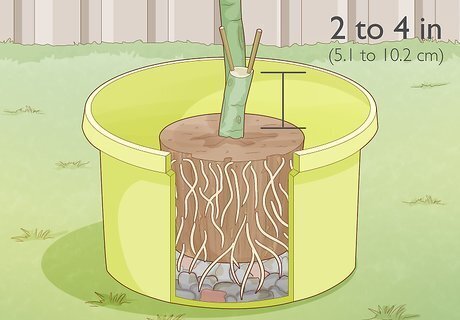
Put the tree in the pot with the graft 2 to 4 in (5.1 to 10.2 cm) above the top. Set the tree in the center of the pot, then check that the graft union is above the top of the container. This ensures that the trunk won't sprout new roots. If the graft is below the soil line, the trunk of the tree will grow new roots. These roots will be for a full-sized pear tree, as dwarf pear trees are cultivated by grafting a normal-sized sapling onto a smaller root ball.
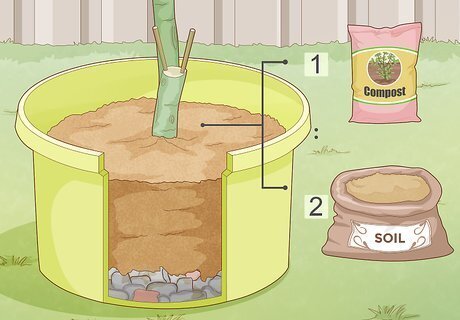
Cover the root system with 1/3 compost and 2/3 potting soil. Adding compost to the soil increases the nutrients in the soil and helps with drainage. Mix the compost and soil together as you put it into the pot. As you add soil, pat it down so that there aren’t any air pockets. If you prefer, get potting soil that already has organic matter mixed into it.

Water the plant to settle the roots. Once the pear tree is in the pot, use a garden hose or watering can to water your tree. Pour enough water onto the tree to saturate the soil. This helps the roots take to the soil. If the soil level drops in your container, add more soil as needed to raise the soil level. Then, water the plant again.


Comments
0 comment