
Read "How to Open a Wireless Xbox 360 controller."
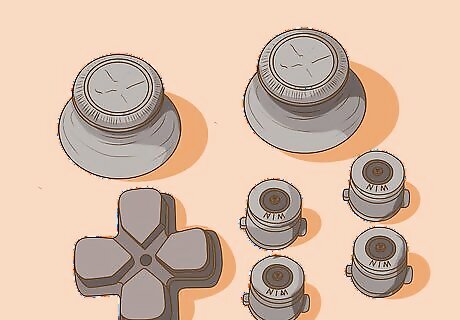
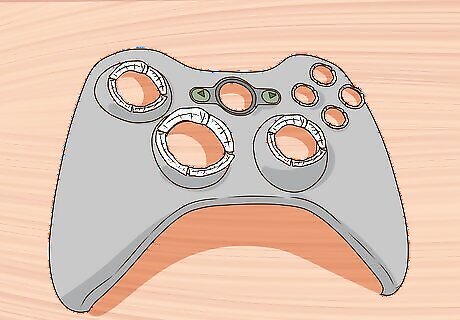
Empty ALL parts from your controller cases. There are two parts.
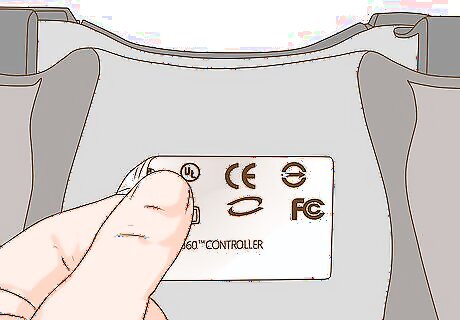
Go to the back of the back piece, if you plan on painting here. Remove all the stickers and labels.
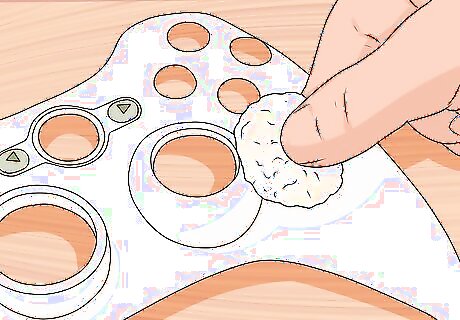
Clean your entire controller case using rubbing alcohol after sanding all parts of the controller you plan on painting with a fine grit sandpaper. Make sure to get all the corners, crevices, etc. If not, you will paint over the dirt, and the dirt will fall off taking the paint with it.
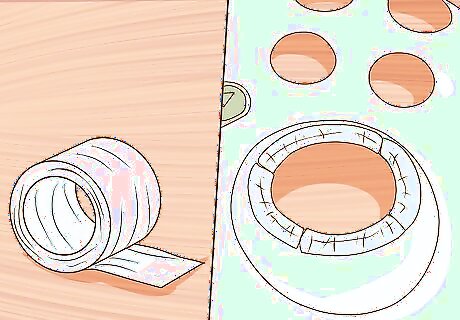
Start with one of the Analog stick holes. This step is the most time consuming. If not done right, your buttons will not fit back into place properly, and may stick. Go from the inside and tape up the hole. This will make it so you do not get any paint on the inside, and only the visible parts. Make sure it is perfectly even all the way around, or else the paint will be crooked. Do this for the other Analog Stick hole, and the D-pad hole if you wish, but they are by no means required.
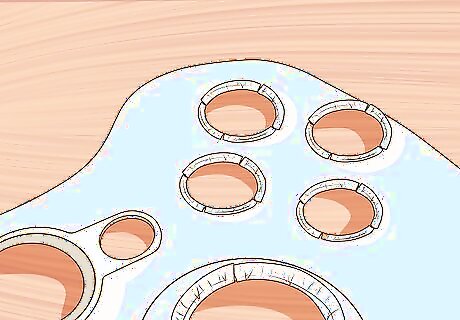
Be aware the ▷START, ◁BACK, A, B, X, Y, and Guide buttons are the hardest, in that order. This requires VERY narrow pieces of tape. Take a sliver, about an inch long, and put it on one of the walls, so that it completely goes all the way up and down. Go all the way around until all the walls are covered. Take the outside pieces that are sticking up, and make a cone so they won't get in your way. Do this for the rest of the buttons. (NOTE: Wrapping the tape inside-out on a standard nail can help greatly with this step)
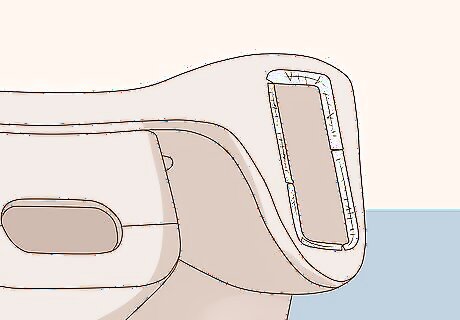
Get all those holes blocked up. Cover up the trigger holes. Take a piece of tape, and rip it so that it is a little bit bigger than the trigger hole, and put the tape on it from the inside of the controller.
Have all your controller's holes covered or filled properly. Lay down your cardboard and place the toothpicks in the cardboard about 2 inches (5.1 cm) from each other and place the ▷START, ◁BACK, 2 Bumpers, Triggers, Center Top Piece, and Center Bottom Piece on the tooth picks. Most of the Buttons will sit fairly well on the toothpicks, some will require two toothpicks to make stand correctly.
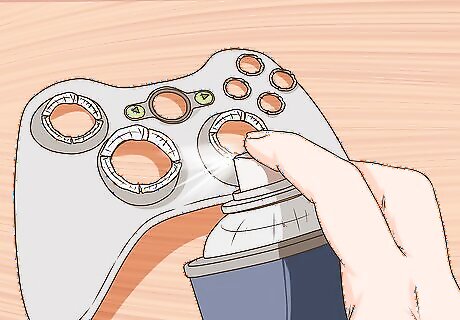
Ensure all your pieces are mounted on toothpicks and your front and back covers are laid out on the cardboard. Start painting. Follow basic spray painting instructions in order to get a smooth coat and even paint color. Putting a second coat on the controller is recommended. Wait for 24 hours after the first coat has dried.


Comments
0 comment