
Drilling the LEGOs
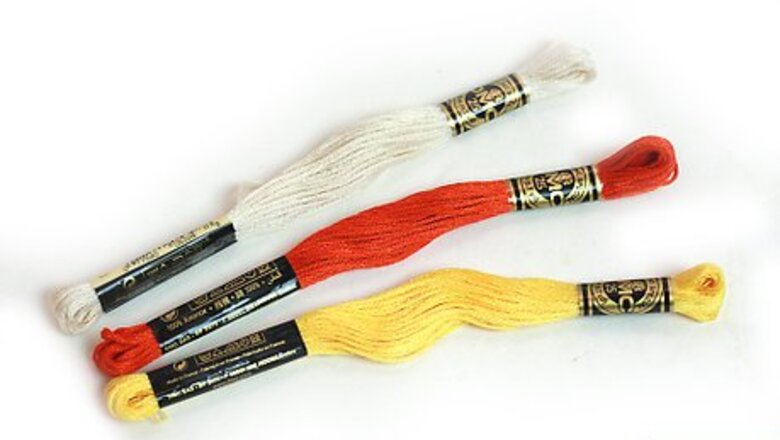
Choose your colors. Organize and color coordinate your embroidery thread and LEGO pieces for the best presentation. You can do a solid color, two, or three different colors per bracelet.Make LEGO Friendship Bracelets Step 1Bullet1.jpg

Layer the LEGO pieces. Place about two to three LEGO pieces on top of one another.
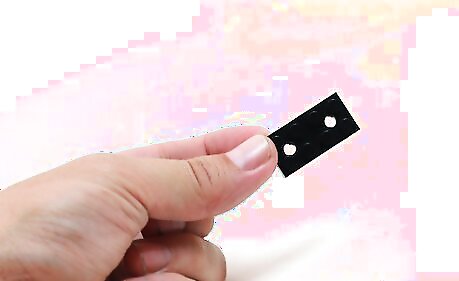
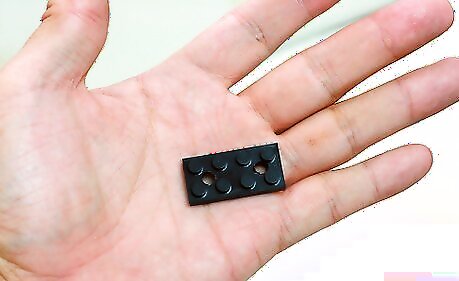
Drill in the holes. Use a 3/32" (2.38 mm) drill bit to create two holes in each LEGO block, just inside of the two outer pegs so that you create a "triangle".
Disassemble the LEGO pieces. Detach the pieces from each other and lay them down.
Thread the LEGOs
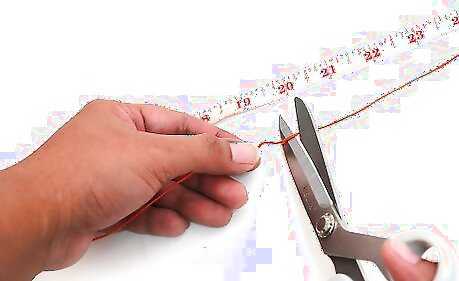
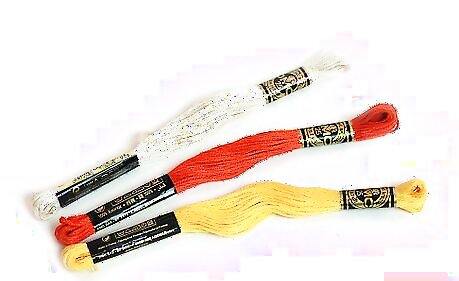
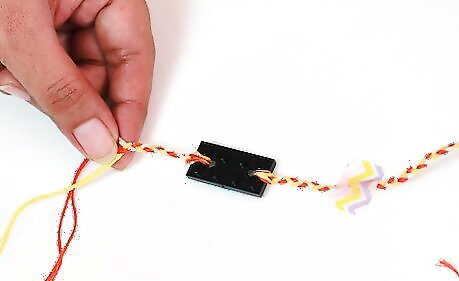
Measure and cut the embroidery thread. Allow a few inches of length, which can be re-cut at the end. Prepare to use three strands of thread for each brick. Arrange the embroidery thread colors side by side.Make LEGO Friendship Bracelets Step 5Bullet1.jpg
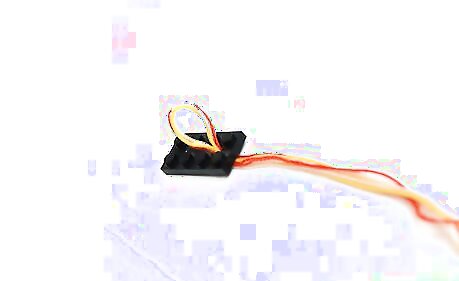
Thread three strands in each hole. Fold the threads in half and thread the loop part in the LEGO brick. Each LEGO brick will now have six strands of embroidery thread; three on each side.
Braid the Embroidery Thread
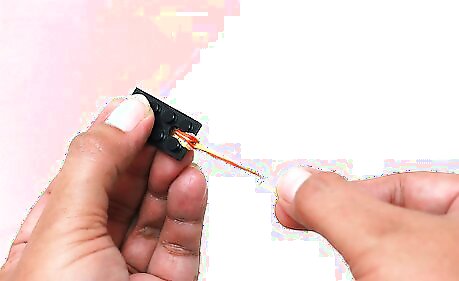
Create an initial "knot". Insert the loose strands through the loop. Ensure that you pull tight so its secured.
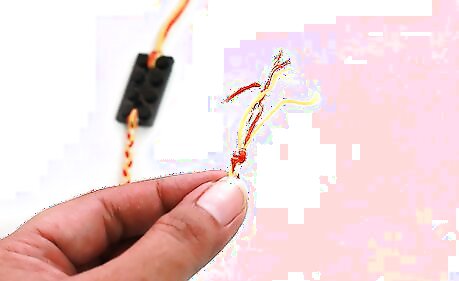
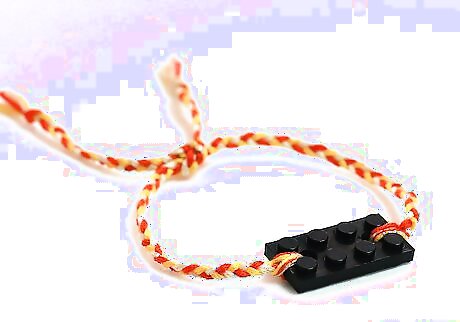
Braid the bracelet. Use the thread strands and create a 1 1/2 inch (3.8 cm) braid. Make a small knot at the end and cut the remaining loose thread. If you wish to make it longer, make sure both sides are equal in size to allow the LEGO block in the center of the bracelet.Make LEGO Friendship Bracelets Step 8Bullet1.jpg
Repeat for the other side of the LEGO.
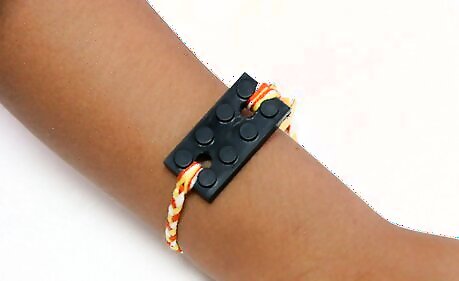
Wear your Lego Friendship Bracelet!
Finished.


Comments
0 comment