views
Creating the Pieces for Soles
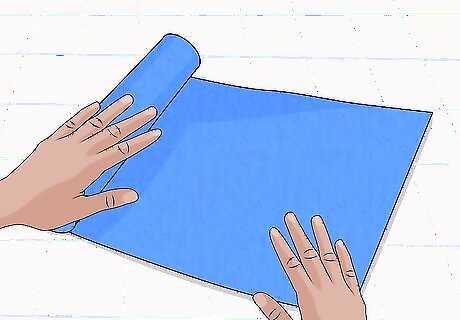
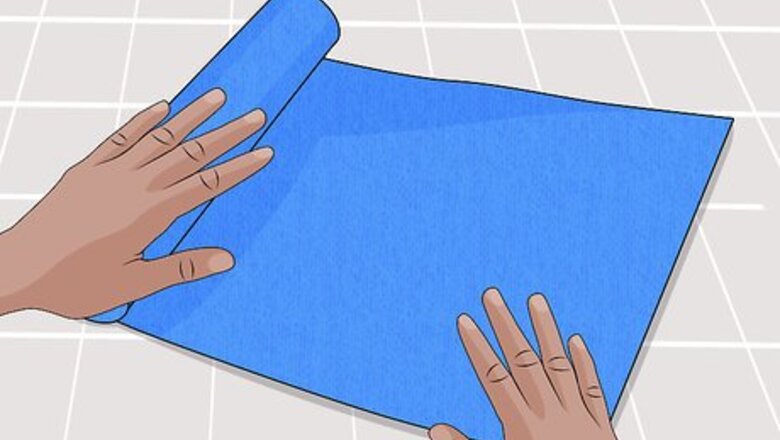
Lay your fabric out on the floor. The first two pieces that you’re going to cut out of your fleece fabric are for your soles, so clear some space on a hard floor to lay out your fabric. Unroll enough for your feet to stand on. If necessary, place weights at its corners and along the sides to keep it stretched out and as flat as possible. If you don’t have a hard floor available, just place a similarly hard surface on top of your carpet and work on that. Or, use a raised hard surface that you can easily place your foot on, like a workbench.
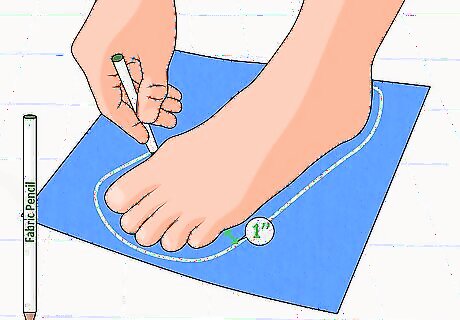
Outline your sole. Place one foot on top of the fabric and keep it pressed flat there. You’re going to trace its outline on the fabric, so kneel down on one knee (or assume whatever position is comfortable for you while still giving your hand and arm enough space to work around your foot). Use a fabric pencil to draw an outline around the bottom of your foot with an extra inch (2.5 cm) between its edge and the outline. The extra inch is for your seam allowance, which gives you some extra space to sew your seam so you don’t end up with a boot liner that’s too small for your foot.
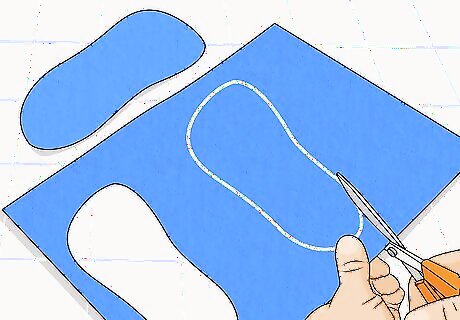
Cut out the outline and repeat. Use fabric scissors to cut along the outline and remove your first piece from the fabric. Then repeat each step to create a second piece for your other sole. You don’t necessarily have to do these in that order, though, so feel free to create your second outline first and then cut both out at the same time if you find that easier.
Cutting Out Pieces for the Legs
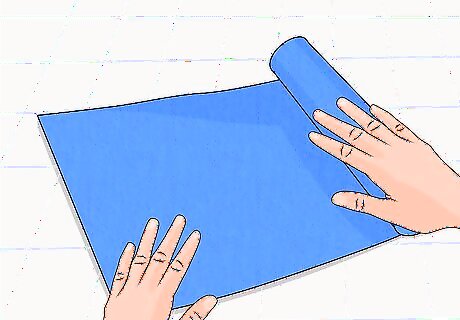
Roll out more fabric. If you’re comfortable working on the floor, go ahead and continue doing so. If not, feel free to move the fabric to a worktable, since you won’t be using your own feet or legs as guides anymore. Either way, roll out the rest of your fabric if you haven’t already done so.
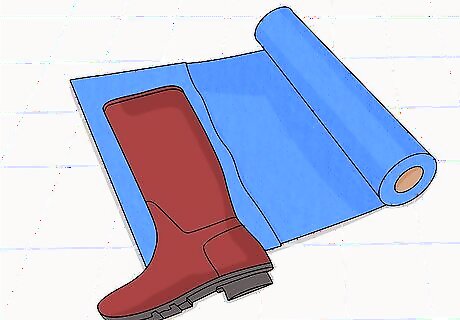
Fold the fabric in half and position your boot. Remove any weights that you have along one side of your fabric. Fold enough of it over to create a double layer of fabric for the leg of your boot to rest on while lying on its side. Lay your boot on top of that so that the front of the leg lines up with the fold. You only need the leg, not the foot, so keep the foot pulled down and off the fabric.
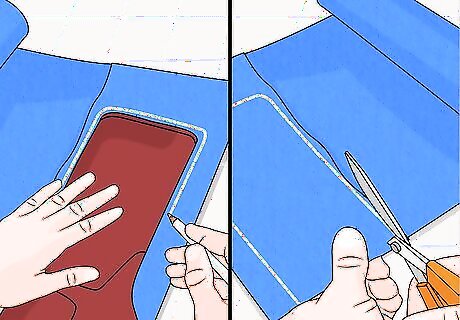
Outline, cut, and repeat. Flatten the boot as much as you can while keeping its front lined up with the folded edge of fabric. Then draw an exact outline, starting at the bottom edge of the fabric, up along the back of the leg, and then up and over its top to the folded edge. Cut along your outline and repeat for your second leg. Only cut along the outline, not the fold. You want to keep this intact so that you still end up with a single piece of fabric despite the double layer. Since you’re tracing along the outside of the boot for a liner that goes inside, you don’t need a seam allowance because there’s already extra surface area to your fabric.
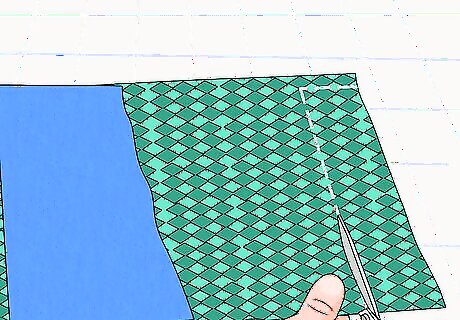
Cut out separate pieces for the cuffs. Unfold a leg piece and measure the width of its top. Now cut out two strips of fabric of equal length for your cuffs. This is the only part of your liner that people will see once you’re wearing your boot, so use a more decorative piece of fabric if you like. Later on, the cuff will be sewn along the top of your leg piece so it can then fold over the top of your boot, so how big of a cuff you want is entirely up to you.
Creating the Final Piece for Each Foot
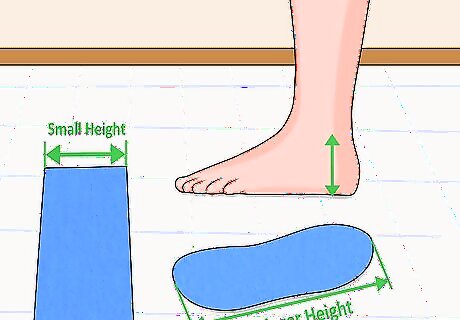
Measure your “heights” and width. To create the final pieces that you’ll need to sew your liners, you need three measurements. First, measure the length of either sole piece and mark that as your “bigger height.” Then measure the width of one of your leg pieces (keeping it folded just like it was before you cut it out) at its bottom, where your ankle will be, and mark that as your “smaller height.” Finally, measure the distance from your own ankle bone to the floor and then add a half inch (1.25 cm) for your “width.”
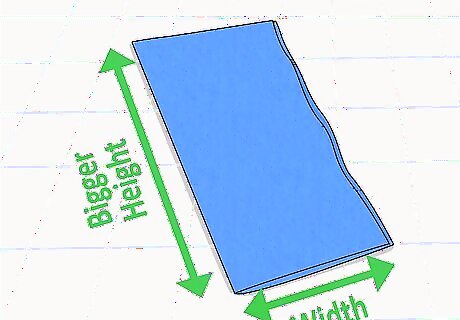
Fold over more fabric. For the fabric piece that will cover the the top and sides of either foot, you need a double layer of fabric connected by a fold, just like you did for your leg pieces. Use your “bigger height” to determine how long your fold needs to be. Then use your “width” to determine how far the fabric needs to be folded over. Trace the outline of this rectangular shape on the top layer of fabric.
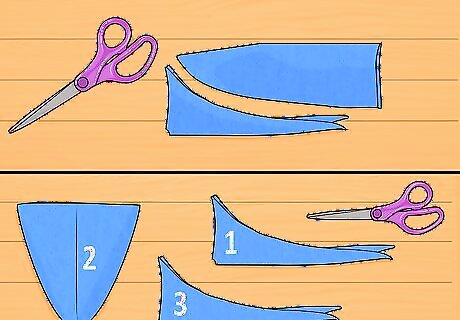
Make your first two cuts. First, cut out both layers of fabric along your outline. Remember to only cut the outline, not the fold. Keep the piece folded over as it was before you cut it out. Line up the folded side along whichever side your dominant hand is on. Starting from the top corner of the fold, cut out a half-parabola shape that ends at the opposite bottom corner. As you do, keep in mind that: The top of the rectangle is where your toes will be. The bottom is where your heels will be. The half-parabola should start out by curving from the top folded corner (where your middle toes will be) and gradually turning inwards toward the opposite bottom corner. Once you pass the point where your toes will meet your foot, the cut should then nearly straighten out on an almost direct line toward the opposite bottom corner. You should now have three pieces: a larger piece with the fold intact, plus two smaller pieces trimmed off. These two smaller pieces can be discarded.
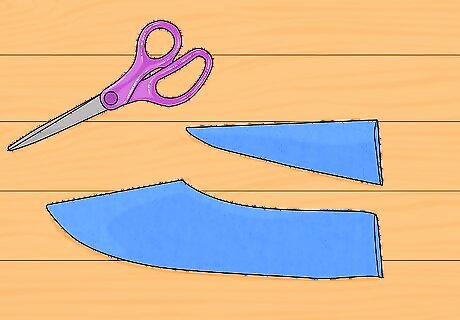
Make your third and final cut. First, refer to the your “smaller height” measurement. Starting from its bottom edge, measure and mark this distance along the larger piece’s fold. Then, starting from the same bottom corner, measure and mark roughly an inch (2.5 cm) along the bottom edge of your piece. Now cut a slightly curved line from that bottom mark up to the “smaller height” mark on the fold. You should now have two pieces: one big, one small, both with a folded edge. The smaller one can be discarded. When you unfold the larger piece, it should resemble the Starfleet insignia from Star Trek.
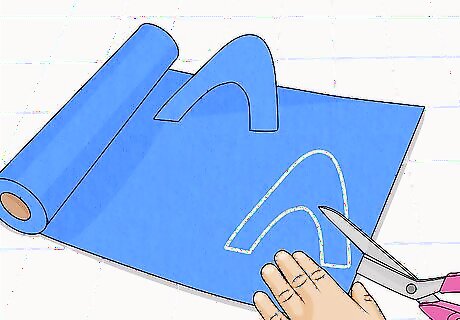
Trace and cut out a second piece. Remember: you need one of these half-parabola shapes for each foot. But instead of making all those measurements again, simply place your first one on top of your fabric, trace the outline, and then cut that out. You can do this either by keeping the first piece folded over another double layer of folded fabric or spreading it out over a single layer, whichever you find easier.
Sewing Them All Together
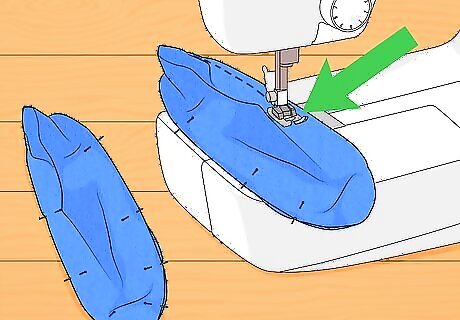
Start with the sole and foot pieces. First, line up the toe end of one half-parabola piece with the toe of one sole piece. Pin the outer edges of the two pieces together with sewing pins. Then use your sewing machine to sew along the pinned edges with a quarter-inch seam allowance (0.64 cm). Then repeat with your other sole and half-parabola pieces for your second liner. Do not pin and sew the ends of the half-parabola together where they meet at your heel. Leave them open for right now. When each one is finished, they should resemble a pair of booties or slippers.
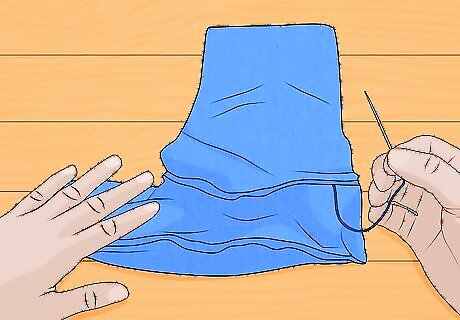
Connect the leg to the inner curve. Take one of your leg pieces and line the folded edge up with the center of your half-parabola’s inner curve. Pin the two together right there. Now unfold the leg and pin the bottom of each side along the inner curve until you reach either end. Sew a seam along the ankle as before, then repeat with the other two pieces. As before, don’t pin and sew the back of the leg together just yet. Just worry about sewing the leg piece to the half-parabola for now.
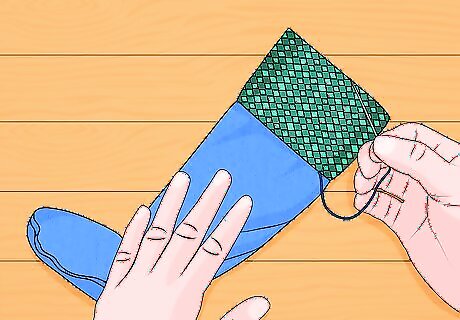
Sew your cuffs to the top of the legs. For each leg piece, take one of the fabric strips that you cut out for your cuffs and fold it in half lengthwise. Line up the two open edges with the top of your leg piece, so that the strip’s folded edge faces down toward the foot of your liner. Pin the open ends of the strip to the top of the leg piece, then sew the cuff’s two open edges to the very top of the leg.
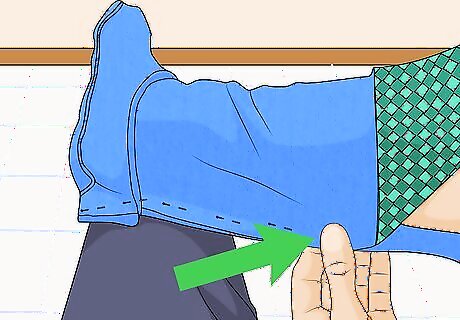
Close the back. First, put on the thickest pair of socks and pants that you expect to wear when wearing your boots. Then slip your foot and leg inside your liner. Pull the open ends of the liner’s back together to determine how tight you’d like it to fit around you. Once you find a comfortable level of tightness, pin the open ends together. Then pull your feet out, close up the back, and repeat with your second to complete your project.




Comments
0 comment