

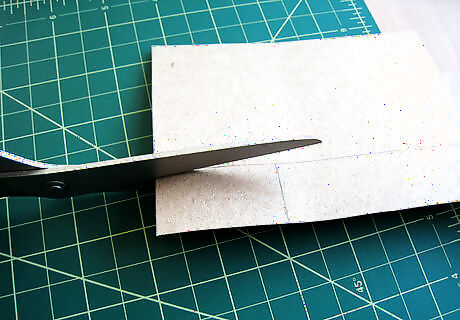
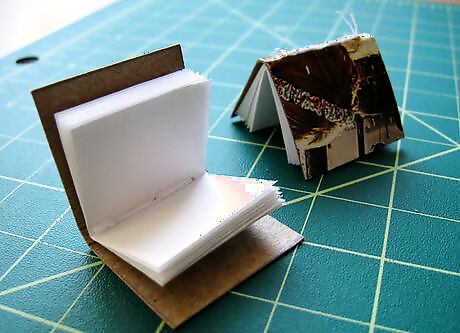
Cut two rectangles out of cardboard, each 1 inch (2.5cm) tall by 1.75 inches (4.5cm). Use a ruler or paper cutter to get the edges square and straight. This will provide the structure for the cover of your book.
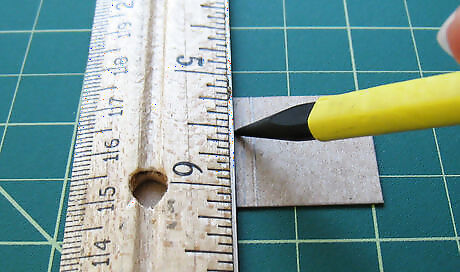
Locate the center of each rectangle and mark it from top to bottom with a pencil. Hold a ruler on the second line, and make ticks 1/16th" (1.5mm) away on each side. Score the lines on either side of the center from top to bottom, using an empty ball point pen or a bone folder.
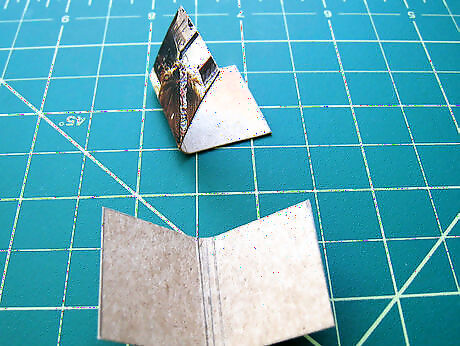
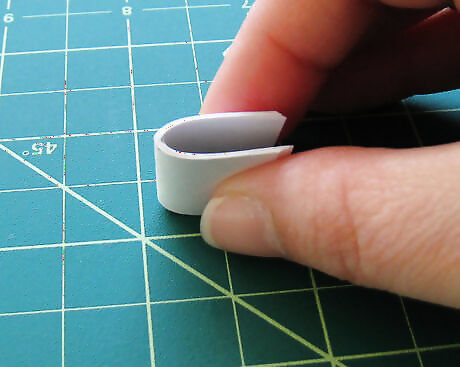
Fold the cardboard along the scored lines to form the covers for your tiny book. Don't fold along the center line.
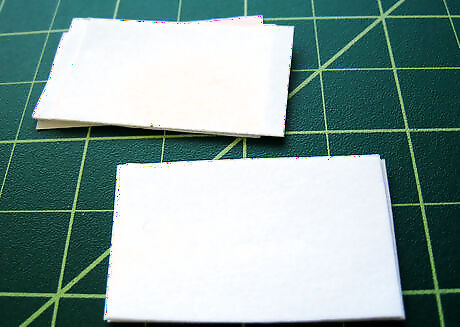
Cut out your pages. Cut sixteen rectangles of ordinary printer paper, measuring 7/8" (22mm) long by 1.5" (3.8cm) wide. If you have access to a paper cutter it will help make the pages even, as will stacking or folding the paper before cutting. (Don't stack too thickly, though, or you'll have trouble cutting. Two stacks of eight layers each seem to cut reasonably easily, and it doesn't matter if the pages for one book are slightly different from the other.)
Fold each stack of eight sheets in half down the middle. Trim the outside edges so that they're once again even. These will form the pages of the books.
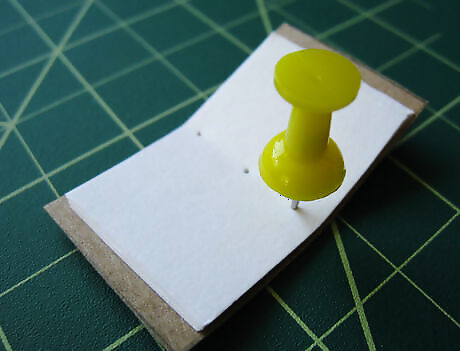
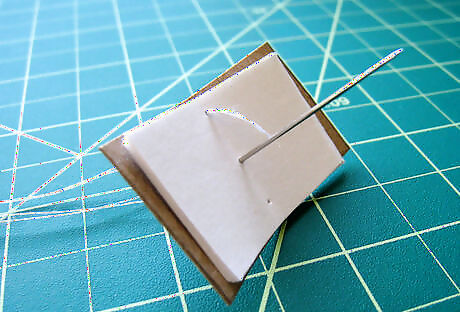
Punch out holes for binding. Line up the centers of the pages with the centers of the cover cardboard. Lay the book open flat with the cover side down on a cutting mat or a spare chunk of scrap cardboard. Use a push pin to poke three holes in the spine, through the center of the pages. Do this for both books.
Thread a needle and tie a knot with some white thread or thin string.
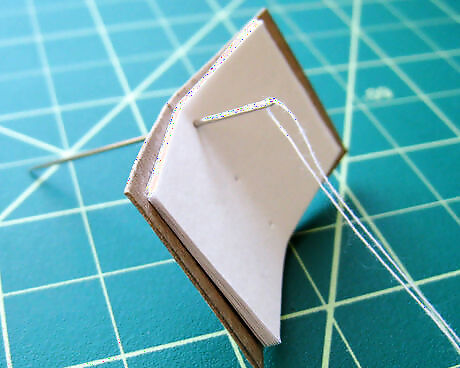
Stitch down through the top hole.
Stitch up through the middle hole.
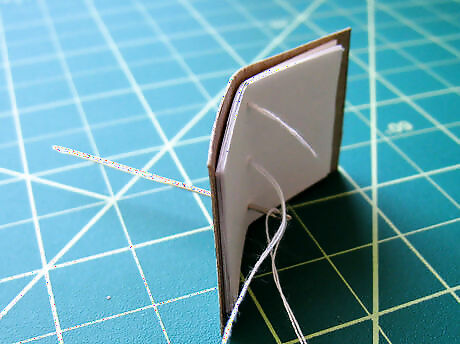
Stitch down through the bottom hole.
Do a second stitching pattern. Bring the needle back up through the middle hole, down through the top hole, etc. If you're using thin thread, you may want to do this figure-8 pattern a couple more times before tying it off. Loop the thread through itself on the back side a few times to tie off the stitches, then trim the excess thread.
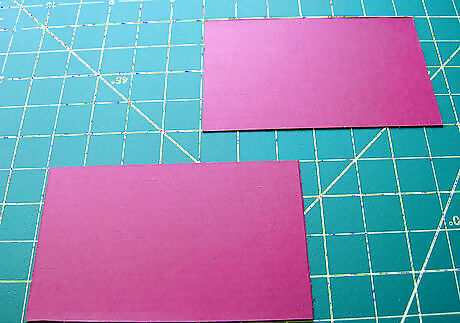
Cut out your cover. Cut two rectangles of the decorative fabric or paper, 3.25" (8.25cm) wide by 2" (5cm) long. If there is a pattern or grain to the fabric or paper, check to make sure that your rectangles run parallel to it. These will become the covers of your books.
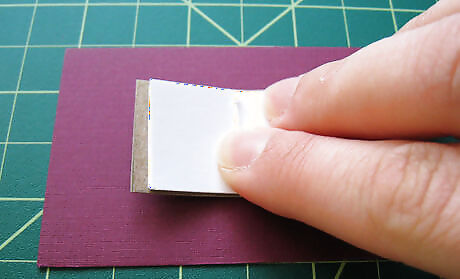
Center one book on the decorative sheet with the pages wide open. Keep each decorative cover together with the book you used to measure it, in case they are slightly different sizes.
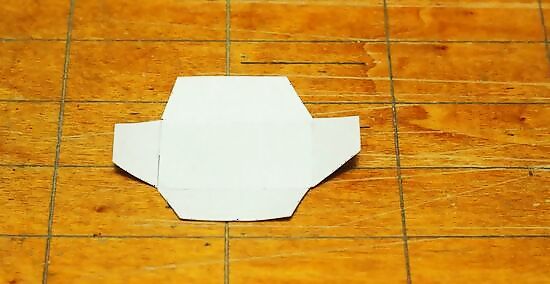
Cut out the corners as shown. Cut at a shallow angle from the corners of the score marks to the edge. The exact angle is not important, but try to get it reasonably symmetrical.
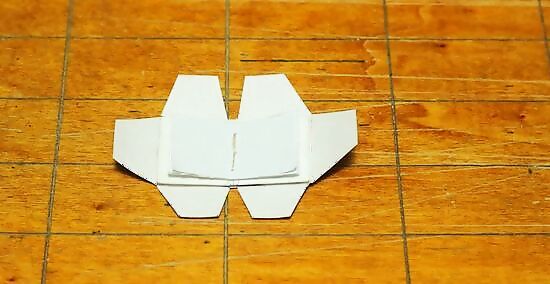
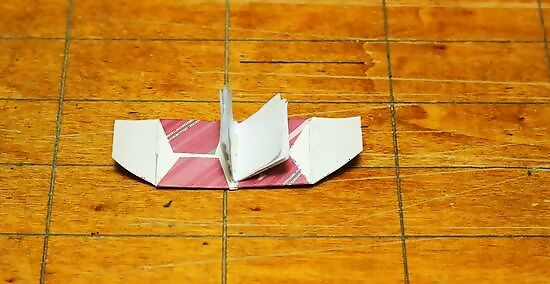
Center the book on the cover and cut V-shaped notches as shown around where the spine will be.
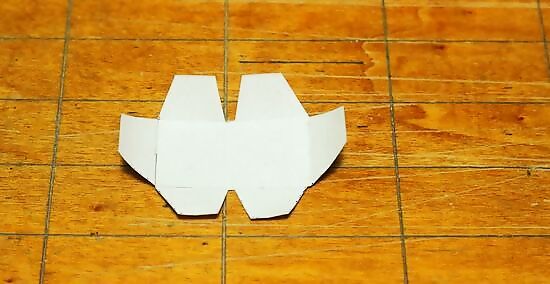
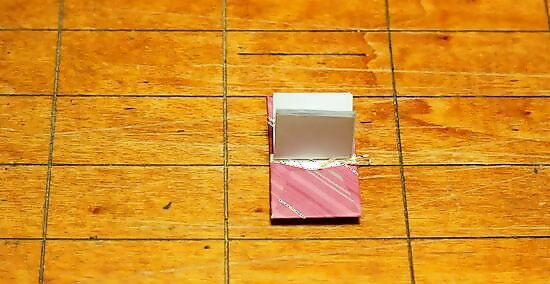
Score the decorative material on either side of the spine if you are using paper. The photo shows the cover ready to glue.
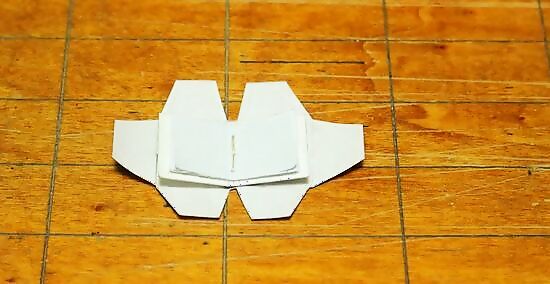
Apply a generous (but not sloppy) amount of glue to the center of the decorative material and to the top and bottom flaps. Make sure to put the glue on the "back" or "wrong" side of the material, and make sure to apply glue on the entire area, all the way to the edges. It helps to put a piece of scrap paper behind as you apply the glue, to catch any that runs over the edges. A glue stick is a bit neater than liquid glue, but either will work.
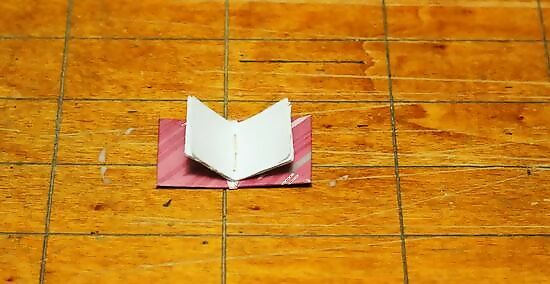
Place the book onto the decorative material and press it firmly against the back, making sure the edges line up with the score marks. Fold the top flaps over and press them firmly. Repeat for the bottom flaps.
Apply glue to the side flaps and fold them in, over the top and bottom flaps. Press firmly.
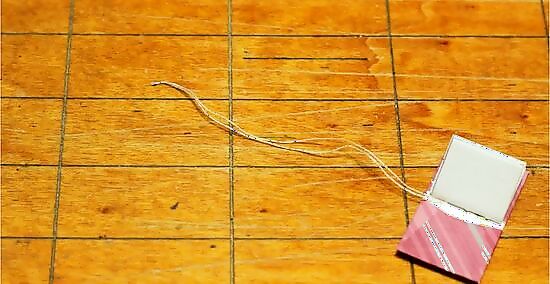
Thread a string between the top portion of binding and the cardboard you used as the basis for your cover. Alternatively, you could glue the string, but be sure it is secure.
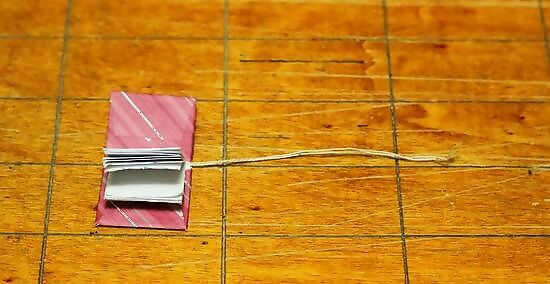
Tie a simple knot in the string. Pull it close to the book, then tighten it firmly.
Turn the knot downward and trim off the excess string.
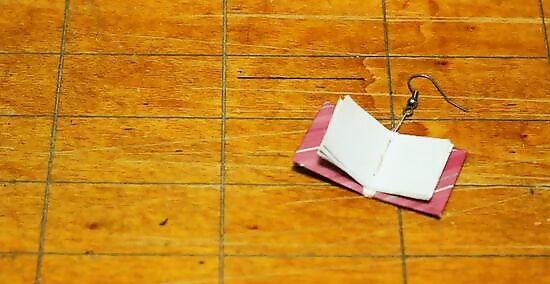
Open the ring on the earring mount, thread it through the loop on the book, and close it again. Use needle-nose pliers or jewelry pliers without teeth. Insert the earring mounts so that the books will both point forward when the earrings are worn.
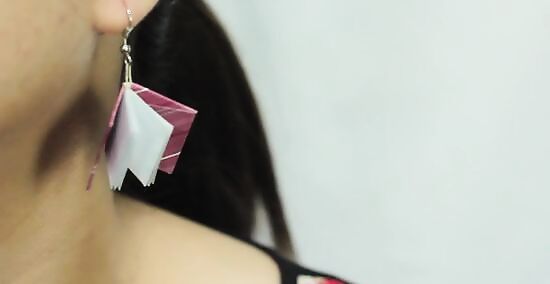
Let the glue dry thoroughly before trying on the earrings. Rest a heavy book on top of them to hold them closed while the glue dries.


Comments
0 comment