views
Make A Simple, Natural-Looking Wand
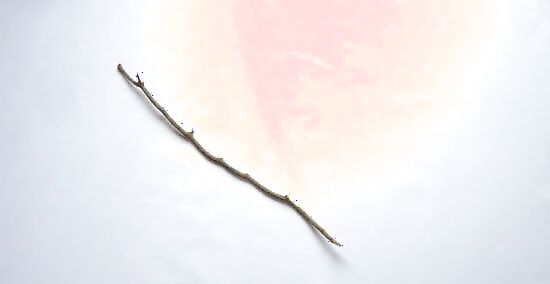
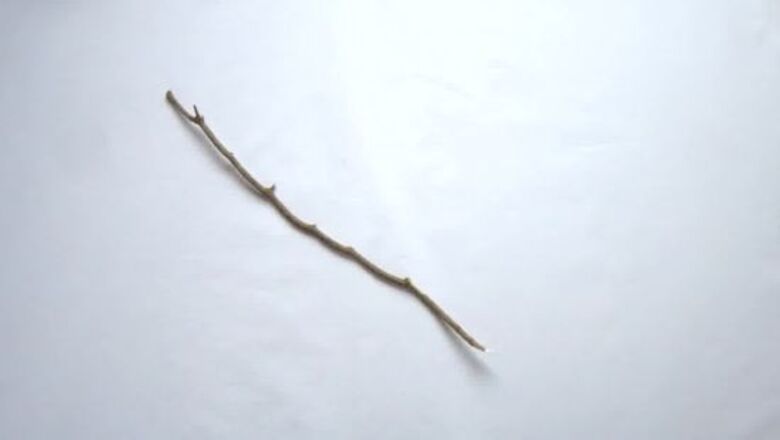
Collect a suitable stick or twig. Pick one that you like the most. Some people choose the wood very carefully for its special meaning or properties. If that idea appeals to you, you may need to spend more time and dedicate more research to finding the appropriate wood.

Cut the wand to a length that reaches from the tip of your middle finger to your elbow. This is your personal cubit.
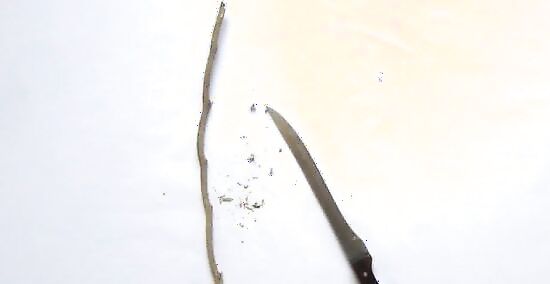
Scrape all the bark off it. Or, leave some bark on it if you prefer a more gnarled, natural appearance to your wand.
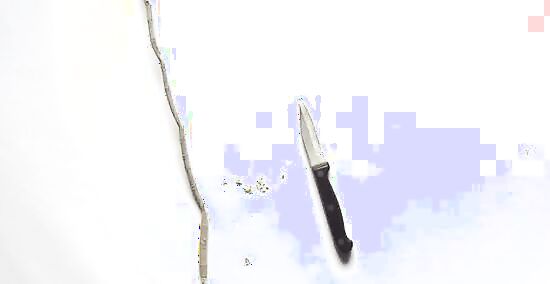
Round off the ends using a cutting knife. Do this very carefully so as not to cut yourself. For those of you making a wand for fun (for example, Harry Potter fans), you can stop here if you like. Your wand is done!
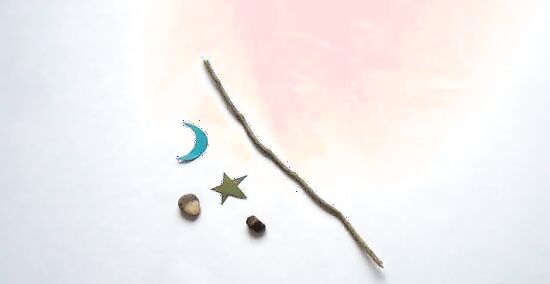
Make additions to your wand if you wish. If you want to create a friendship token or you wish to incorporate your wand into religious ceremonies, you may wish to add items that carry significant meanings for you. These can include a crystal, a bunch of mixed herbs, or any type of magical stone. Use these items and rub them over the wand. You could also attach them if desired. If you are making a friendship token, it is a good idea to look up the meanings of the wood and herbs so that you can reflect the nature of your friendship through the meanings of the plant material that you use.
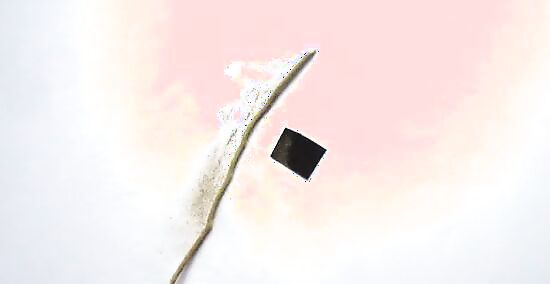
Also be sure to use sandpaper to make your wand smooth. You might also want to paint or stain it. Any number of colors can be used. It may be possible to carve designs into the wood as well but this takes a great deal of skill and patience and should not be undertaken lightly.
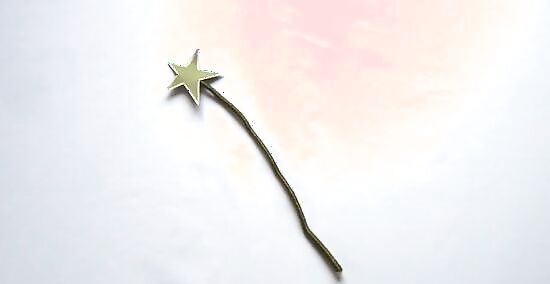
Finished.
Make a Clean, Movie-Style Wand
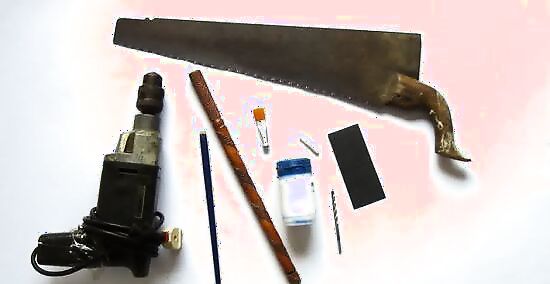
Get materials. You will need a dowel rod (with roughly ½” diameter), a second dowel rod or dowel pins (roughly ¼” diameter, as it must fit inside the first dowel rod), a wood spindle (sometimes called a chair spindle or a decorator spindle), wood glue, a saw, sandpaper, and a drill with a bit similar to the dowel pin you use.
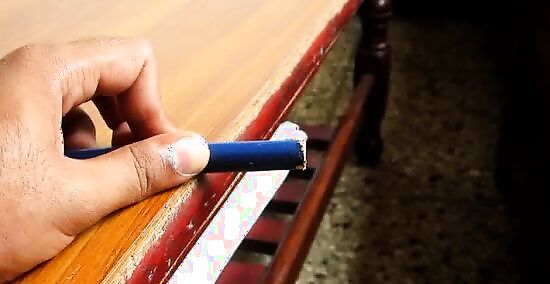
Trim the dowel rod. This will form the main part of the wand. It can be whatever length you prefer (in Harry Potter, Hagrid’s wand is 16” but some wands are a small as 9”). Measure it and cut it to size using the saw. You can sand and round the tip using the sandpaper if you want to.
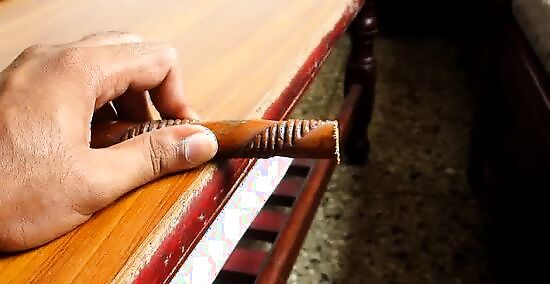
Trim the spindle. The spindle will form the handle. You can usually get two handles from a single spindle. Cut it into whatever pieces you feel are appropriate using the saw.
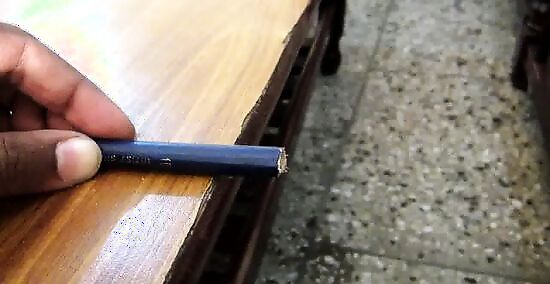
Make the dowel pinhole. Drill a hole at the center of both the handle and the main section of the wand where the two will join together, going up into the core of each. Be careful to drill straight and not use a drill bit which is too large for the pin you will place.
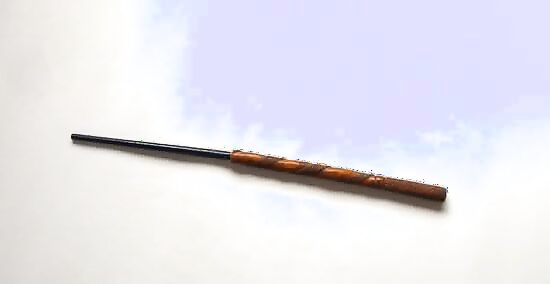
Place the dowel pin. Using either a much thinner dowel rod trimmed to size or appropriately sized pre-cut dowel pins, cover the pin in glue and place it in the handle hole. Once it is in place, put the other end into the hole in the main section of the wand. Push them together until they are solidly joined. If there is too much resistance, you can use a hammer or other heavy object to gently tap them into place.
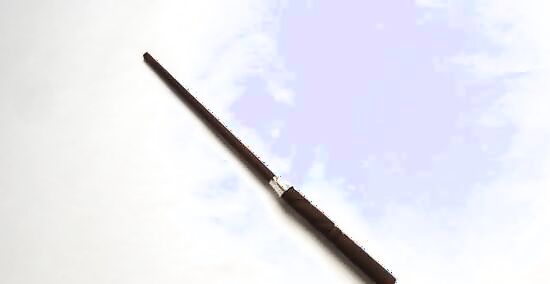
Add any finishing details. Remove excess glue and sand any rough spots. You can also paint or stain your wand to whatever your desired color may be. You can use tools, such as an awl or screwdriver, to gently tap texture into the wood of the handle (like that on the Elder Wand in Harry Potter). You can also add polymer clay to the wand (before painting or staining) to make it look more like the wands from the films, if you have the skill to sculpt and texture it. Once your desired details are added, you’re done!


Comments
0 comment