
X
Research source
Printing a Protractor on Paper
Get heavyweight paper or transparent paper. Find cardstock paper or another piece of heavyweight paper that will work for your printer. Heavyweight paper will make the protractor more durable. You can use transparent paper to make the protractor easier to use for measuring. Check your printer’s guidelines to make sure you can use transparent paper before you print.
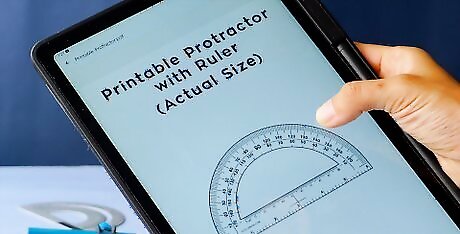
Download a protractor printable. Download the graphic of a protractor to use. You can find a protractor graphic to download by searching online. Choose an image that is large for better quality. The clarity of your image will be determined by how large the graphic file is, look for something at least 540X620.
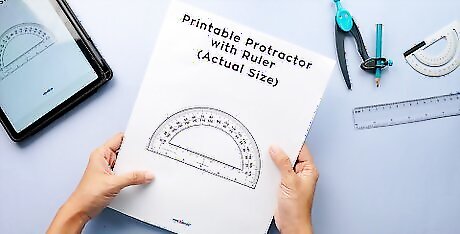
Print the protractor graphic. Use your printer to print the graphic of the protractor. Preview the image before you print to make sure the entire protractor will be printed. Re-size the image to the desired size for your protractor. In general the straight edge of the protractor should be between 3 and 6 inches for best results.
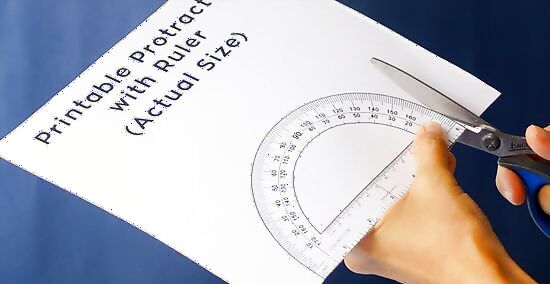
Cut the protractor out. Use scissors to cut the shape of the protractor out of the paper. Cut the center of the protractor out.
Place the bottom edge of the cut out on one line of the angle. Align the bottom edge of the protractor with one of the rays of the angle you would like to measure. Where the second ray of the angle crosses the curved section of the protractor is the measurement of the angle.
Making a Pocket Protractor
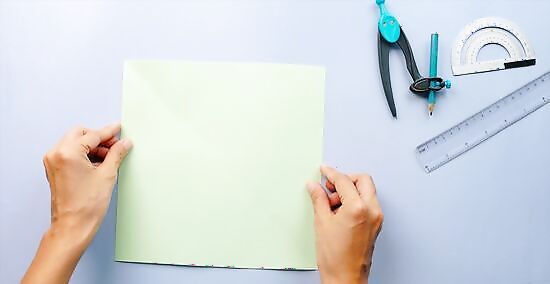
Cut a sheet of paper into a square. Get an 8 ½”x 11” sheet of paper to cut into a square. Use a ruler to measure 8 ½ inches down the 11 inch side and make a mark at that point. Use the ruler to draw a straight line across the paper at the mark you made. Cut the paper on this line to end up with a piece of paper that is 8 ½ x 8 ½ inch square.
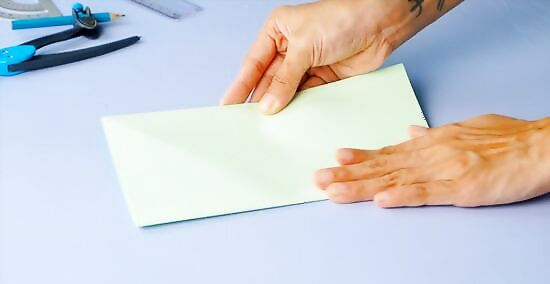
Fold the paper in half. Fold the left side of the paper over to the right side to make a crease in the middle of the paper. Then, unfold the piece of paper. Align the edges of the paper exactly to make sure your fold is directly in the center of the paper. The accuracy of your angles depends on your folds being crisp and exact.

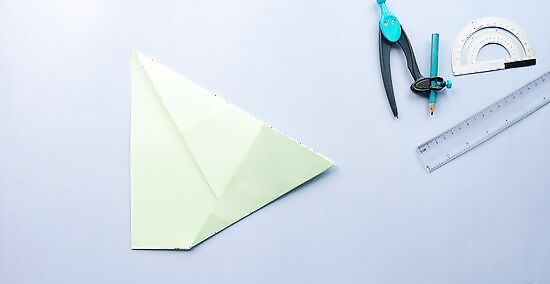
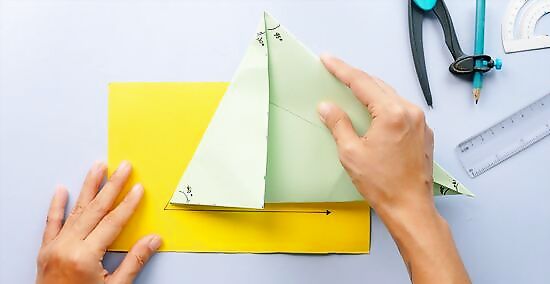
Fold the upper right corner into a triangle. Take the upper right corner and fold it down towards a low point on the crease you made in the middle of the paper. Fold the corner down so that it meets the crease in the middle of the paper. The corner will be approximately ⅔ of the way down the center crease you made when you folded the paper in half This will form a triangle on the paper that has a 30° angle, a 60° angle, and a 90° angle. You will fold the entire top edge of the paper down to create a new tip in the upper left hand of the paper.
Fold the bottom right corner up to form a second triangle. Take the bottom right corner up towards the top edge of the first triangle. Fold until the right edge of the paper lines up with the creased edge of the first triangle. You will end up with a second 30°,60°,90° triangle.
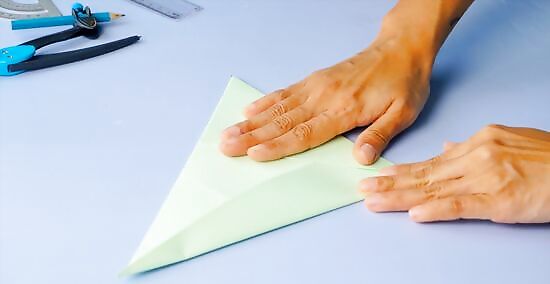
Fold the bottom left corner up. Take the bottom left corner and fold it up until the left side of the paper meets the edge of the first triangle the was originally the top edge of the paper. The two edges should line up together. Tuck the corner under the second 30°, 60°, 90° triangle you folded.
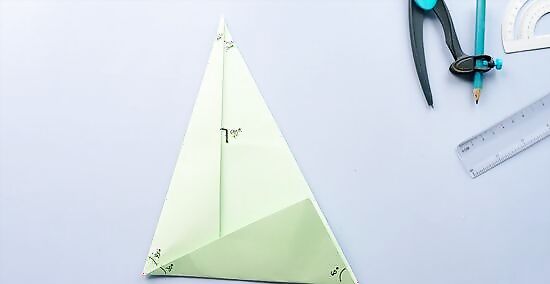
Label the angles on your protractor. The side of each different triangle makes a different angle that you should label. Put your paper down with the longest side pointing up. There are two angles at the top of your protractor. The left side is a 15° angle, and the right side is a 30° angle. The left corner of your protractor has two angles. The angle on top is a 45° angle, and the angle on the bottom is a 30° angle. The right corner of your protractor is a 60° angle. The angle made on the right side of your protractor where a line goes through the protractor is a 90° angle. The bottom left corner contains a 45° angle on the right and a 30° angle on the left
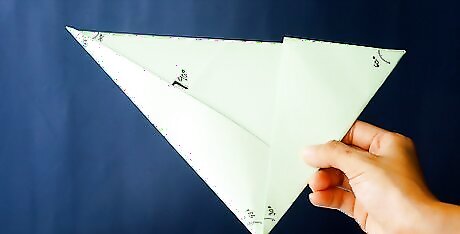
Use your pocket protractor. You can use your pocket protractor to measure angles on different shapes by matching the angles on the shape to the angles on your protractor. Estimate the degrees of angles that fall between the measurements for your protractor. You can divide the angles further into smaller triangles by folding the triangles in half.
Place your protractor on the angle you are trying to measure. Rotate the protractor to align the angles of the triangles on your paper with the angle you are measuring. Determine the angle you are measuring by matching it to the angles on the paper protractor.
Drawing a Protractor
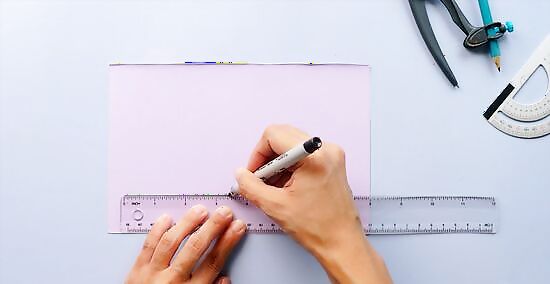
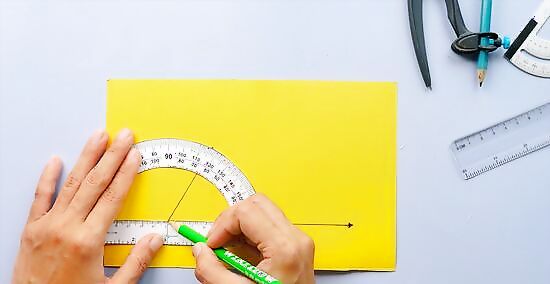
Use a ruler to draw a horizontal line. Draw a line on a piece of paper that is 5 inches long. You can also use the bottom edge of your paper as the bottom edge of the protractor to skip this step. Make a mark in the exact center of your line at 2.5 inches from the ends of the line.
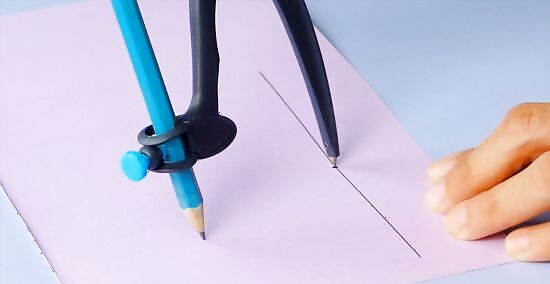
Draw a half circle with a compass. Use a compass to connect the edges of your line in a half circle arc. Set your compass to create a circle with a diameter of 5 inches. Draw a half circle connecting the ends of your horizontal line or centered along the bottom edge of the paper.
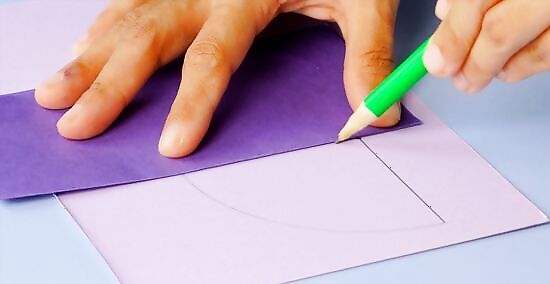
Fold a square piece of paper to create angle measurements. Using a paper square fold the square exactly in half lengthwise and along each diagonal. A piece of origami paper makes a good square to use. You can cut a perfect square by folding the top edge of a piece of printer paper to align with a side edge. Draw a line across the bottom where the paper crosses and cut off the bottom section of the paper. Use the fully opened square to trace a 90º angle on your protractor. Place the bottom of the square along the bottom of the protractor. Align the edge of the square with the center of the line and trace along the edge of the square.
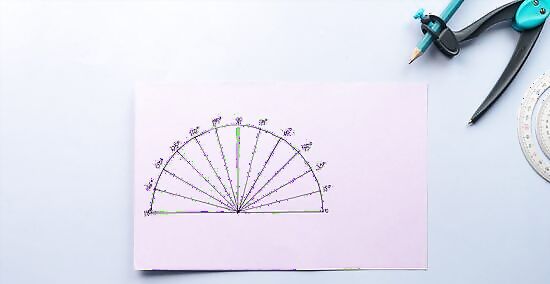
Mark the angles on your protractor. The square folded in half creates a 45 degree angle. Place the folded triangle along the bottom edge of your protractor and mark a line on the curved arc where the triangle crosses the arc. label the line 45 degrees. Fold a triangle with one edge from the upper left corner of the paper to the bottom center of the paper. This will create a 60º angle. Create the same fold from the right side to create a 120º angle. Mark these angles on your protractor. Make each fold on both sides of the triangle to create the complimentary angles for both sides of the protractor. Fold a new triangle with the inner edge of the triangle extended from the upper left corner down to the center of the paper. The corner of the triangle will be slightly to the right of the center of the paper and an imaginary line extends from the corner of the paper to the bottom center of the paper. This will create a 75º and 105º angle. Flip the folded paper over and place the edge of the paper on the 90 degree angle of your protractor. The edge of the triangle now marks a 15 and 165º angle
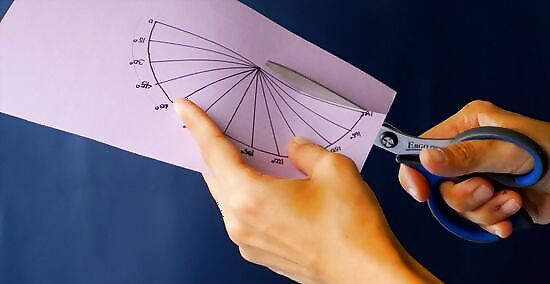
Cut out your protractor. Use scissors to carefully cut out the half circle of your protractor. Cut a small "D" shape from the center of the protractor to see the lines of angles you would like to measure.
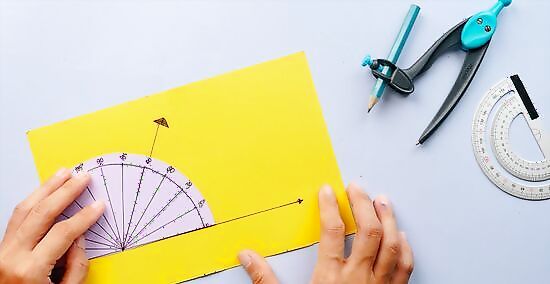
Measure angles. Place the bottom edge of the protractor along one edge of the angle you are measuring. Align the other leg of the angle with curved arc of the protractor. Note where the ray crosses the arc of the protractor to determine the angle you are measuring. Place the vertex of the angle where you marked the center of the bottom of the protractor.


Comments
0 comment