views
Preparing the Images
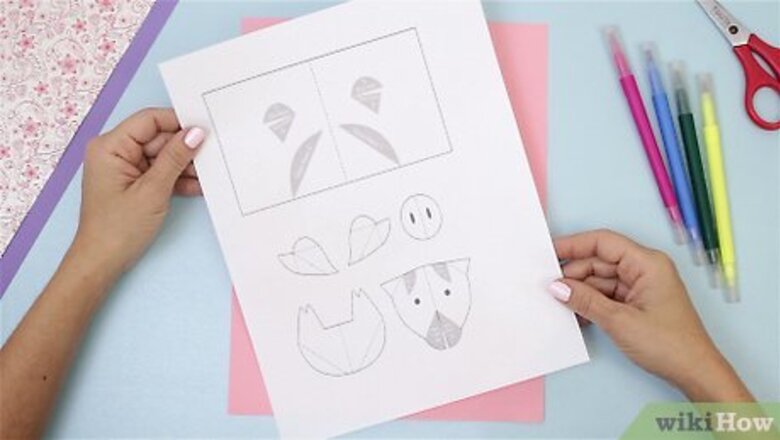
Print out the base page of the pig on a piece of heavy paper, like cardstock or construction paper. Click on the image to enlarge. Printing the image at 175% makes for a nice sized card.
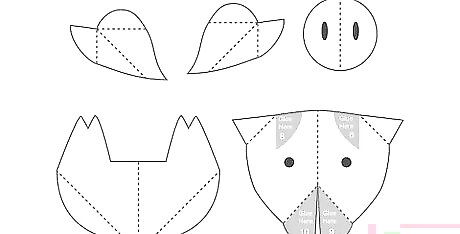
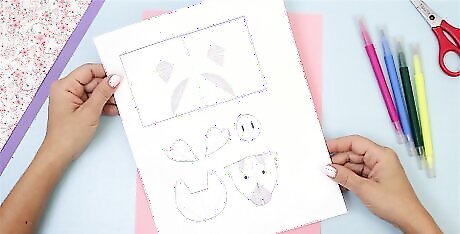
Print out the pieces of the pig on a piece of heavy paper, like cardstock or construction paper. Click on the image to enlarge. If you printed the base page a size other than the default, you must also print the pieces out at that size.
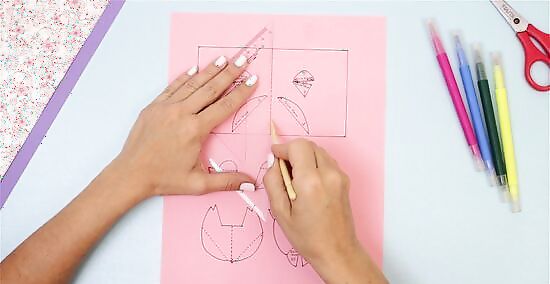
Press along the dotted lines on all the pop-up pieces with the rounded end of a paper clip (or a ballpoint pen that has run out of ink), using a ruler as a guide.
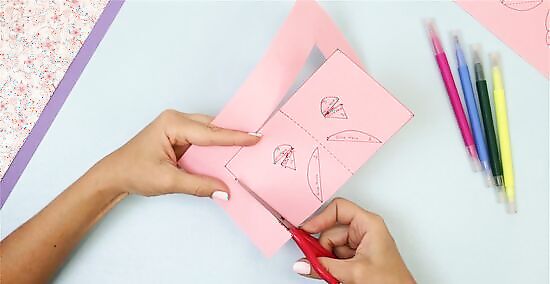
Cut out the card carefully following the solid, black lines.
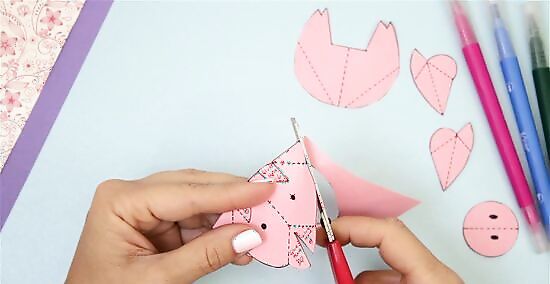
Cut out all the pig pieces following the solid, black lines.
Folding the Pieces
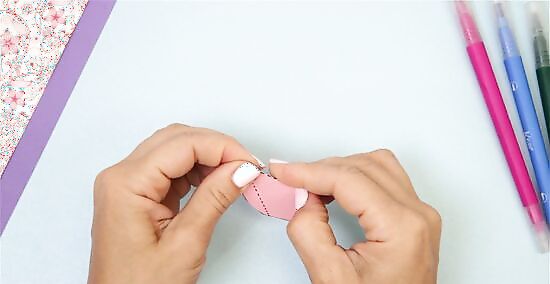
Fold the leg piece along the center dotted line (away from you). Crease well and unfold.
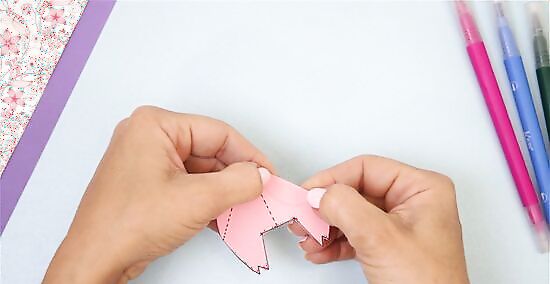
Fold the right tab at the top of the piece and along the dotted line, towards you. Crease well and unfold. Repeat for left tab. Set aside.
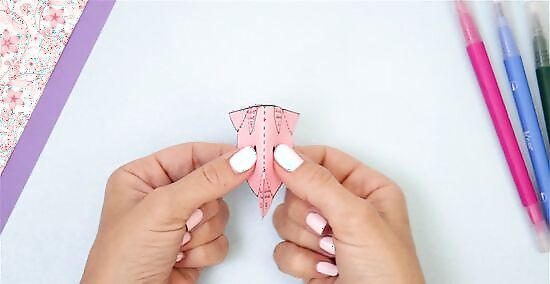
Fold the pig head piece along the center dotted line (away from you). Crease well. Unfold.
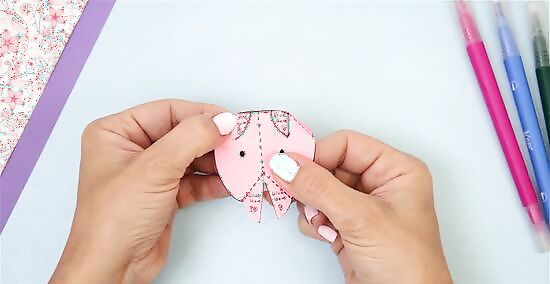
Fold the right tab of the head piece along the dotted line, towards you. Crease well and unfold. Repeat for the left tab.
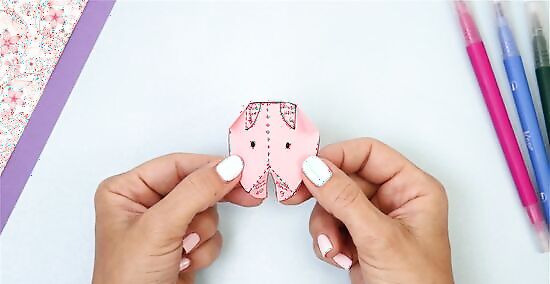
Select the lower right tab of the head piece and fold it along the dotted line, away from you. Crease well and unfold. Repeat this on the left lower tab. Set aside.
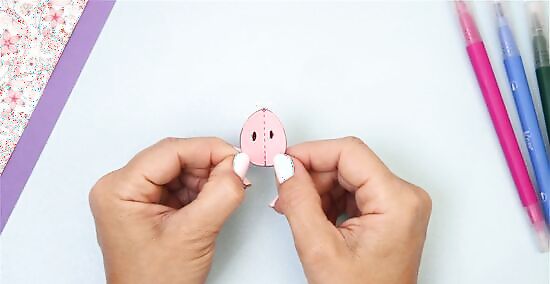
Fold the nose piece down the middle dotted line towards you. Crease well and unfold. Set aside.
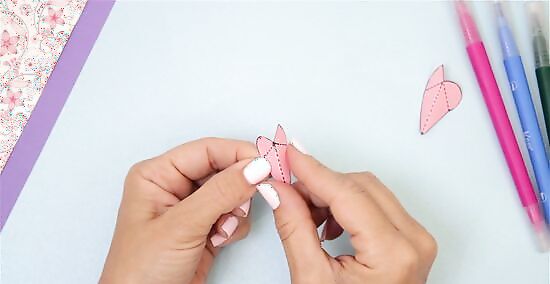
Fold the ears starting by folding down the middle dotted line away from you. Crease it well and unfold.
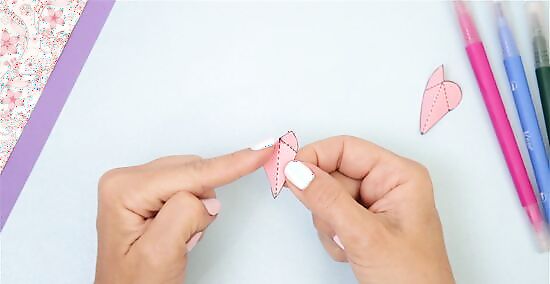
Fold one tab along the dotted line towards you. Crease well and unfold.
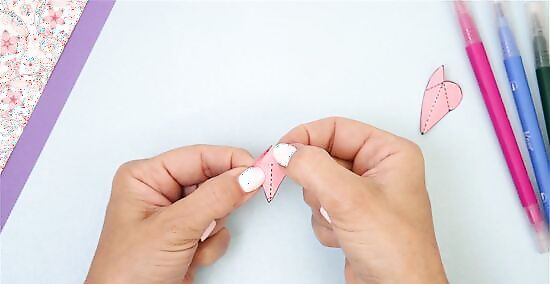
Fold the other tab along the dotted line towards you. Crease well and unfold. Repeat for the other ear.
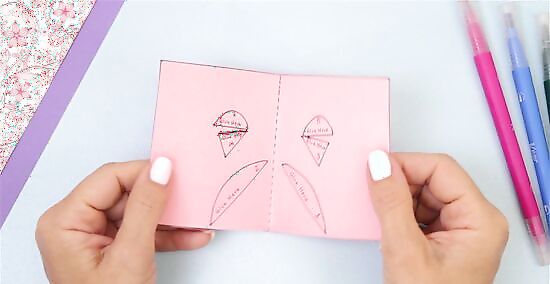
Fold the card piece in half along the dotted line, towards you. Unfold.
Attaching the Pieces to the Card
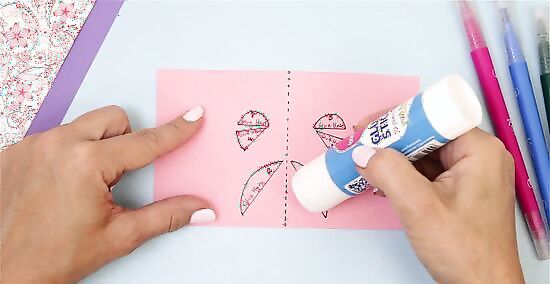
Apply a small amount of glue on to the grey area marked “Glue Here 1”.
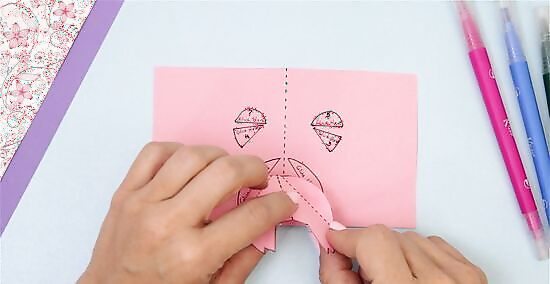
Align the right tab of the leg piece with the “Glue Here 1” area. Make sure the middle line of the card matches the middle line of the leg piece. Press firmly and be sure to let the glue dry.
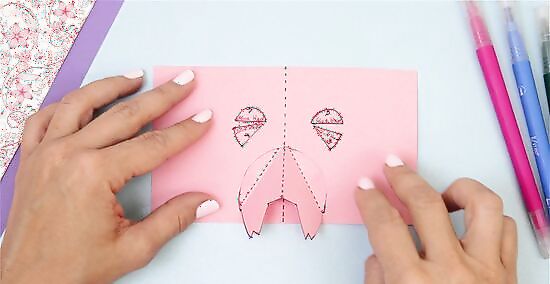
Glue the left tab of the leg piece to the gray area marked "Glue Here 2" in the same way as was done with the right tab.
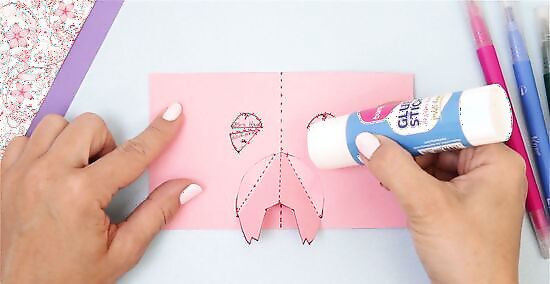
Apply a small amount of glue onto the grey area marked “Glue Here 3”.
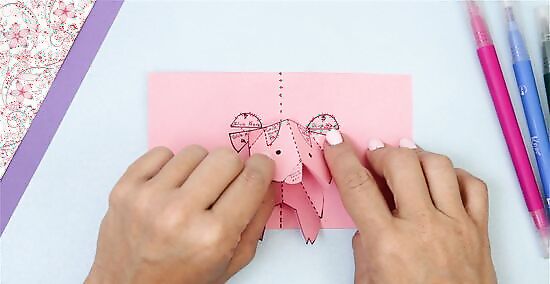
Align the right tab of the head piece with the “Glue Here 3” area. Make sure the middle line of the card matches the middle line of the head piece. Press firmly and let the glue dry.
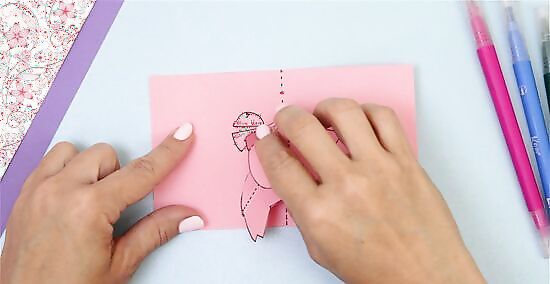
Glue the left tab of the head piece to the "Glue Here 4" area, following the same procedure as with the right tab.
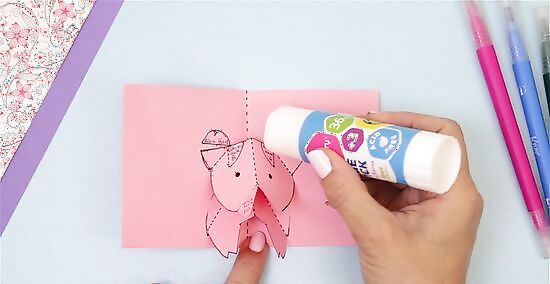
Apply a small amount of glue onto the grey area marked “Glue Here 5”.
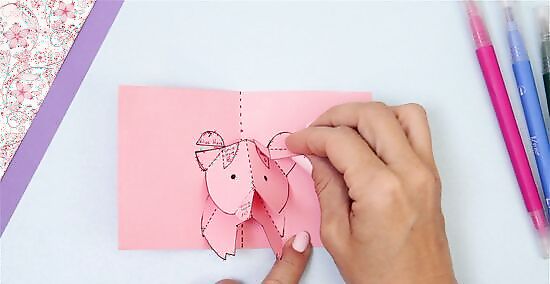
Line up the top tab of the right ear piece with the “Glue Here 5” area and press down. Make sure the bottom tab lines up with its corresponding shape (Glue Here 6).
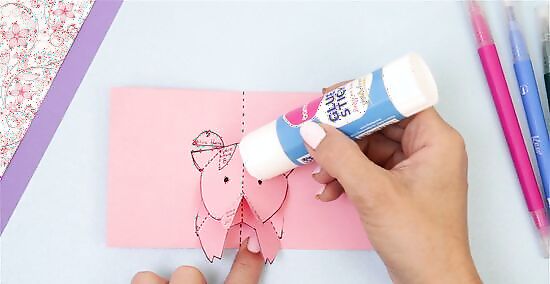
Apply a small amount of glue onto the grey area marked “Glue Here 6”.
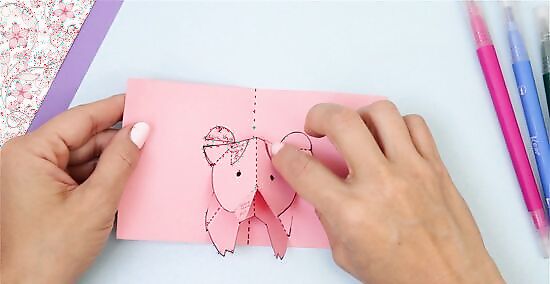
Take the right ear piece and line up the bottom tab with “Glue Here 6” area. Press firmly and let dry.
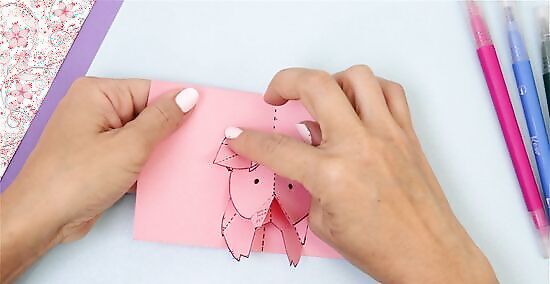
Glue the left ear piece onto areas "Glue Here 7" and "Glue Here 8" in the same way you did with the right ear piece.
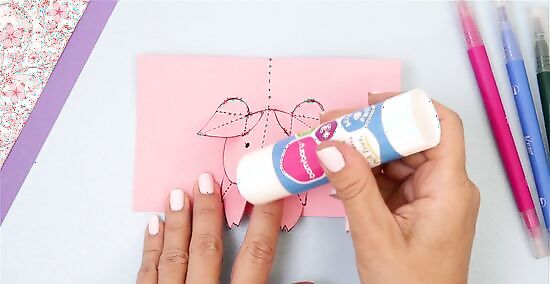
Apply a small amount of glue onto the grey area marked “Glue Here 9”.
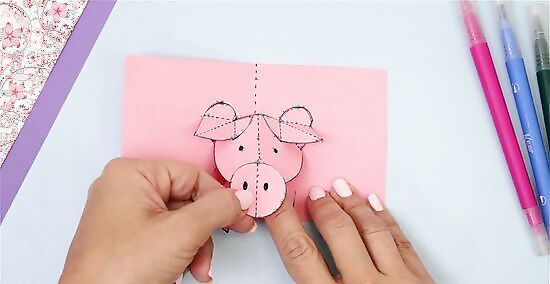
Line up the right side of the nose piece with the “Glue Here 9” area. Make sure that the middle line of the nose piece matches the head piece middle line.
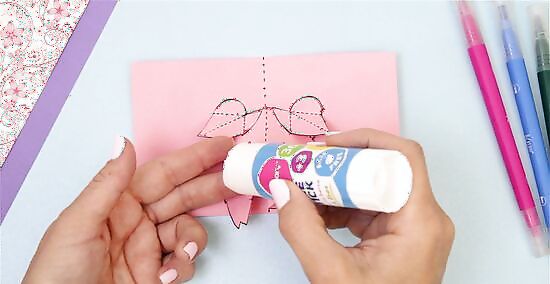
Apply a small amount of glue onto the grey area marked “Glue Here 10”.
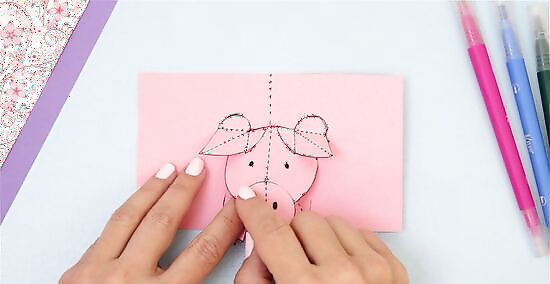
Line up the left side of the nose piece with “Glue Here 10” area. Press both sides firmly and let dry.
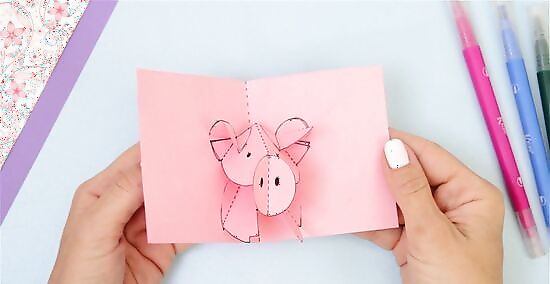
Make sure all the pieces are completely dry before closing. Close the pig card all the way.
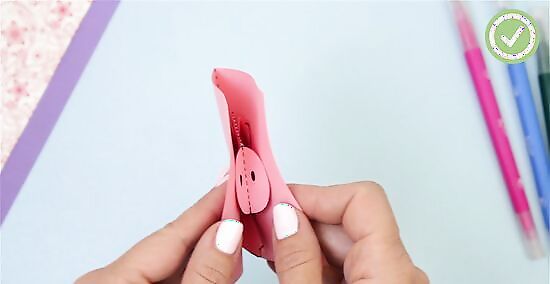
Open the card watch the pig pop up at you. Your pig is finished! You can now add a tail and color your pop-up!


Comments
0 comment