views
X
Research source
.
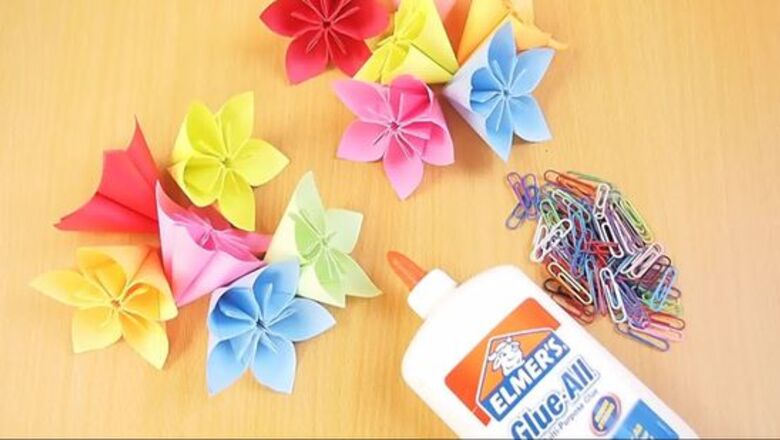
While the kusudama ball looks extremely intricate, it is not as complicated as it looks. This model would make a good table decoration, or, if you thread it on some string, you can hang it from the ceiling. Read on to learn how to make this impressive model.
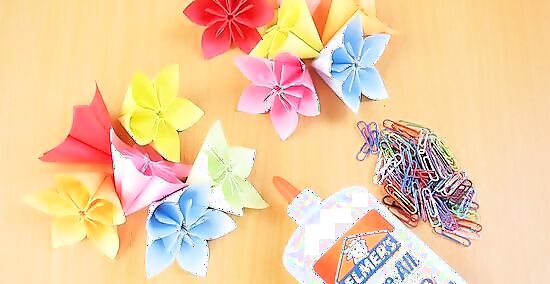
Collect the "Things You'll Need", listed at the bottom of this article.
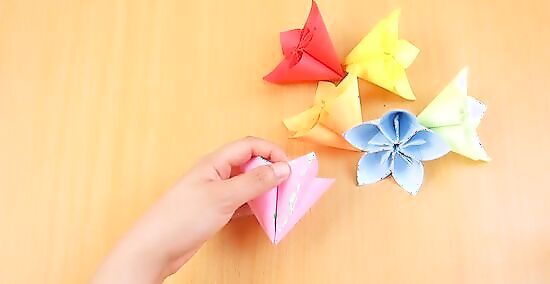
Take one of the flowers. Glue along the middle line of one of its petals.
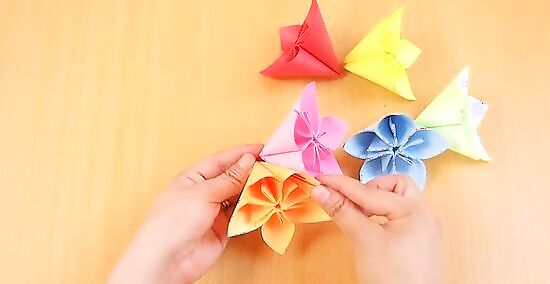
Take a second flower and press the middle line of one of its petals on the glue on the other flower. Press firmly so that the glue can set. Secure with a very small washing peg, a paper clip, or even a bobby pin, if you wish.
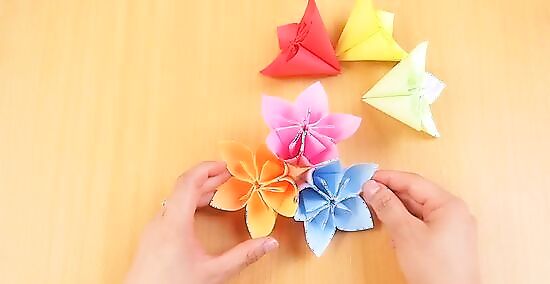
Glue along the petals indicated with red lines on the previous picture. Take a third flower and press two adjacent petals onto the glue. Secure with pegs.
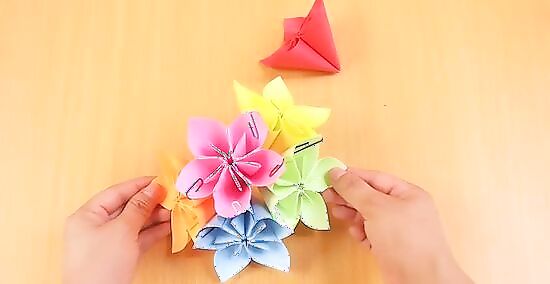
Repeat with a fourth and a fifth flower, as indicated on the picture.
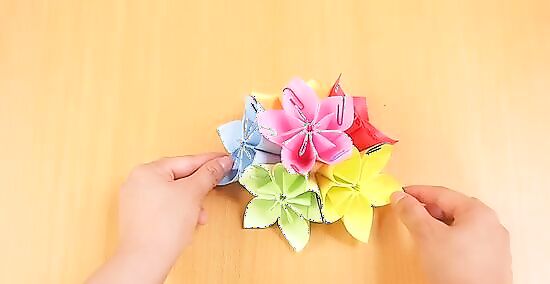
Take the sixth and final flower. This one will be the most difficult one to add, for you will have to glue three petals at the same time. Glue the petals indicated with red lines on the picture. Press three petals of the sixth flowers onto the glue on the rest of your model. Secure.
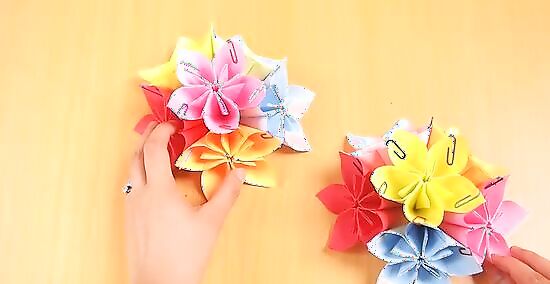
Repeat the previous steps with the other six kusudama flowers, so that you end up with two identical halves of six flowers each.
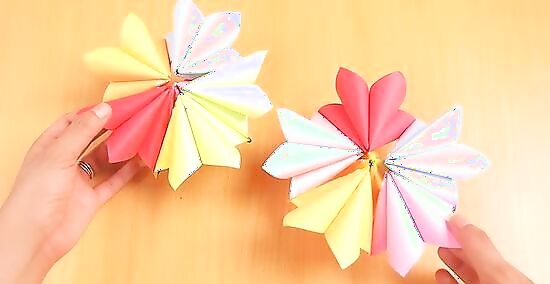
Turn both halves over.
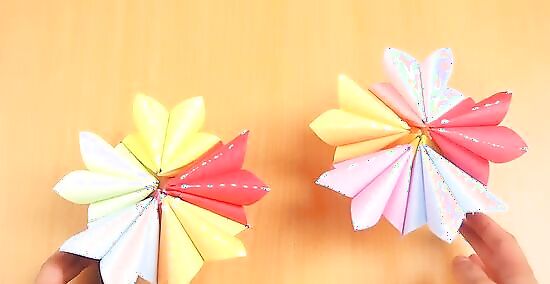
Glue along the lines indicated in red on the picture. Press these two lines on glue together, so that your halves start to form a ball. Secure.
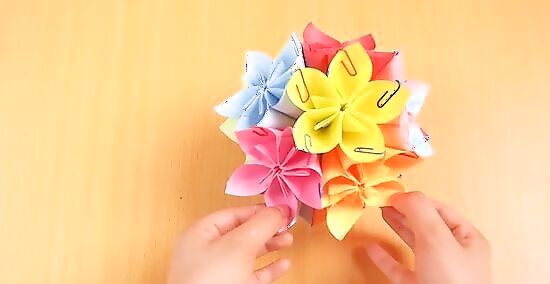
Glue between all the petals that are now pressing against each other. In the end you should have glued 12 pairs of petals together.
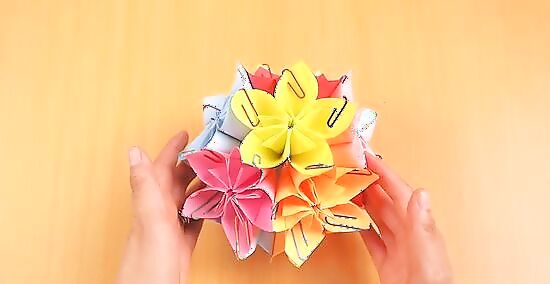
Secure all the pairs of petals. If you are using pins, you should end up with a ring of pins all round the ball. Beware that the flowers at the bottom do not press those at the top out of proportion.
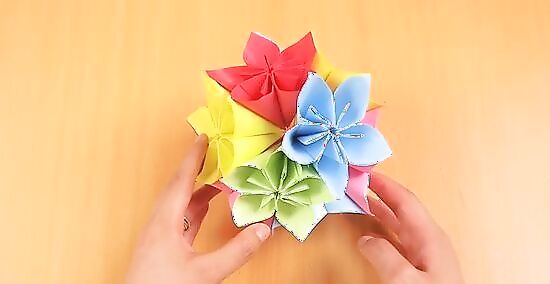
Let the model dry thoroughly for about a day. Remove the pegs or pins. You're finished - now find a spot to display your new decoration!


Comments
0 comment