views
Creating the Main Part of the Wallet
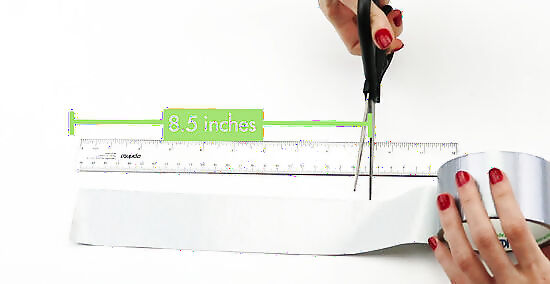
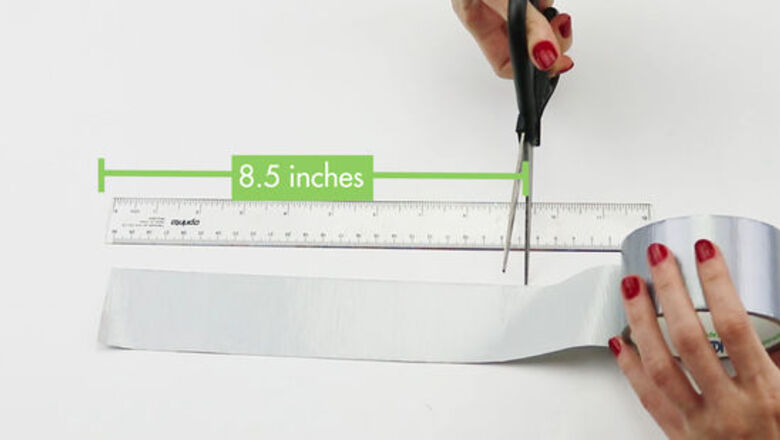
Cut a single piece of duct tape to 9 inches (23 cm). Pull some of the duct tape off the roll and lay it against a ruler with the sticky side up. Cut the strip off at 9 inches (23 cm) using sharp scissors. Try working on a piece of parchment paper or a plastic cutting board, which are resistant to the adhesive. Lay the strip sticky-side up in front of you.
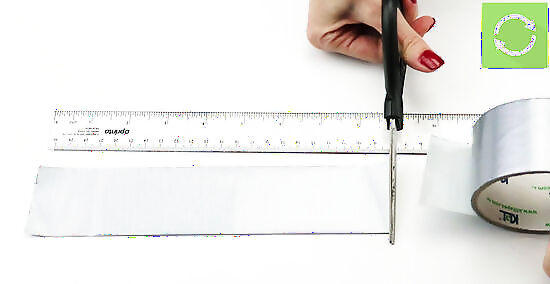
Place a second piece of duct tape on top of the first one lengthwise. Cut another piece of duct tape to the same length. Turn it so the sticky side is down, and then lay it halfway up the first piece. You're overlapping the 2 pieces along the long edge, meaning you should still have half a strip of the sticky side exposed. Half a strip along the top will be stuck to the parchment paper below.
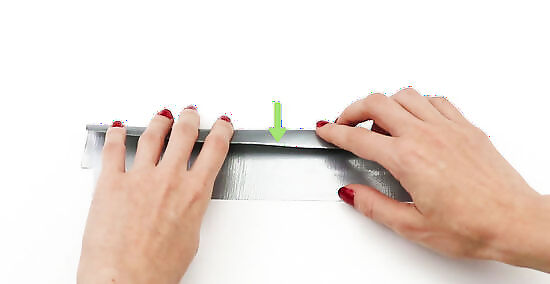
Fold the sticky part of the first strip up over the second piece. The sticky part is at the bottom of your strip. Fold it up along the edge created by the second strip, then seal it in place by smoothing it out with your fingers. This will create one of the edges of the wallet.
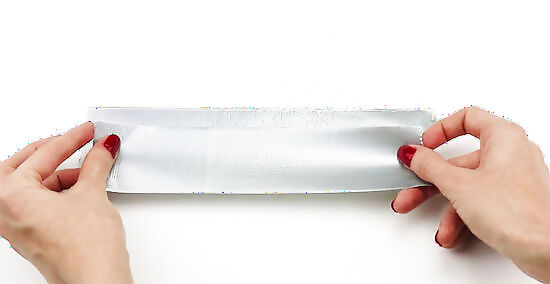
Peel the duct tape up and add another strip. After you peel it up, flip it over so the sticky side is up. Cut another piece of duct tape that's the same length and lay it over the sticky part. Half of the strip will hang off, sticking to the surface below.
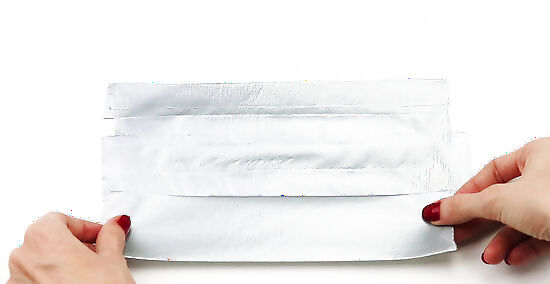
Continue flipping the duct tape and adding strips to extend the length. Repeat the process of peeling the duct tape up, flipping it over, and adding a new strip of duct tape overlapping the sticky part. This will add length to the wallet a little bit at a time. Keep going until you have about 8.5 inches (22 cm) in length.
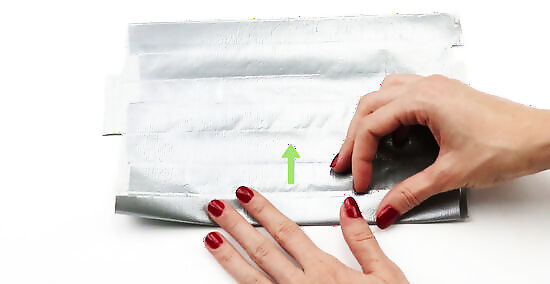
Fold the final piece of tape over the end to make a clean edge. When you reach a length of about 8.5 inches (22 cm), fold the sticky edge back over the rest of the wallet. That will make that edge solid for the wallet.
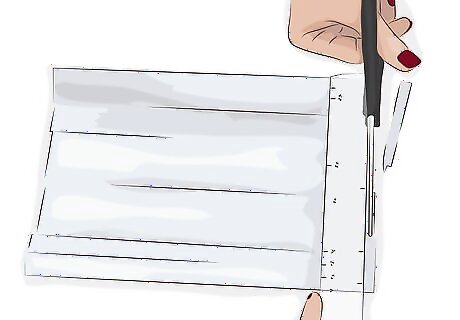
Trim the edges of the duct tape. Cut along the sides of the duct tape to even out the edge. Use a ruler to help guide you and make a straight edge. Don't cut too much off, as that will make your wallet too small. For a shorter wallet that will more snugly fit skinny American dollar bills, make your rectangle no smaller than 6 by 8 inches (15 by 20 cm).
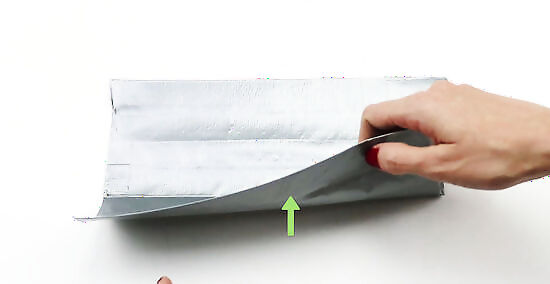
Fold the rectangle in half lengthwise. Bring the folded edge at the bottom up to meet the folded edge at the top. The sides will be composed of the clean edges you just cut. Use your fingernail to make a crease along the bottom where you folded the duct tape. Your crease should run in the same direction as the lines of the tape.
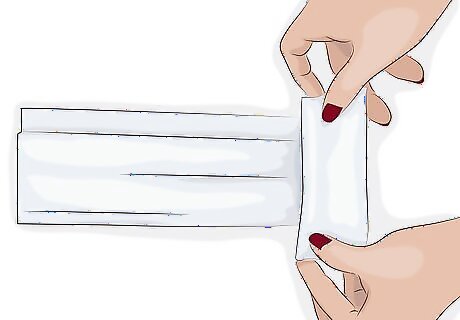
Tape the edges closed. Cut pieces of tape that are the height of the sides of the pocket you've just made. Place a piece on each end, folding it over the cut edge and around the back. Smooth it out with your fingers. The edges should be up against each other when you wrap the tape around them.
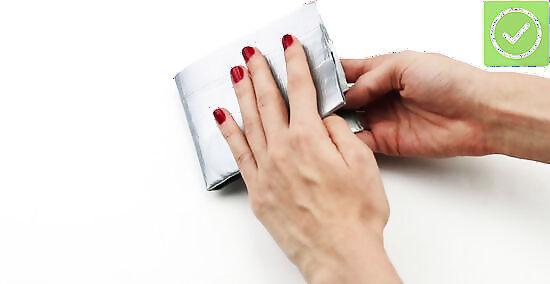
Fold your wallet in half the other direction. Folding it this way will make it small enough to fit in a pocket. Make sure the edges meet, then use your fingernail or the ruler to make a crease along the edge.
Making Pockets
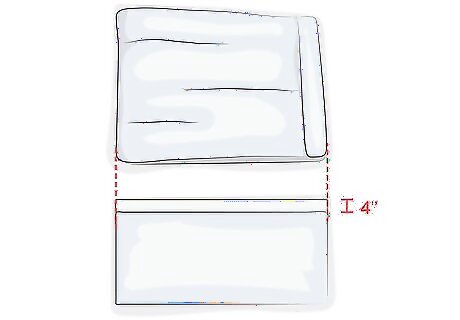
Make singular strips of duct tape without sticky sides. Measure out 2 strips of duct tape that are about the length of your wallet when folded. Place 1 piece with the sticky side up on your surface. Set the other piece on top, sticky side down with just 0.25 inches (0.64 cm) or so of overhang. You're using almost the same process as you did to make the main part of the wallet, except you're not letting the second piece of tape hang over the edge as much.
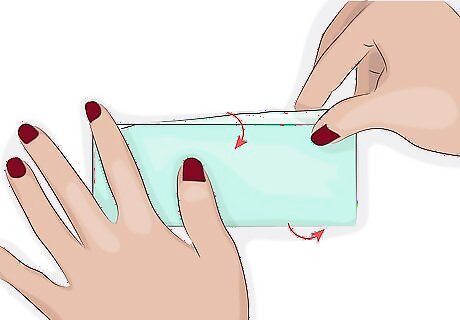
Peel the tape up and fold the sticky sides down on either end. Pull the tape off the surface. You should have a long, sticky overhang on each side. Fold those over on top of the rest of the duct tape, making single strip with no sticky edges. You should now have a strip with no sticky sides that's small enough to fit on 1 of the interior sides of your wallet. Create 1 strip for each pocket you want. These pockets will hold cards.
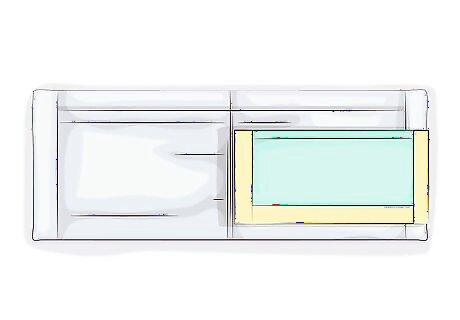
Tape 1 pocket in place. Open your wallet and lay it out flat with the inside facing up. Place your first pocket 0.25 inches (0.64 cm) from the top of the wallet on 1 side. Cut out pieces of duct tape just wide enough and long enough to tape the sides and bottom of the pocket to the wallet. The strips you use to tape the pocket in place should only be 0.25 inches (0.64 cm) or so wide and just long enough to cover the complete edge on each side, except the top. Try to keep the strips of tape out of the middle crease, as the crease could cause the strips to pull up over time.
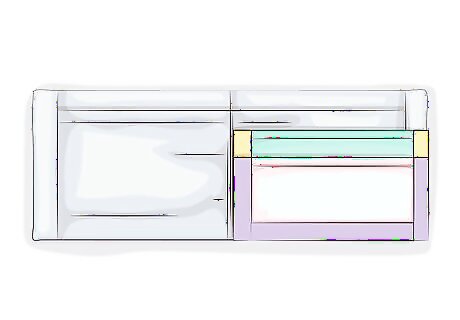
Layer your other pockets below the first one. Place the second pocket on top of the first one but about 0.25 inches (0.64 cm) from the top edge of the first pocket. Tape it in place with small strips of duct tape on the sides and bottom of the pocket, leaving the top exposed. If you need to, trim your pockets as you go along so they're all the same size. Keep going down until you reach the bottom of the wallet. The last pocket should be about 0.25 inches (0.64 cm) from the bottom so you have room to tape it in place.
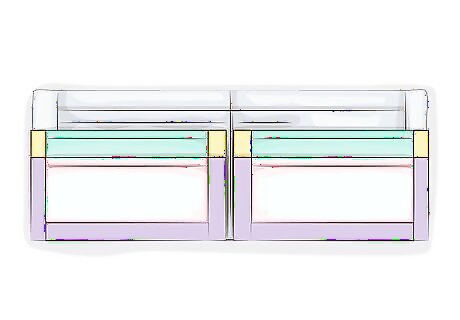
Add pockets on the other side if you want. You can add pockets to the other side on the inside if you'd like. Do it the same way by making strips of duct tape and taping them in place in layers. However, if you'd like a large pocket with an ID holder, don't put card pockets on the other side. Alternatively, you can make a larger pocket with an ID holder instead.
Creating a Large Pocket with an ID Window
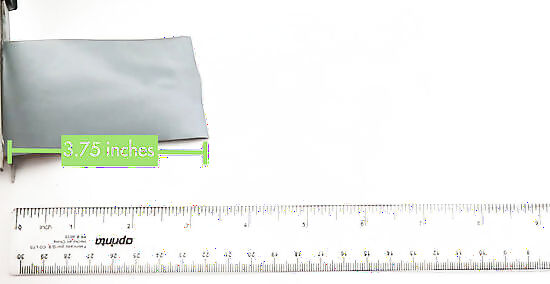
Make a rectangle of duct tape slightly smaller than one side of your wallet. Use the flip-and-fold method (like you did to construct the body) to make a slightly oversized rectangle, then trim it down to size on the edges. It should be about the same size as half your wallet when it's open, though slightly smaller so you can tape in place. This is for an internal pocket with an opening facing the central crease of the wallet.
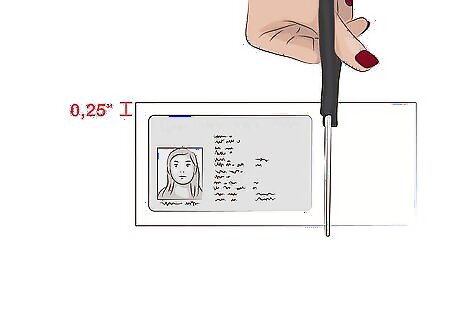
Cut a piece of clear plastic that's slightly bigger than an ID card. Get your ID card out so you can use it as a template. Hold it up to a piece of plastic and cut around, leaving about 0.25 inches (0.64 cm) on all sides. You can use clear, hard plastic from takeout containers or other food containers. Just be sure to clean it well. Round the corners so they don't poke you!
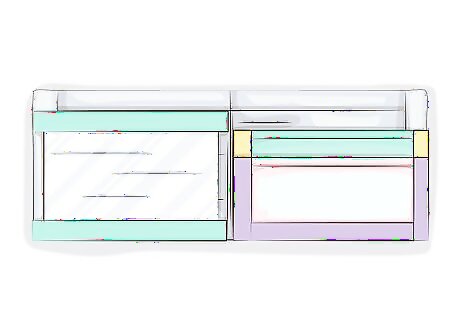
Set the pocket in place. With the wallet body unfolded in front of you, place the pocket over the half of the wallet that doesn't have the card pockets. Set the piece of plastic in the center of the pocket, which will become your ID window.
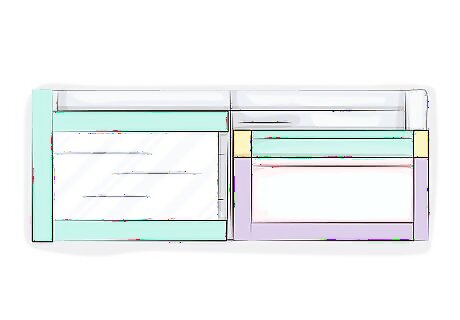
Tape the side pocket in place. Cut strips of tape to fit the top and bottom of the pocket. Place the strips over both the edge of the plastic and the edge of the pocket, taping them into place against the wallet. You'll leave the inside edge open to make the pocket. You don't need to seal the outer edge yet because you'll do that next.
Add a strip of duct tape along either end to seal everything into place. Cut a strip of tape that is the height of your wallet. Place 1 piece over the edge on one end, using your fingers to smooth it into place. This will seal off the pocket you just made and make sure all the strips on the card pockets stay in place. On the side with the card pockets, you may need to trim the width of the tape so it doesn't block the openings along the top of each pocket. You might want to use a different color here or decorative duct tape.




Comments
0 comment