views
Replacing Rubber Grips
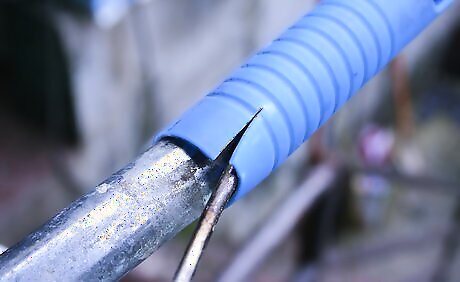
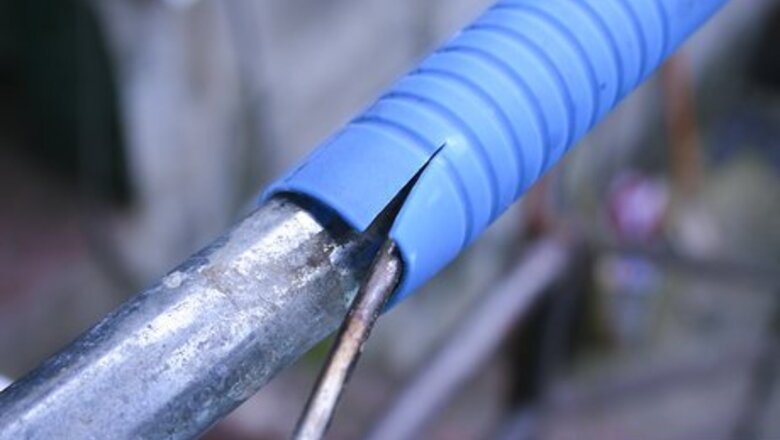
Carefully slide or cut off the old grip. Sometimes, careful cutting with a razor blade is necessary; try not to scratch your chrome. If you want to save the grips without cutting, spray WD-40 between grip and handlebar, giving it 5-10 minutes to work its way into the grip. Twist to spread the WD-40 inside the grip and pull it off easily. Stick a screwdriver between the bar and the grip if you cannot get under the grip well, using it to prop the grip up while you spray it down. If stuck, you can use compressed air from a compressor or can to remove a grip.
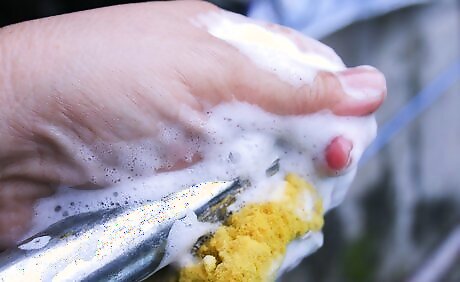
Clean bar with soap/water to remove WD-40, dust, and gunk. Give the bars a good clean scrub, using an old rag or sponge to get them as clean as possible. This will make it much easier to get the new grip on and keep it there. When done, dry the whole thing off. If they are open on the ends, make sure you dry off the inside of the handlebar as well. Water left in there after putting the new grip on can lead to rusting.
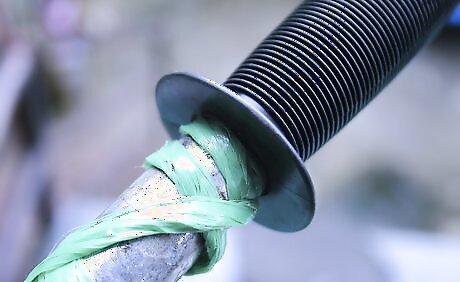
Use 3-4 long, plastic ties as "runners" to slide your grip on. Place the plastic ties in the grip on different sides, then use these smooth, low-friction areas to slide the grip onto the bike. Then simply pull the ties back out to finish installing. Note that lock-on grips are gaining popularity -- they require a hex wrench (Allen key), but you can easily loosen the bolt, slide the grip on, then tighten it in place.
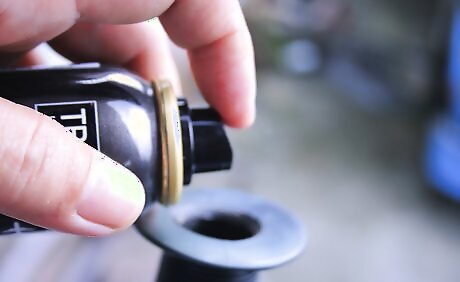
Apply a spray of hairspray, hand sanitizer, or other quick-evaporating substance inside the grip. If you don't have plastic ties, a little bit of an alcohol-based product, such as hairspray or sanitizer, may help you slide the grip easily. As a bonus, the grip will definitely stay on once you've got it in place. While not strictly necessary, this step can prevent the grip from immediately slipping off the bar if you have issues.
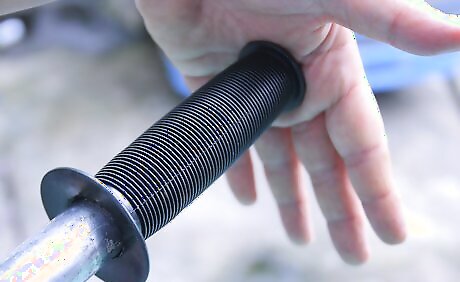
Push the grip all the way onto the bar, twisting to align their contours. It can help to twist as you push, working it onto the handlebar bit by bit. While the snug fit may make it hard to get the grip on, you'll be thankful later when it doesn't come off mid-ride.
Applying Taped Handlebar Grips
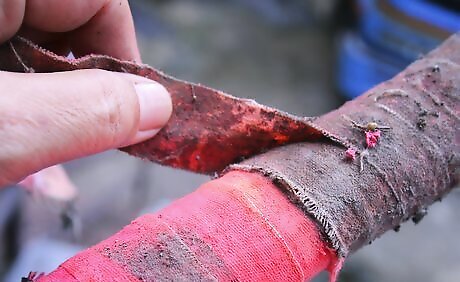
Cut or unwind the old handlebar tape. You will rarely have to cut the tape off, and you should be careful not to nick the actual handlebar if you do. More often than not, you can simply unwind the old tape off the bike. Remove the cap at the end of the handlebars, using a flat-head screwdriver if needed. Before removing, note how far up the bars the old tape went. This is a good guide for when to end your own tape-up.
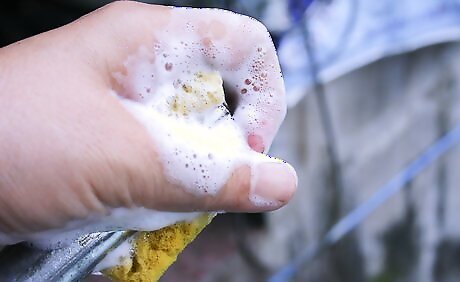
Wash off any lumps of adhesive left by the old tape. Use a gentle degreaser, or some simply warm water and dish soap, to lightly remove the rest of the adhesive.
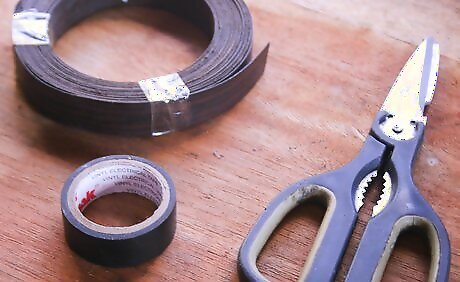
Set up your workstation and prepare the bars for taping. Take some electrical tape and wrap any cables lightly to the bars, if they are not already pre-attached. Note where you want the tape to end, and get your knife or scissors ready to cut the excess tape when you're finished. Feeling extra pro -- wrap some double-sided tape around the bottom 2-3 inches of the bar to help keep your tape in place.
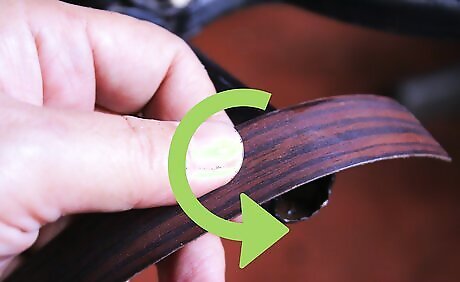
Start each handlebar from the bottom, wrapping clockwise on the right and counter-clockwise on the left. Handlebars need to be wrapped in a way that prevents unwinding while you ride. Starting from the bottom prevents the wrap from sliding down under your hands. Furthermore, wrapping in the right direction for each hand prevents you from unwrapping as you ride (many people, when tired, clench their hands and twist them outwards). Pull the tape tight -- you want a lot of tension for a tight, waterproof grip.
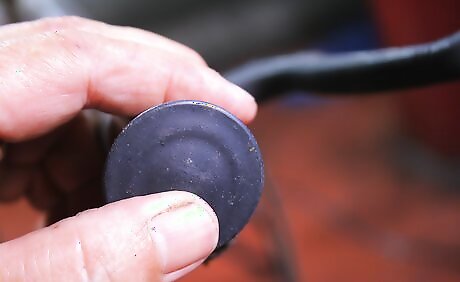
Leave about half the tape hanging off the bottom of the bar on the first pass, wrapping 3-4 times as you work up. Move up the bar, overlapping slightly for 3-4 wraps. Then push the cap into the exposed wrap, sucking it into the inside of the handlebar so that the cap holds the bottom of the tape in place. Repeat on both sides.
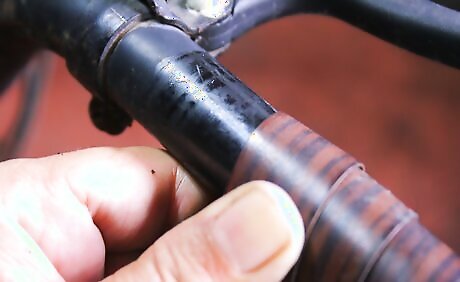
Work slowly, overlapping about a quarter of the tape with every turn, as you move up the bar. If there is adhesive in tape, it is often covered. Pull off the covering now and slowly, tightly wrap the tape up and around the bar. You may have to pull and work the tape multiple times, making sure there are no gaps. It is often best to test the tension of the tape before starting. Give a good tug to feel how tightly you can pull on the tape without ripping it. To avoid gaps where the bar bends, you may have to overlap a bit more.
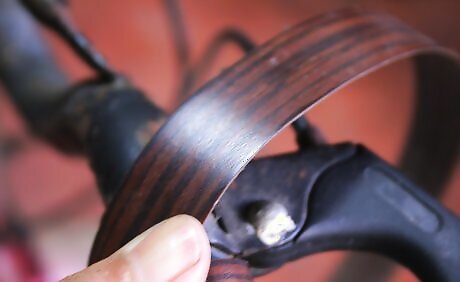
Lift the lever body (rubber covering at brakes/shifters) and wrap past this point to get to the top of the bars. The top of the handlebars, the flat part, need to be wrapped in reverse. As you finish the bottom of the bars, get as close to the levers as you can. Then skip over a small area where the bars bend and just start wrapping the top of the bars.
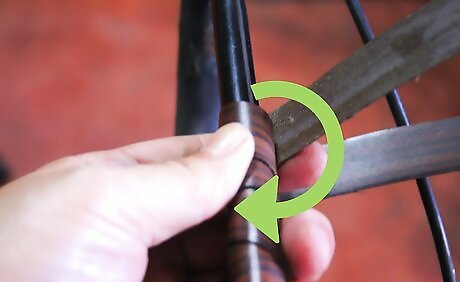
Reverse your wrapping direction for the top of the bars. This will be easy if you skip past the lever covering, as outlined above. Most riders will rotate their wrists back on the top bar, potentially unraveling the tape. This is why you change directions when getting to the top bar: The right side should be wrapped counter-clockwise. The left side should be wrapped clockwise.
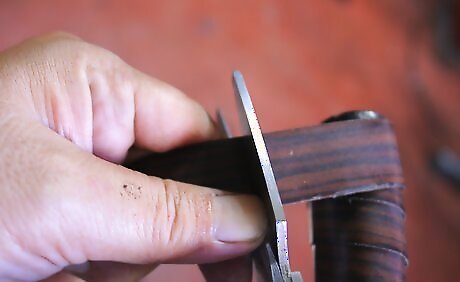
Cut the tape at your desired length and finish wrapping. You can "overwrap" it, then use a pen to mark the points you want to cut it. Then simply follow this line with scissors for a clean, professional tape-up.
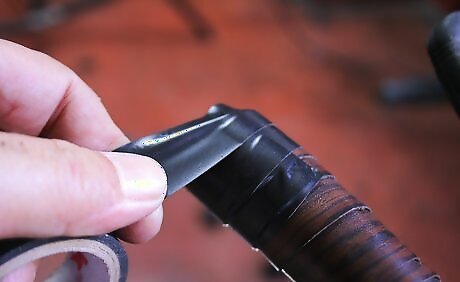
Add some 2-3 wraps of electrical tape to hold the wrap in place. At the very end of the tape, use some "finishing tape," to secure the wrap in place. Add enough that it cannot be easily unwound, usually using 1-2" on the tape and 1-2" on the bike frame. For a better hold, use a lit match to melt the tapes together in a few places, "welding" your handlebar tape on.


Comments
0 comment